Turn a Claude Artifact into a real website (No-Code)
Unlock the potential of Claude's amazing Artifacts feature to quickly create stunning web applications! With simple prompts, you can generate HTML code and effortlessly turn your creation into a live website using platforms like Cloudflare. Follow our step-by-step guide to get your project online...

Claude has this amazing feature called Artifacts. It's can be any piece of client-side application like an event landing page, a survey, and more! With artefacts, you can create amazing apps with just a few simple prompts! Once you're happy with the result, you can download the code and share it with the world!
This is a great way to get up and running quickly, but if you want to be able to maintain that page later and share with a larger audience, maybe interact with it and add analytics, a custom domain, and more, you'll want to use a real hosting platform like Cloudflare, Vercel, AWS, and so on.
Luckily, there is a really easy way to turn this artefact into a real website in just a few simple steps!
There are many great platforms for hosting static websites like Vercel and Cloudflare. In this tutorial I will show you how to convert it for Cloudflare Pages, but you can use the same approach for any other website.
Let's get started!
Here are the steps:
- Create the static page with Claude prompting
- Create a new Cloudflare page (you need to sign up beforehand)
- Upload the html file
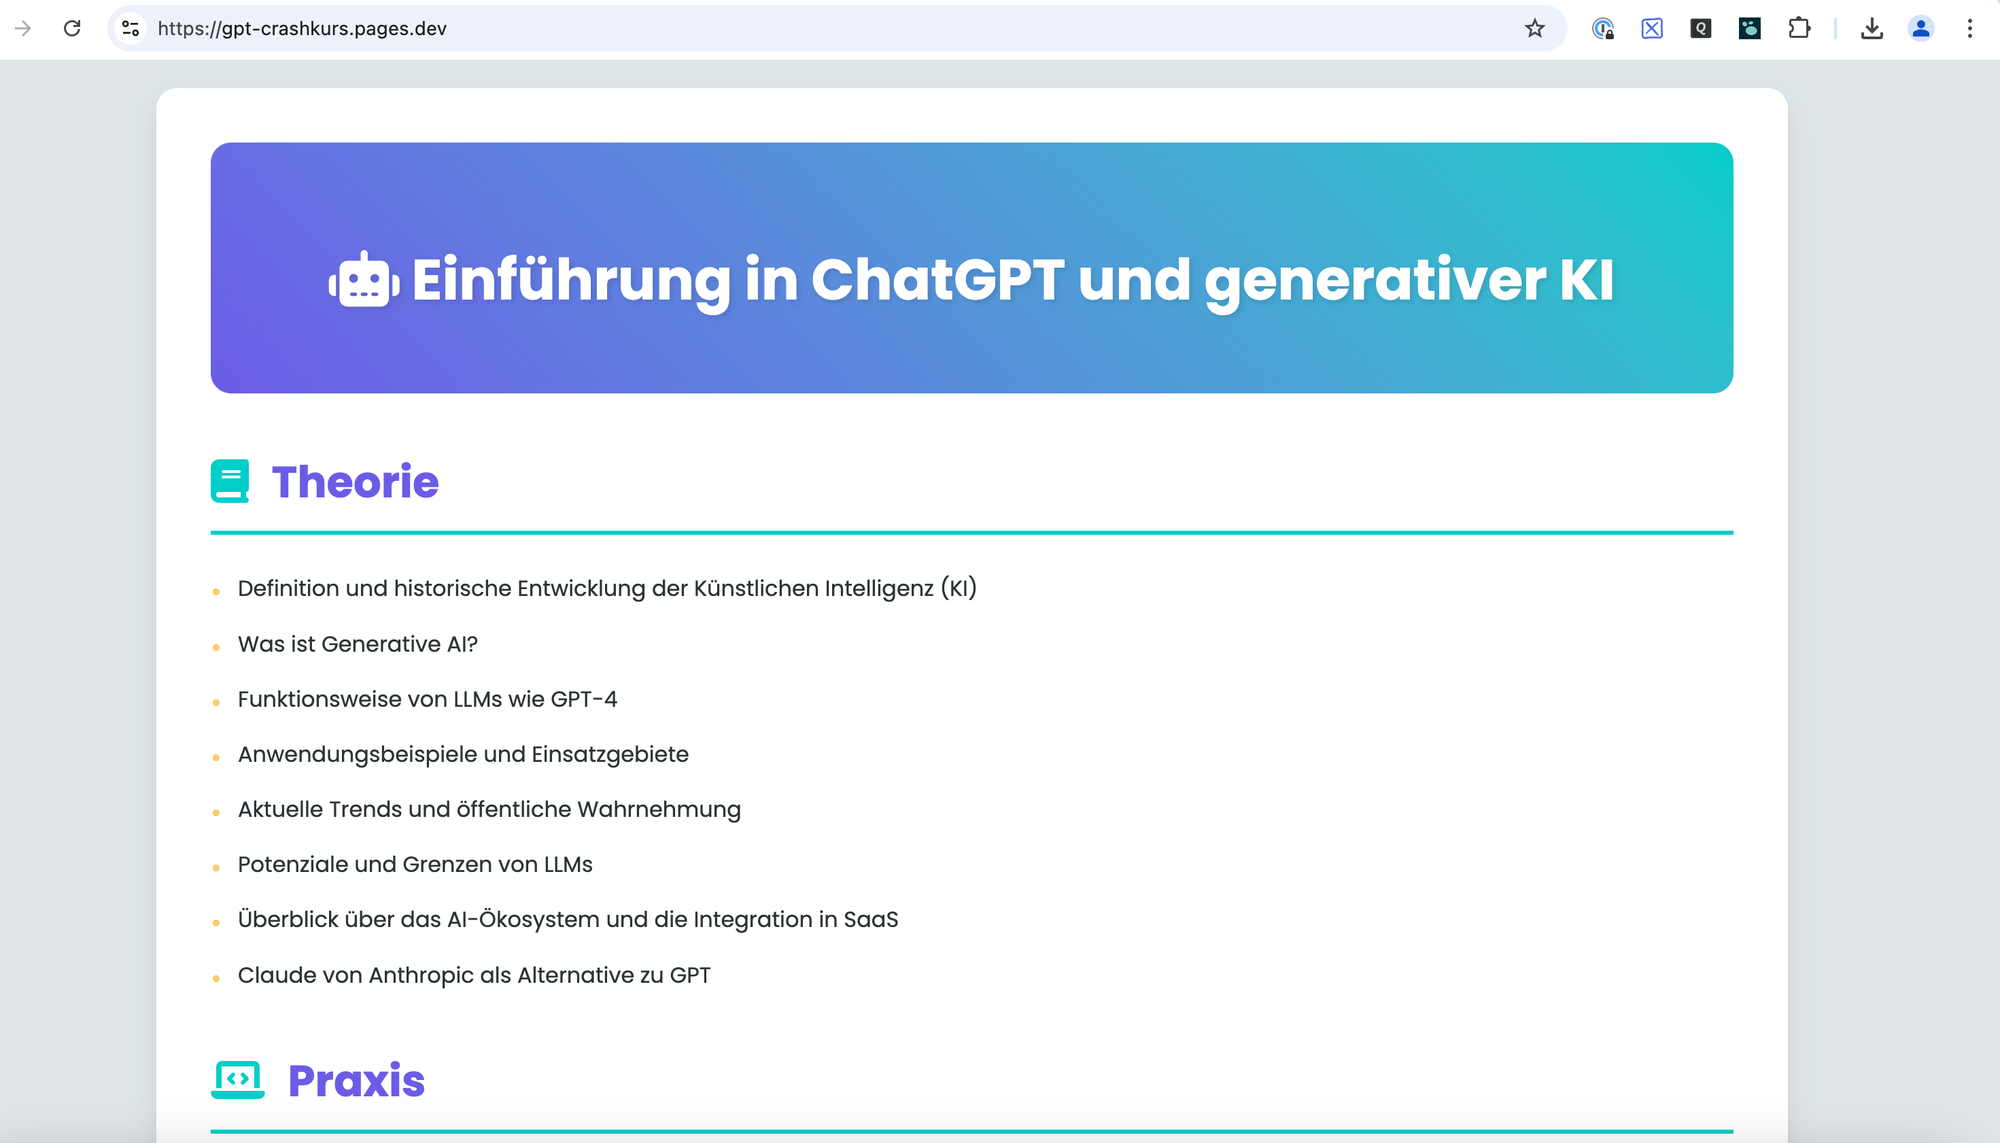
I'm going to use an example of a course landing page about GPT and Claude to show you how it's done.
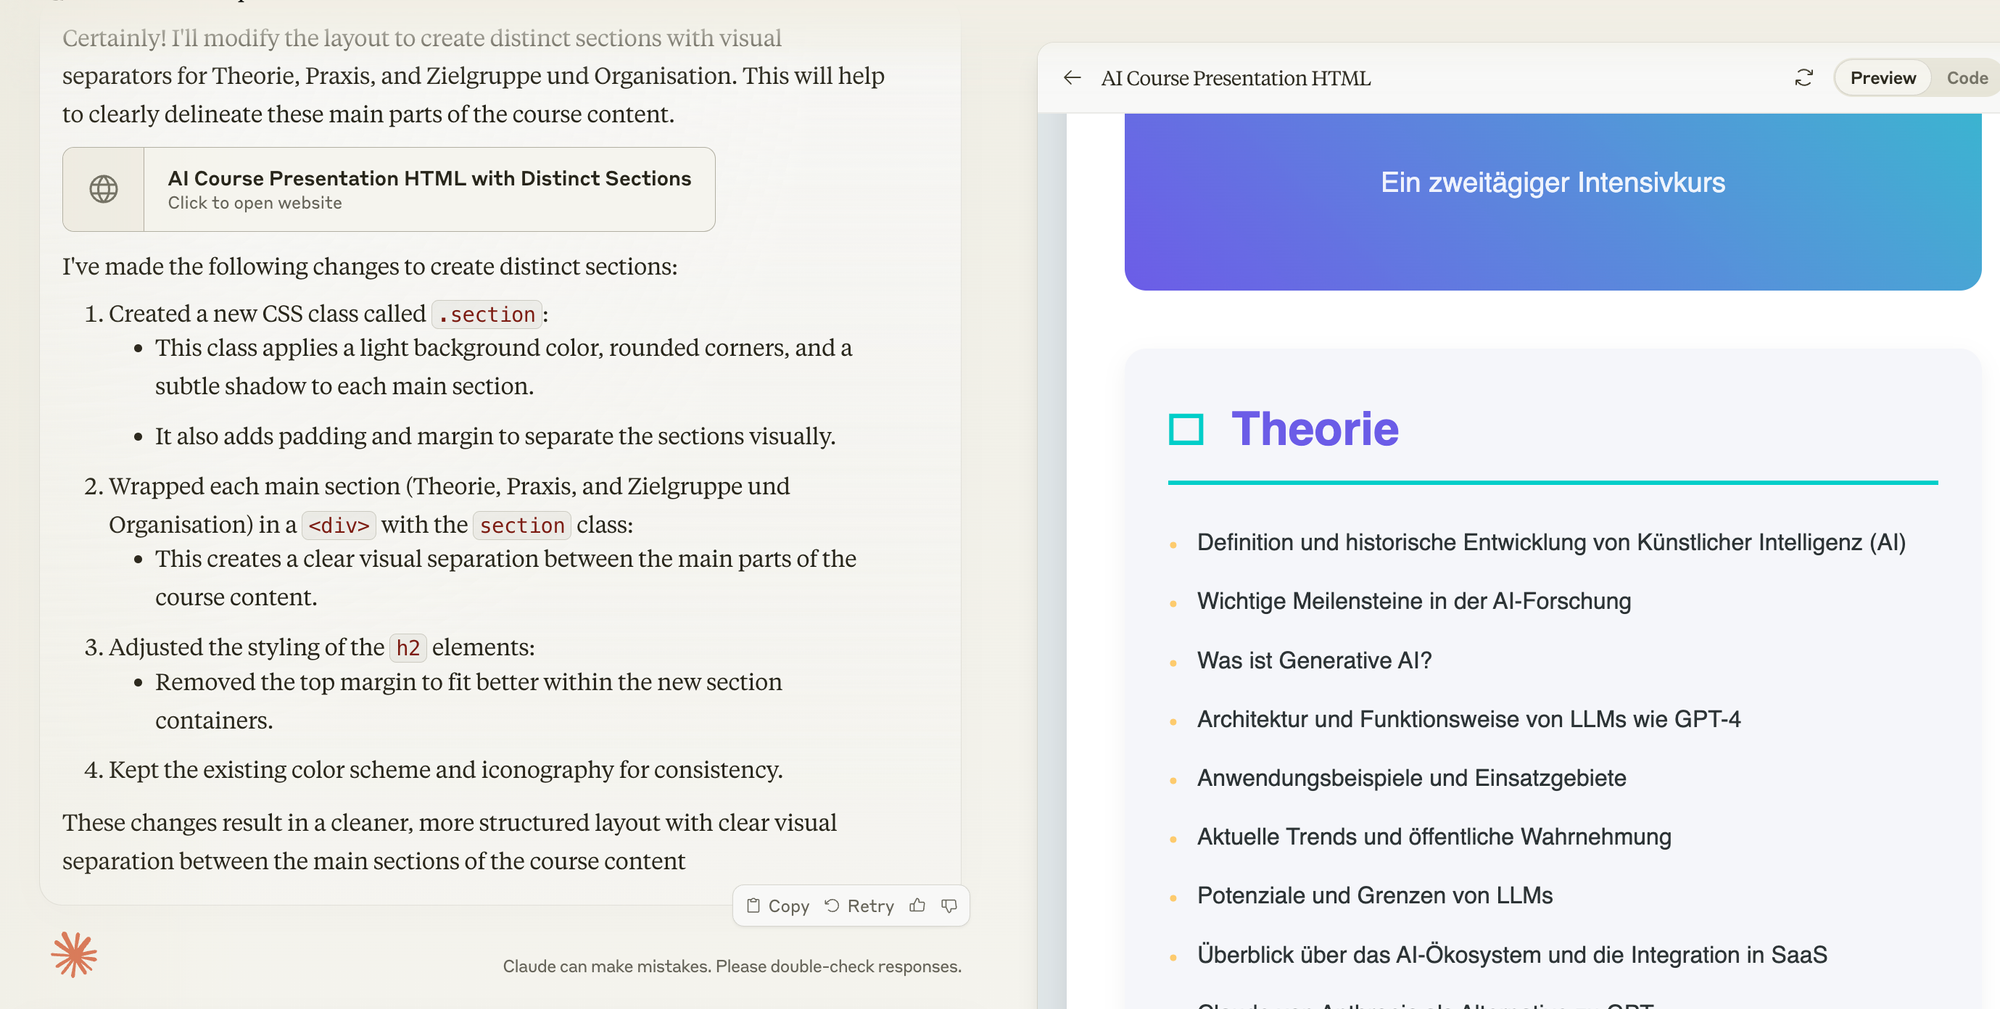
Step #1 Generate the Artifacts
Now, just do the usual prompting, but ask Claude (or whatever you use for Code generation) explicitly to generate HTML. You can do this by adding output HTML code with embedded JS and CSS.
This is important because it means you'll have one single file you can deploy later. Once you have a larger code base, you'll want to split it up properly and save in at GIT repository, but for now, we'll use one single file to show you how it's done.
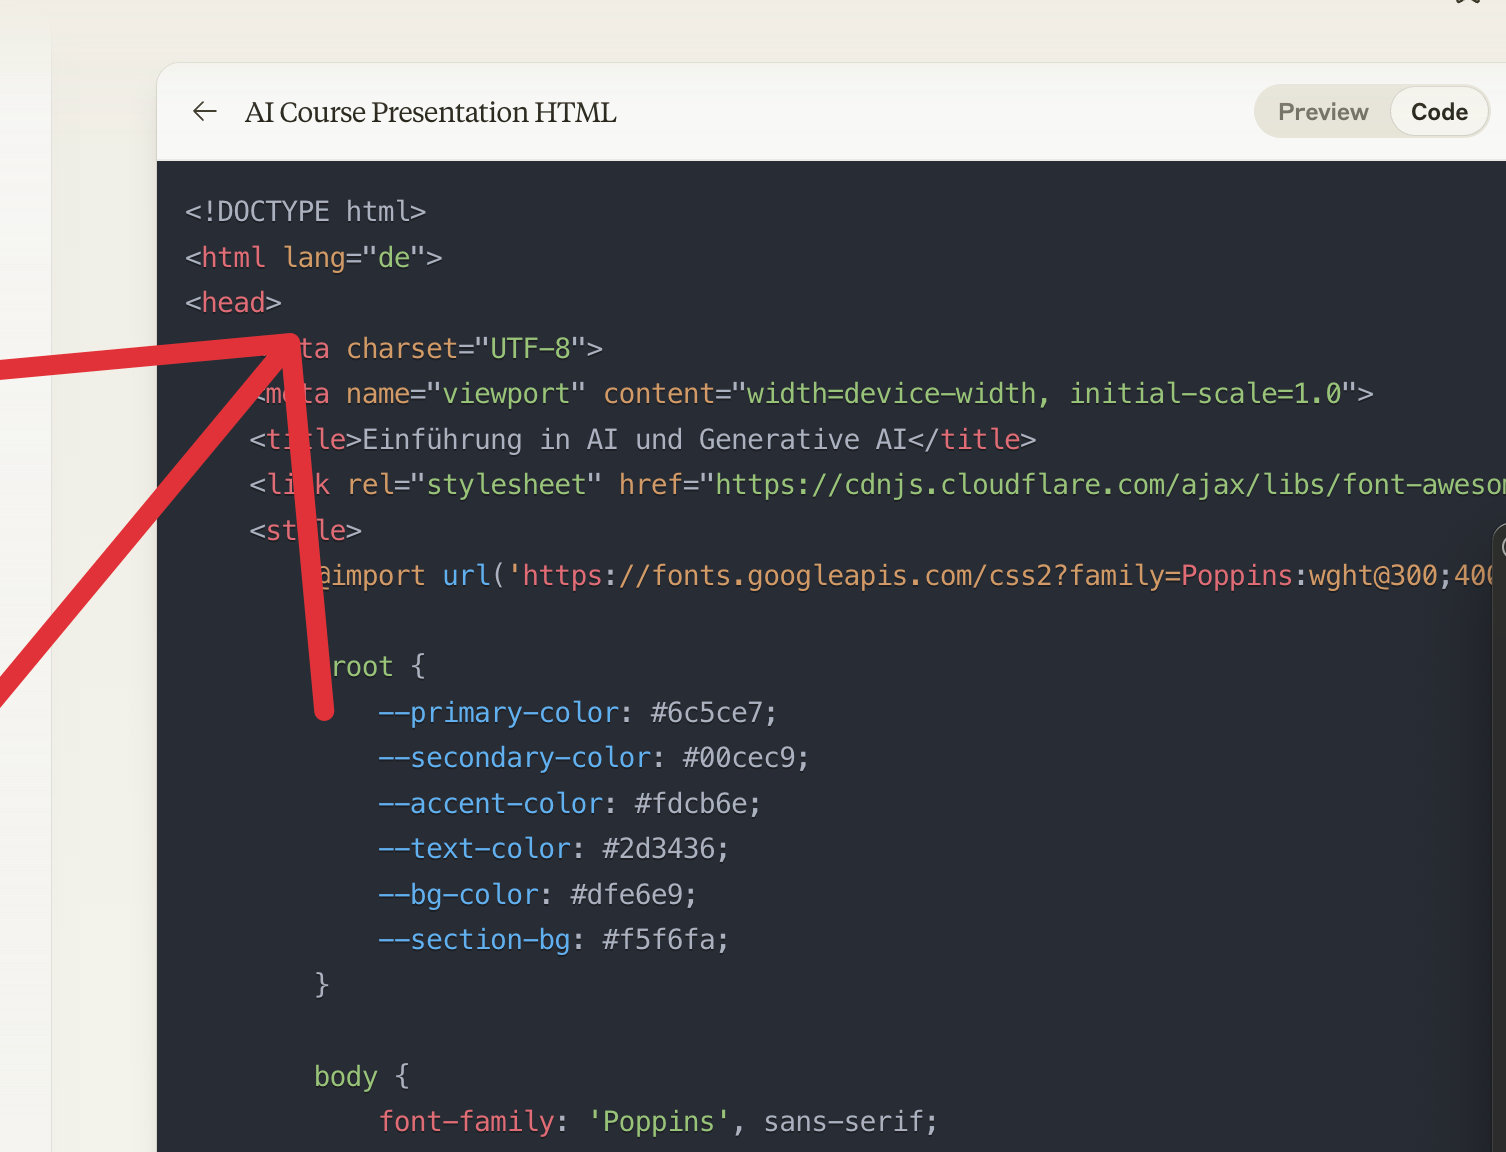
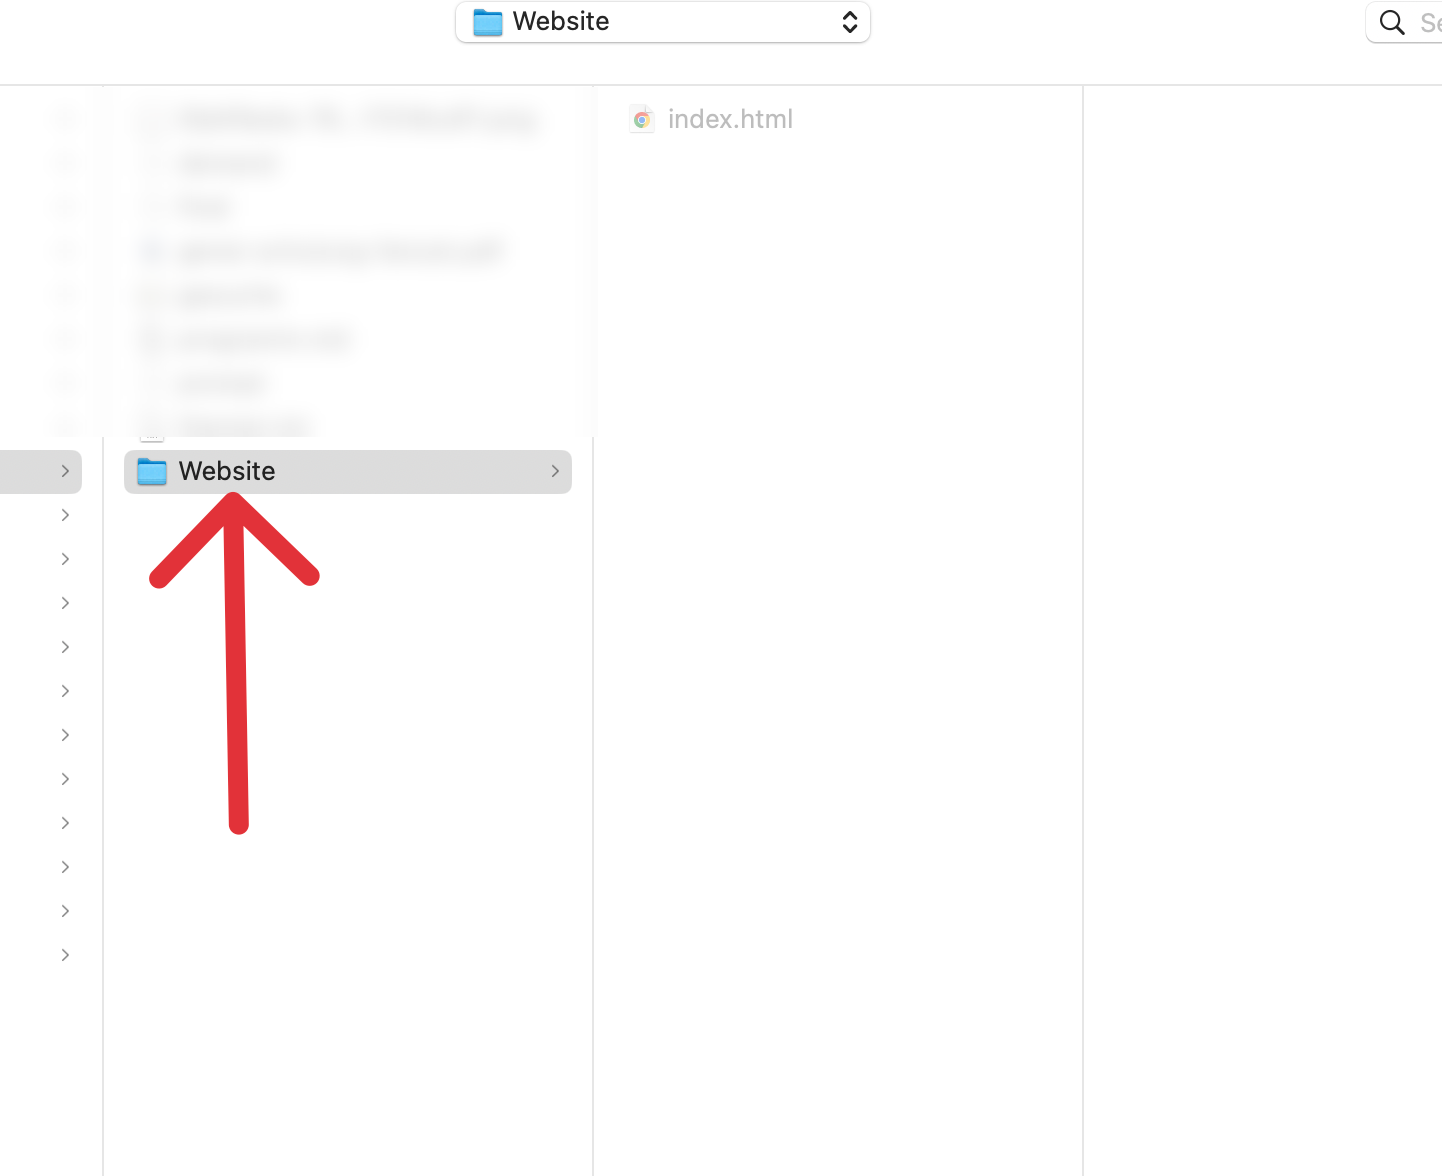
Now create a folder called website and a file inside it called index.html and copy the code from claude into this file.
website
- index.html
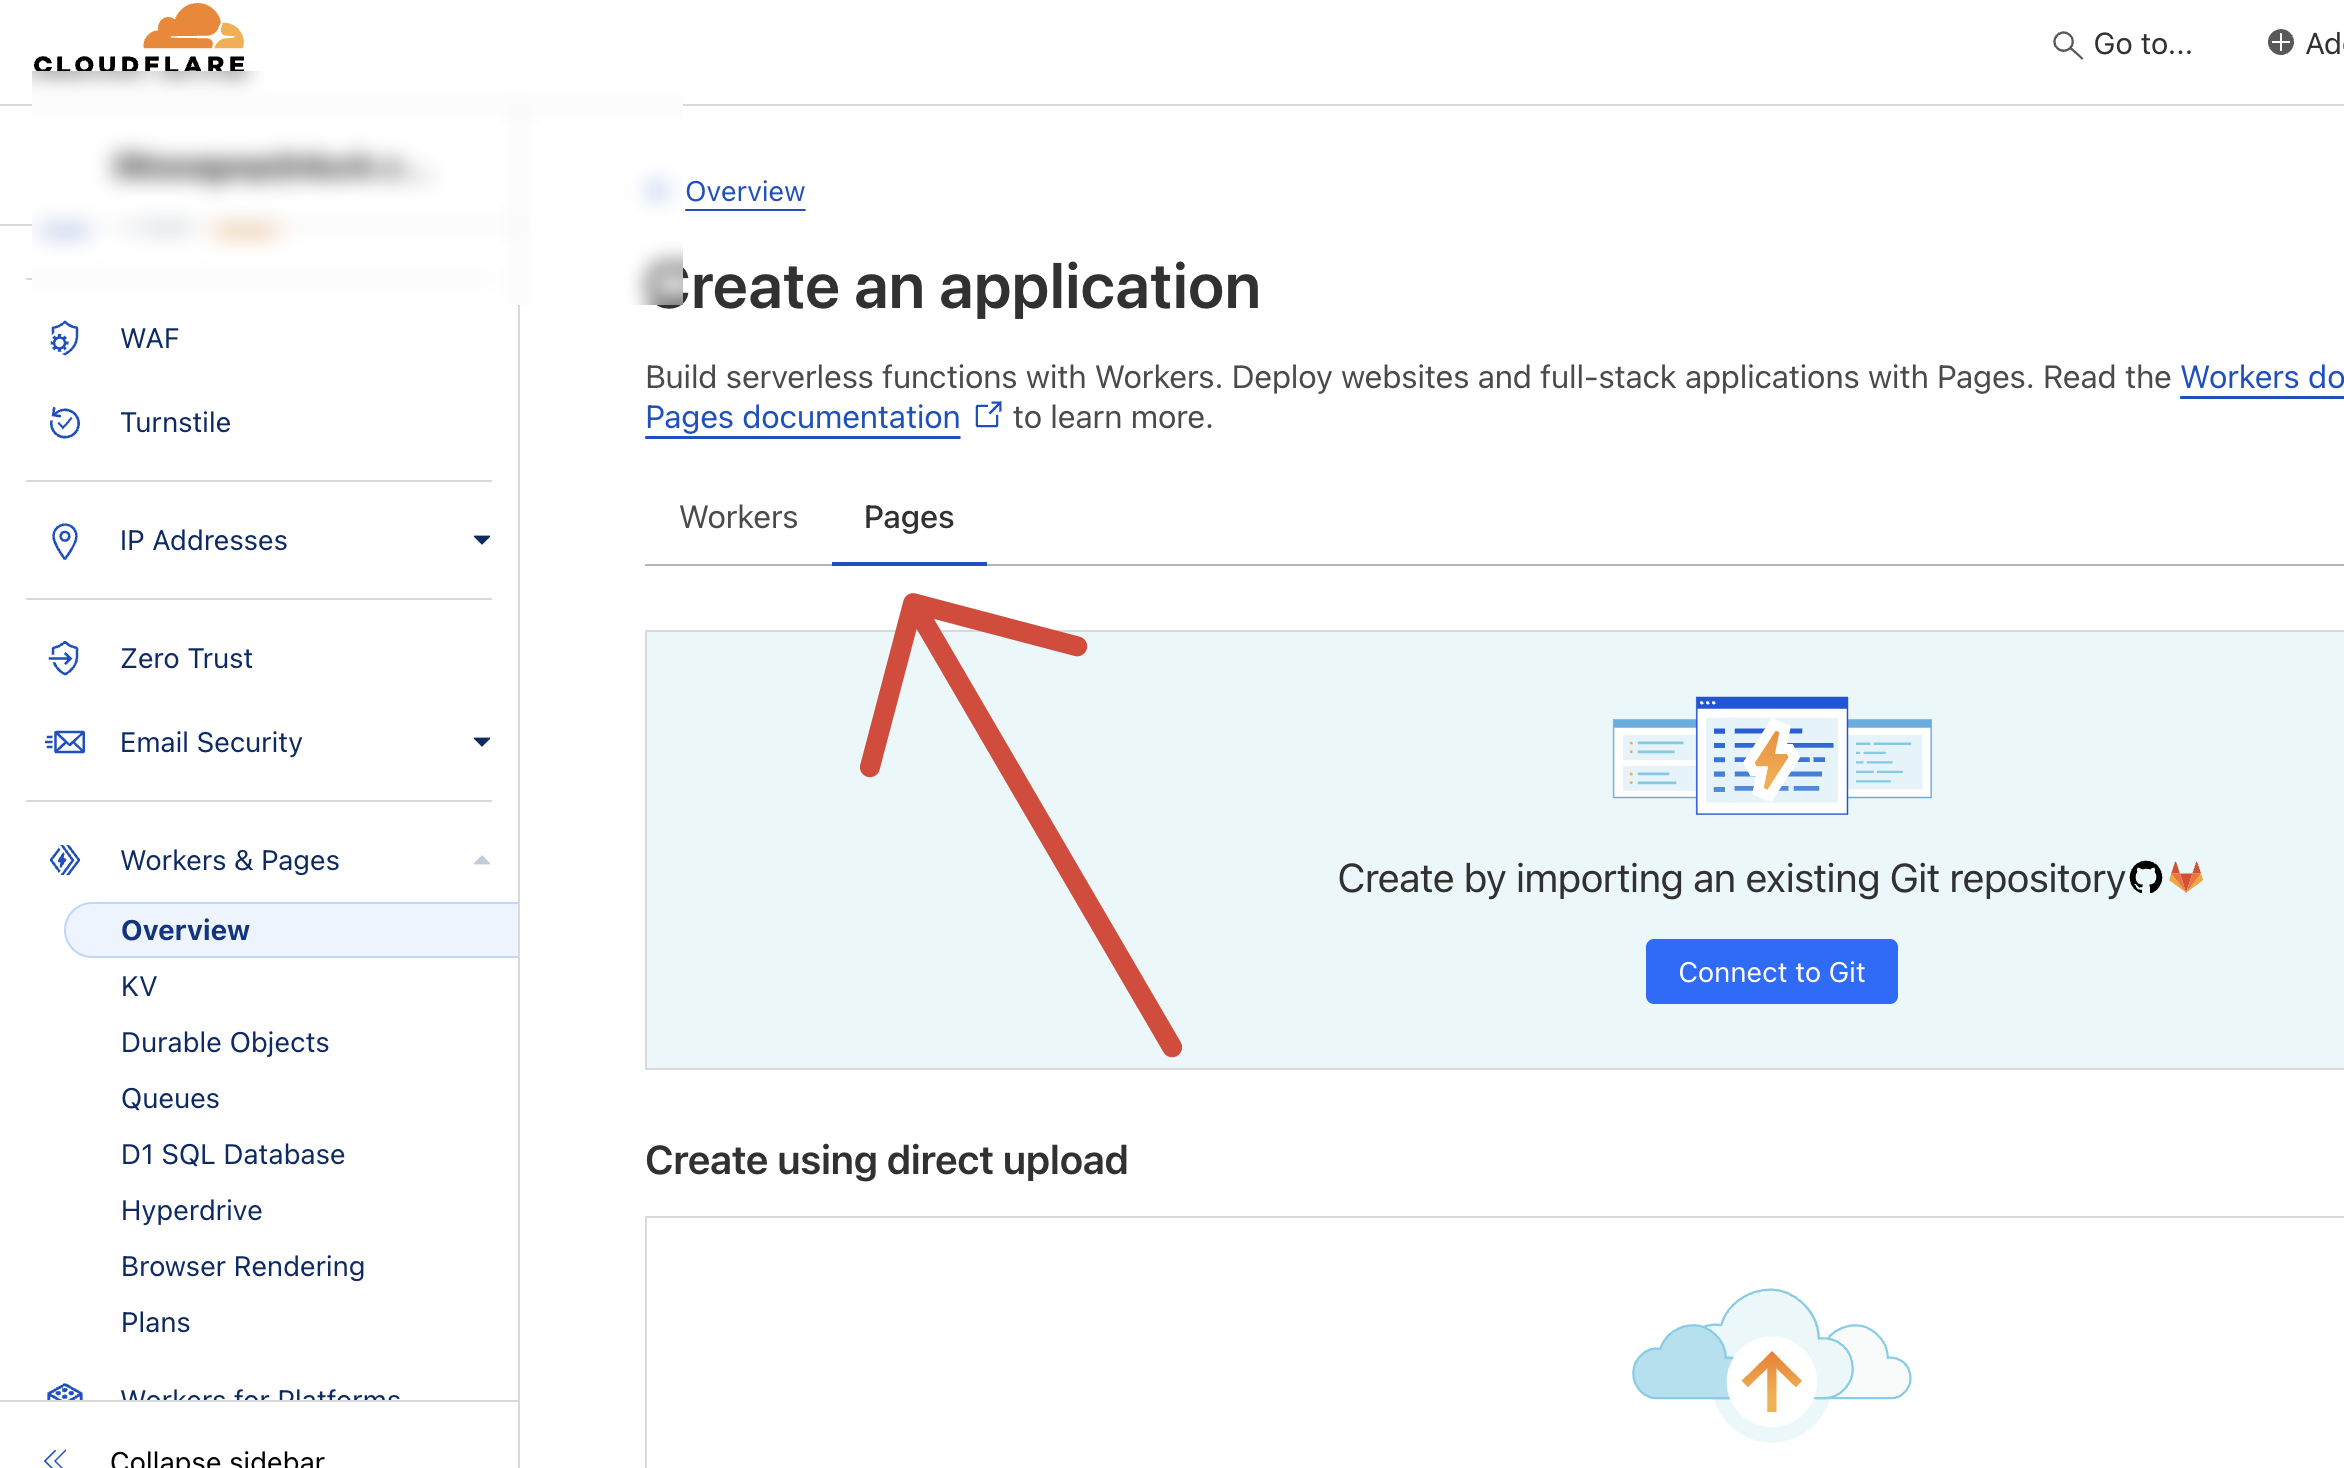
Step #2 Create a page in Cloudflare
Now head to Cloudflare Workers and register if you have not already done so.
There, you can create a new page like the one shown below.
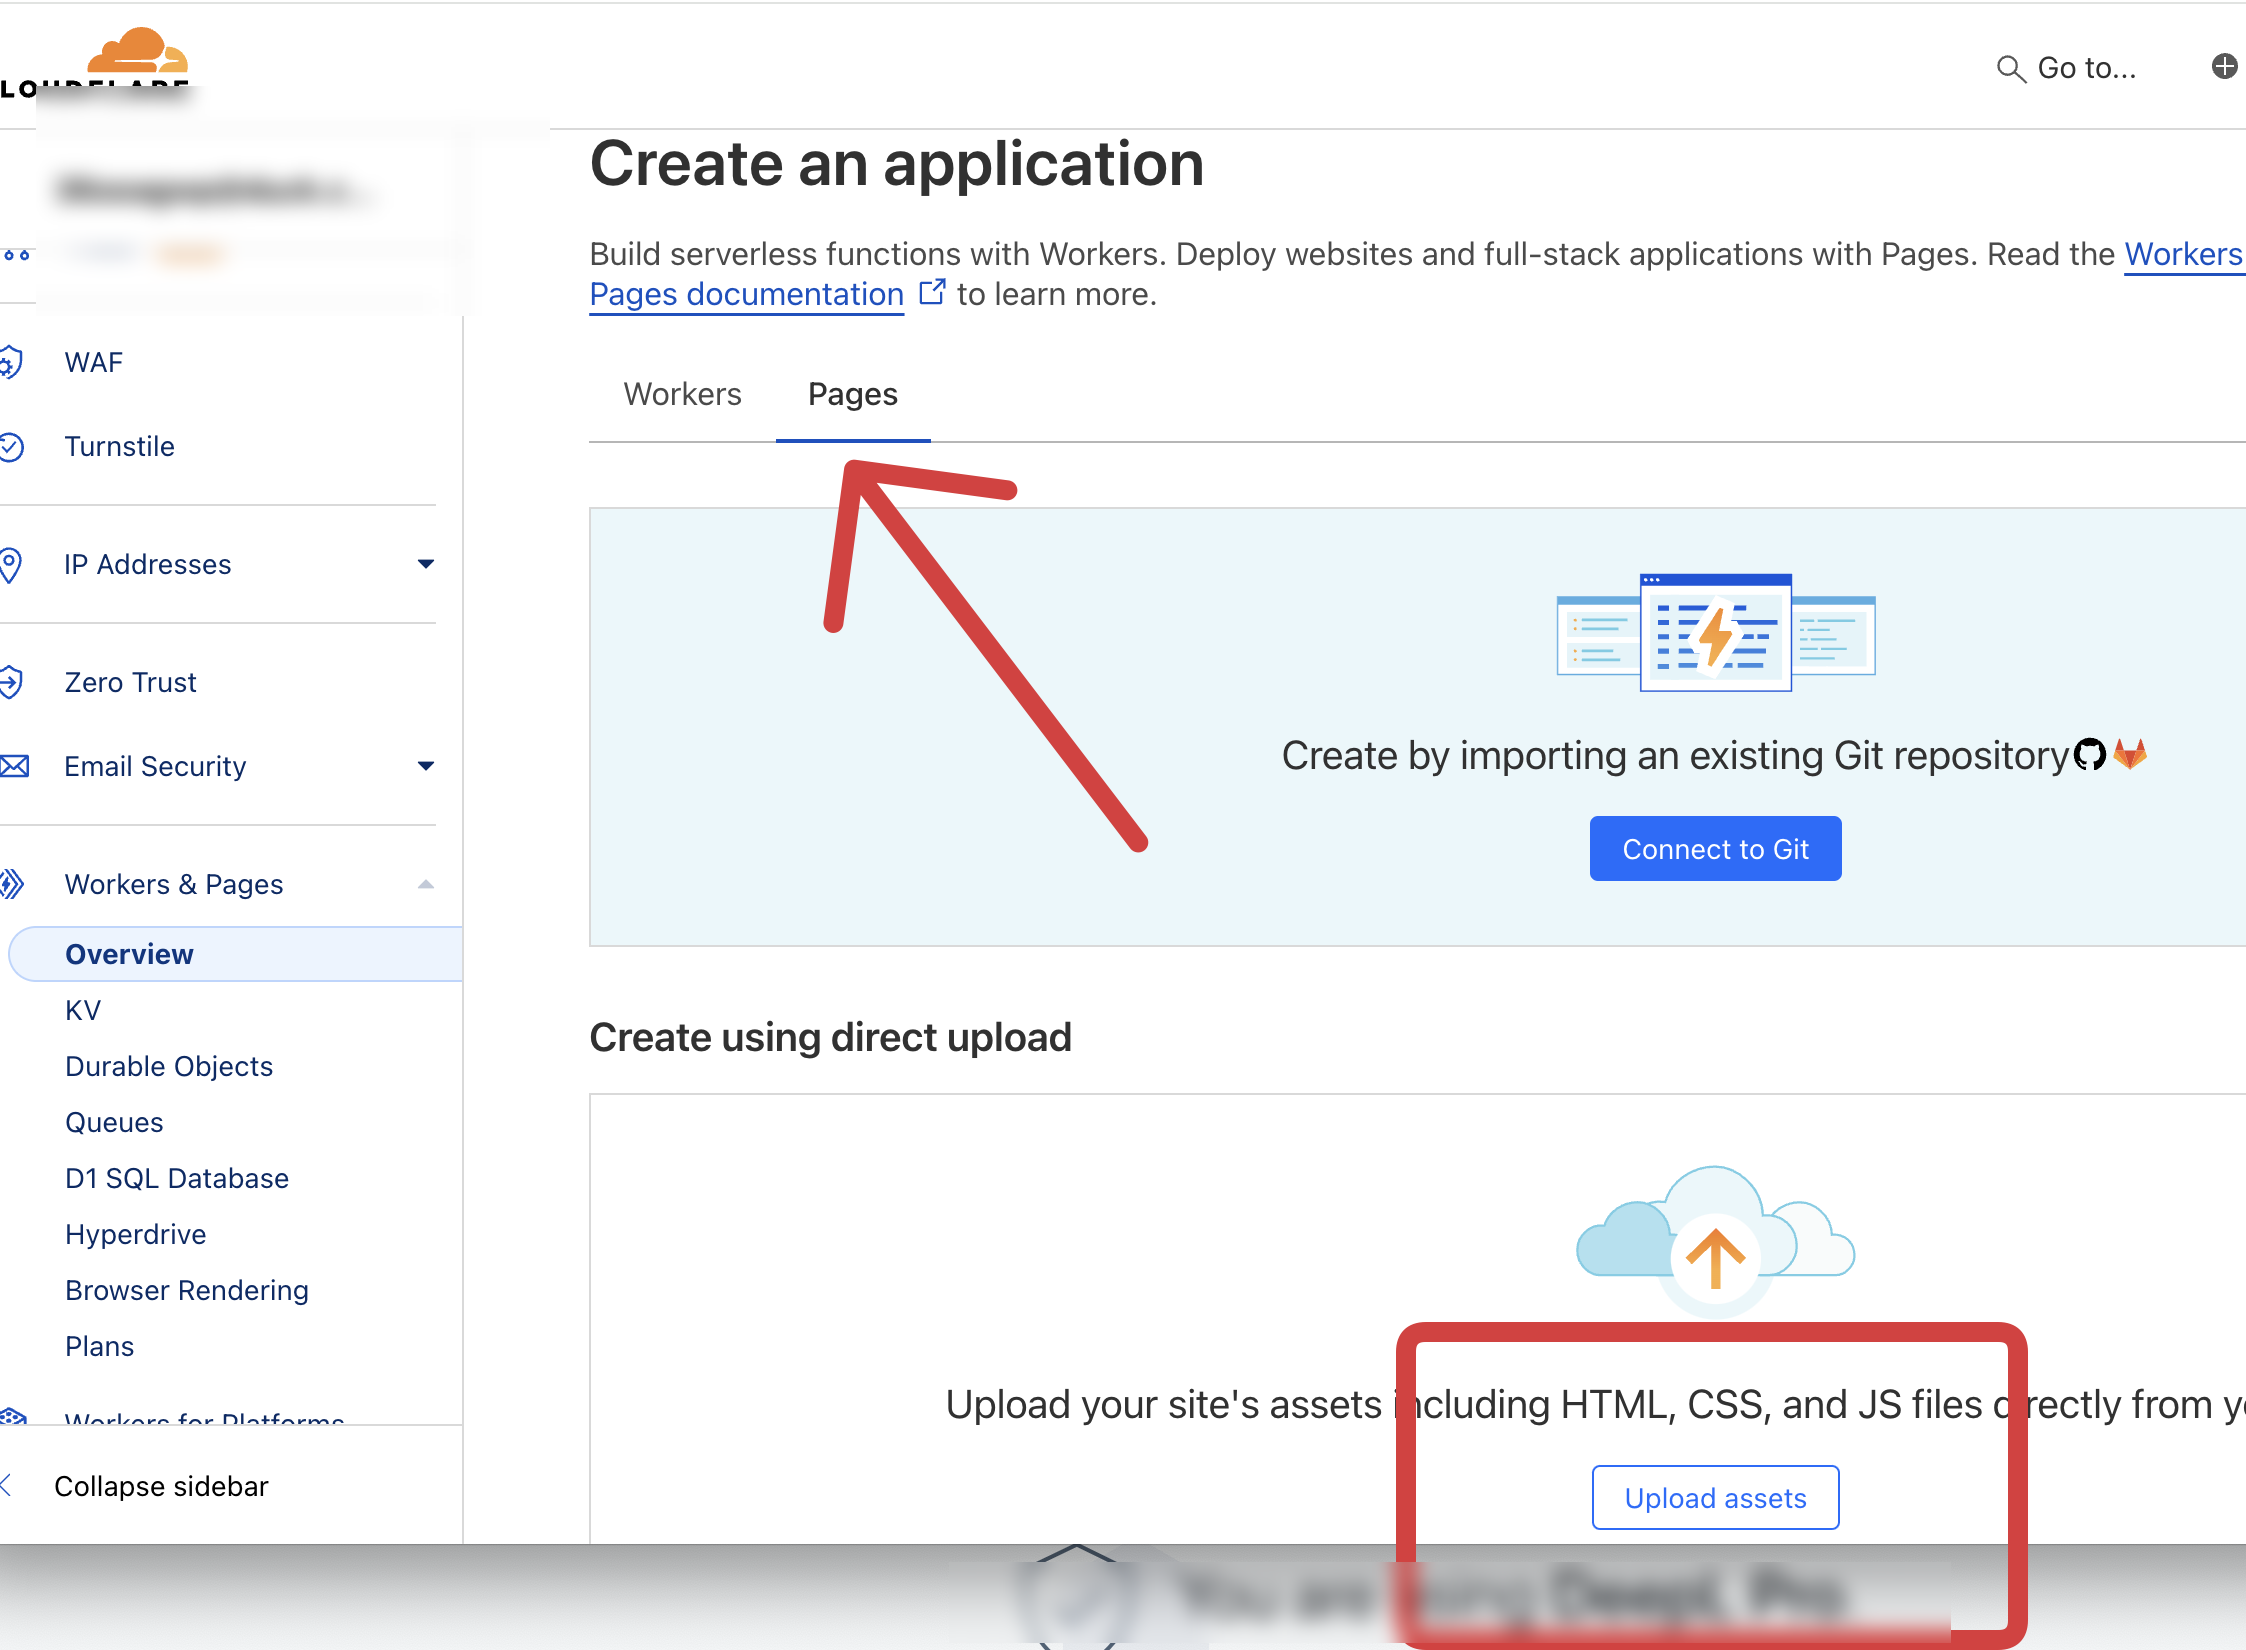
Now click on upload assets and uplaod the foloer just created above (website)
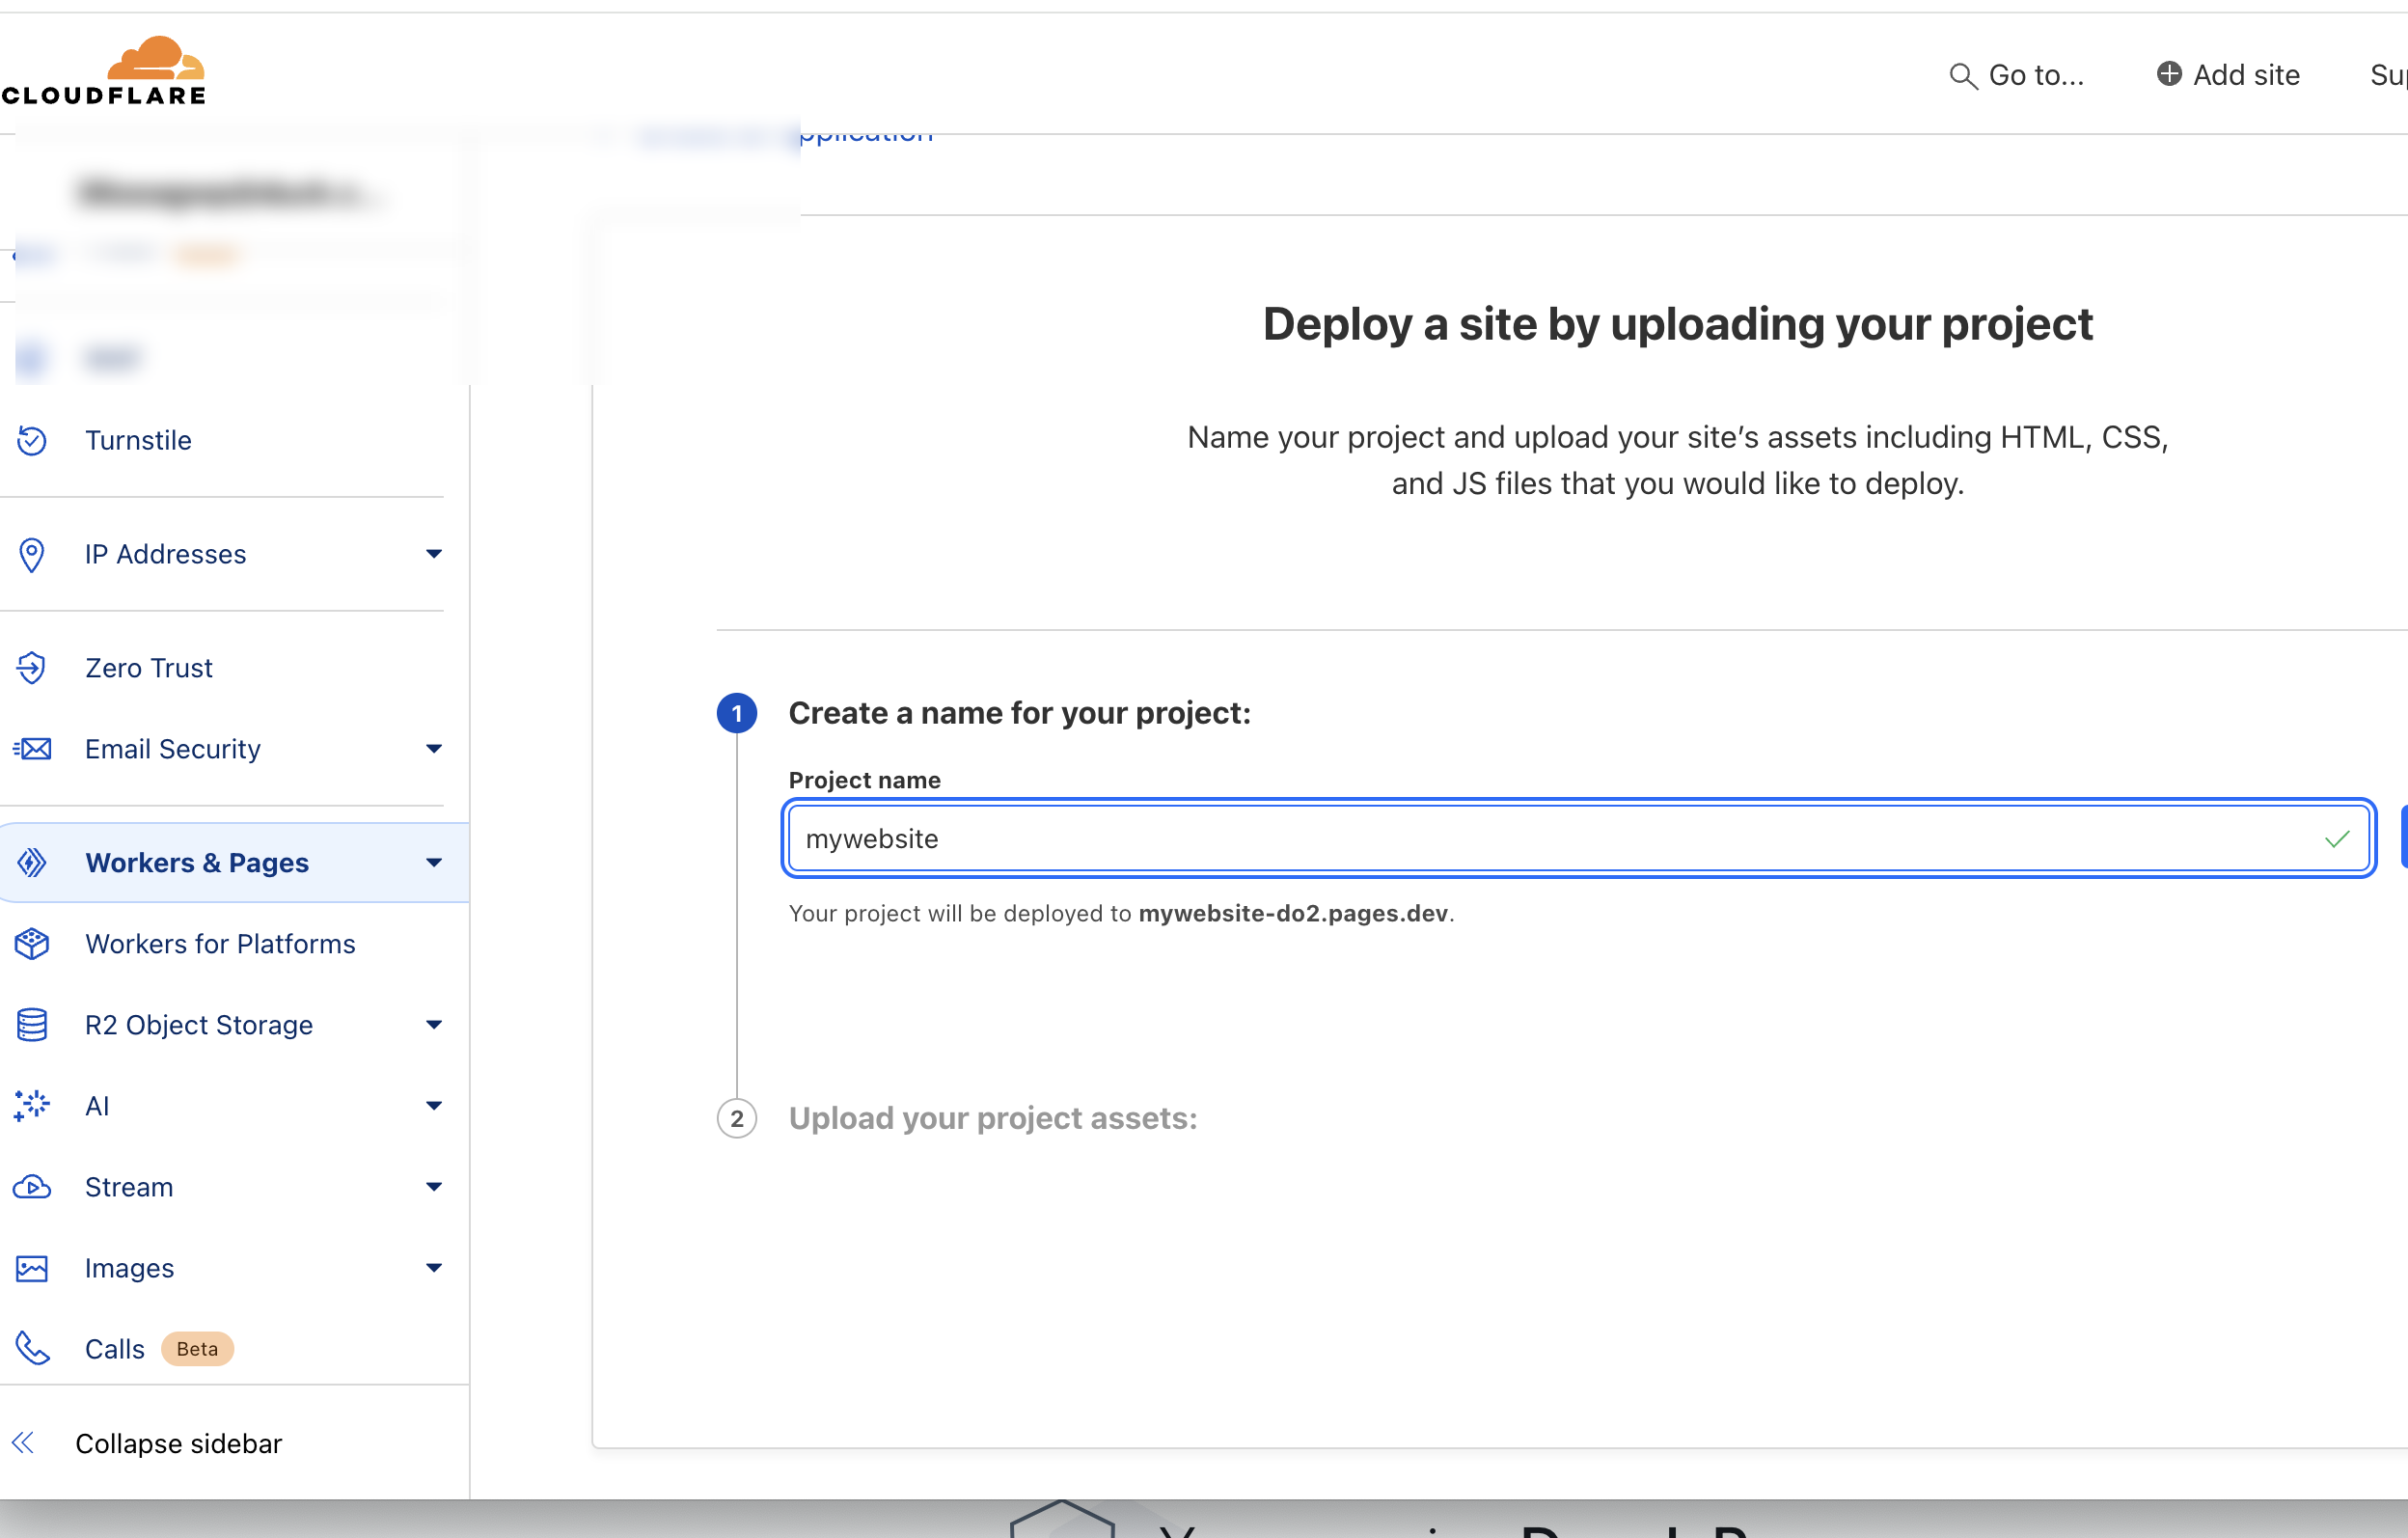
Give your project a name. This name will automatically become part of the domain name. You can always change the project later on, but the cloudflare free subdomain is fixed. But don't worry! You can add any custom domain at any time.
Now it's time to upload the folder that you've just created above (website).
And that's it! We're all done.
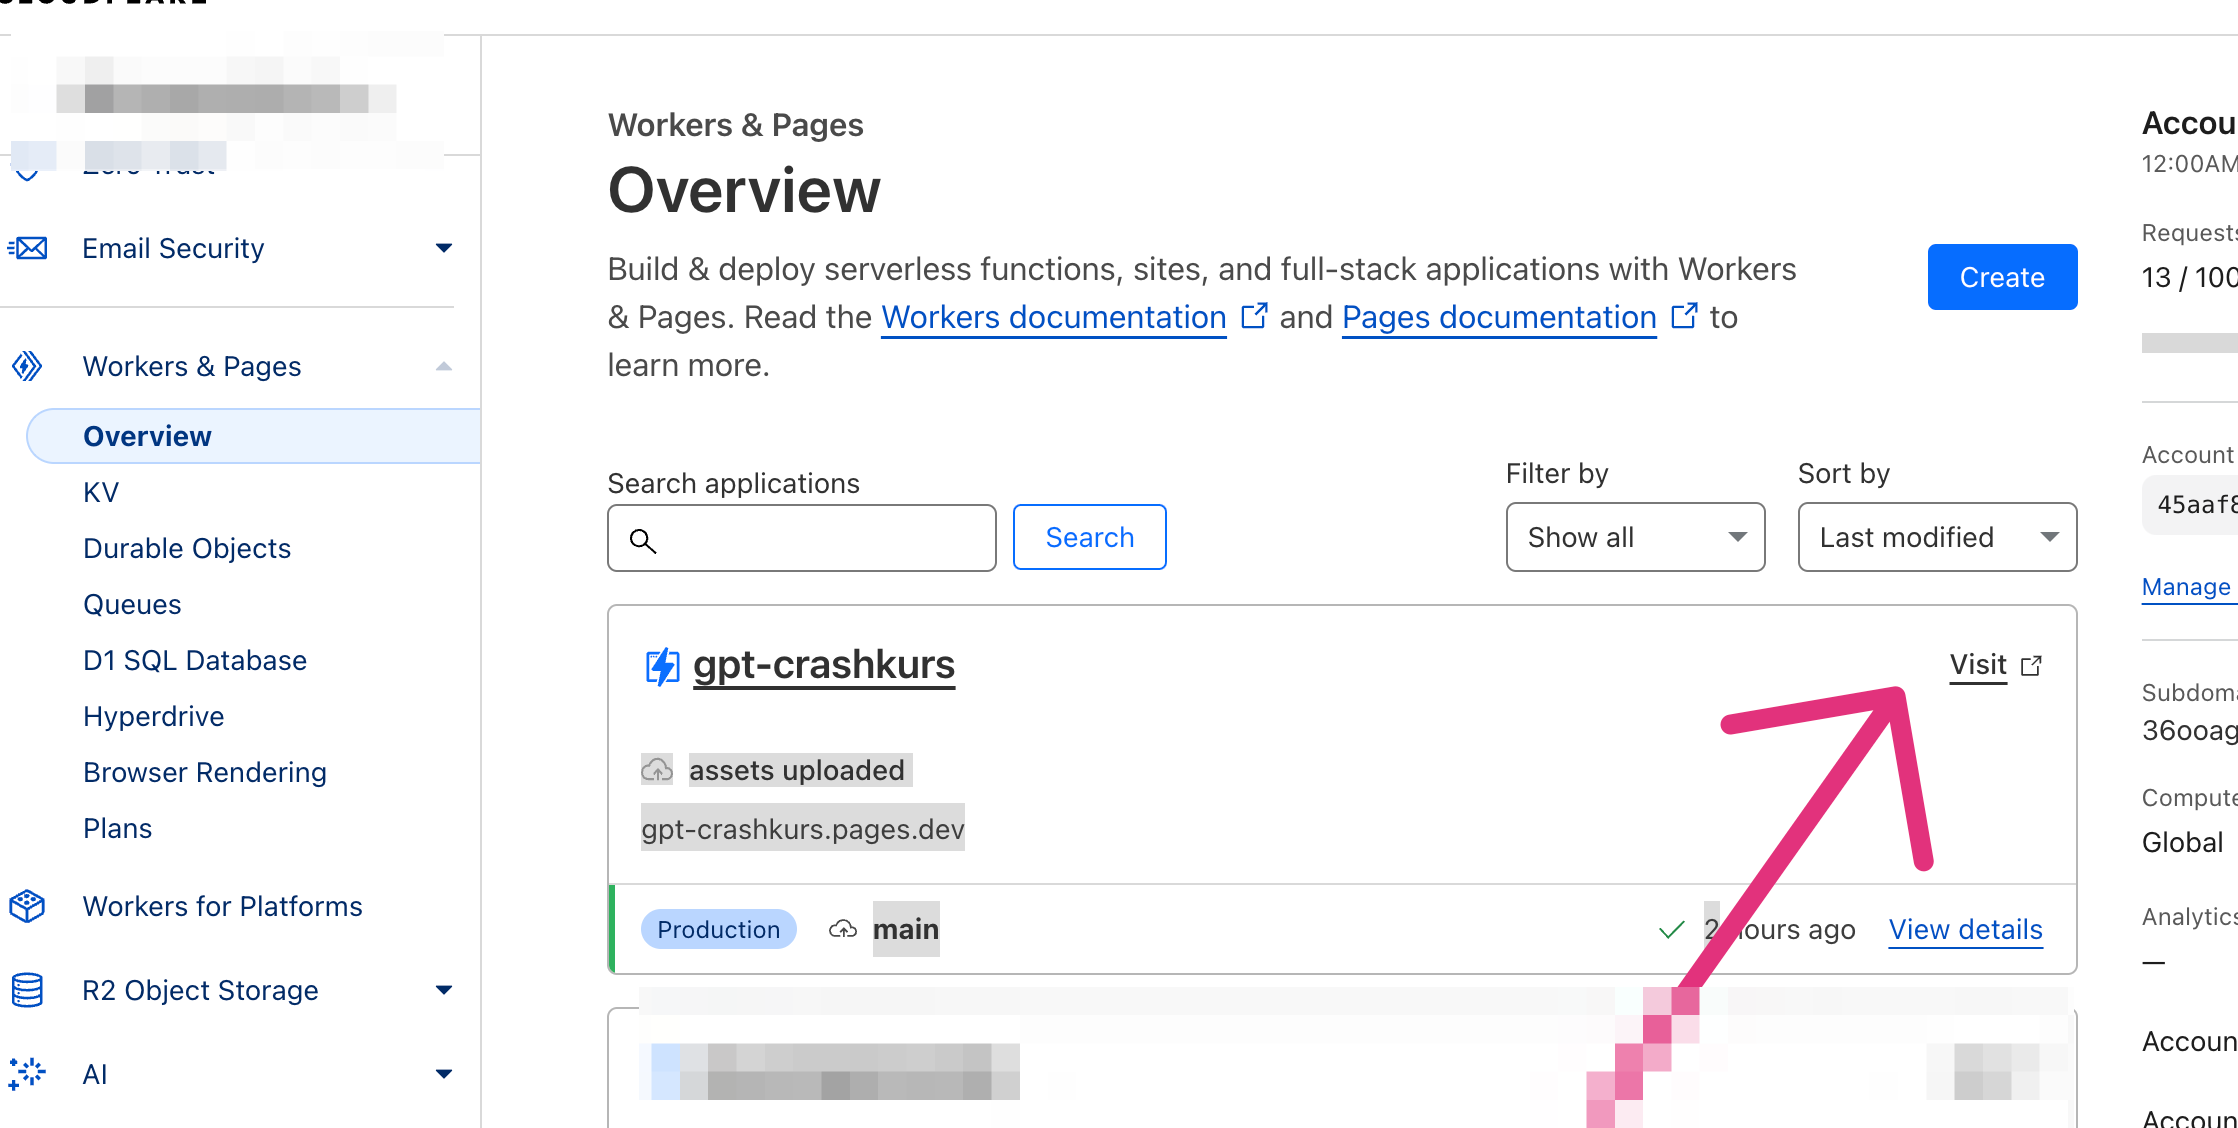
Step #3 Test it
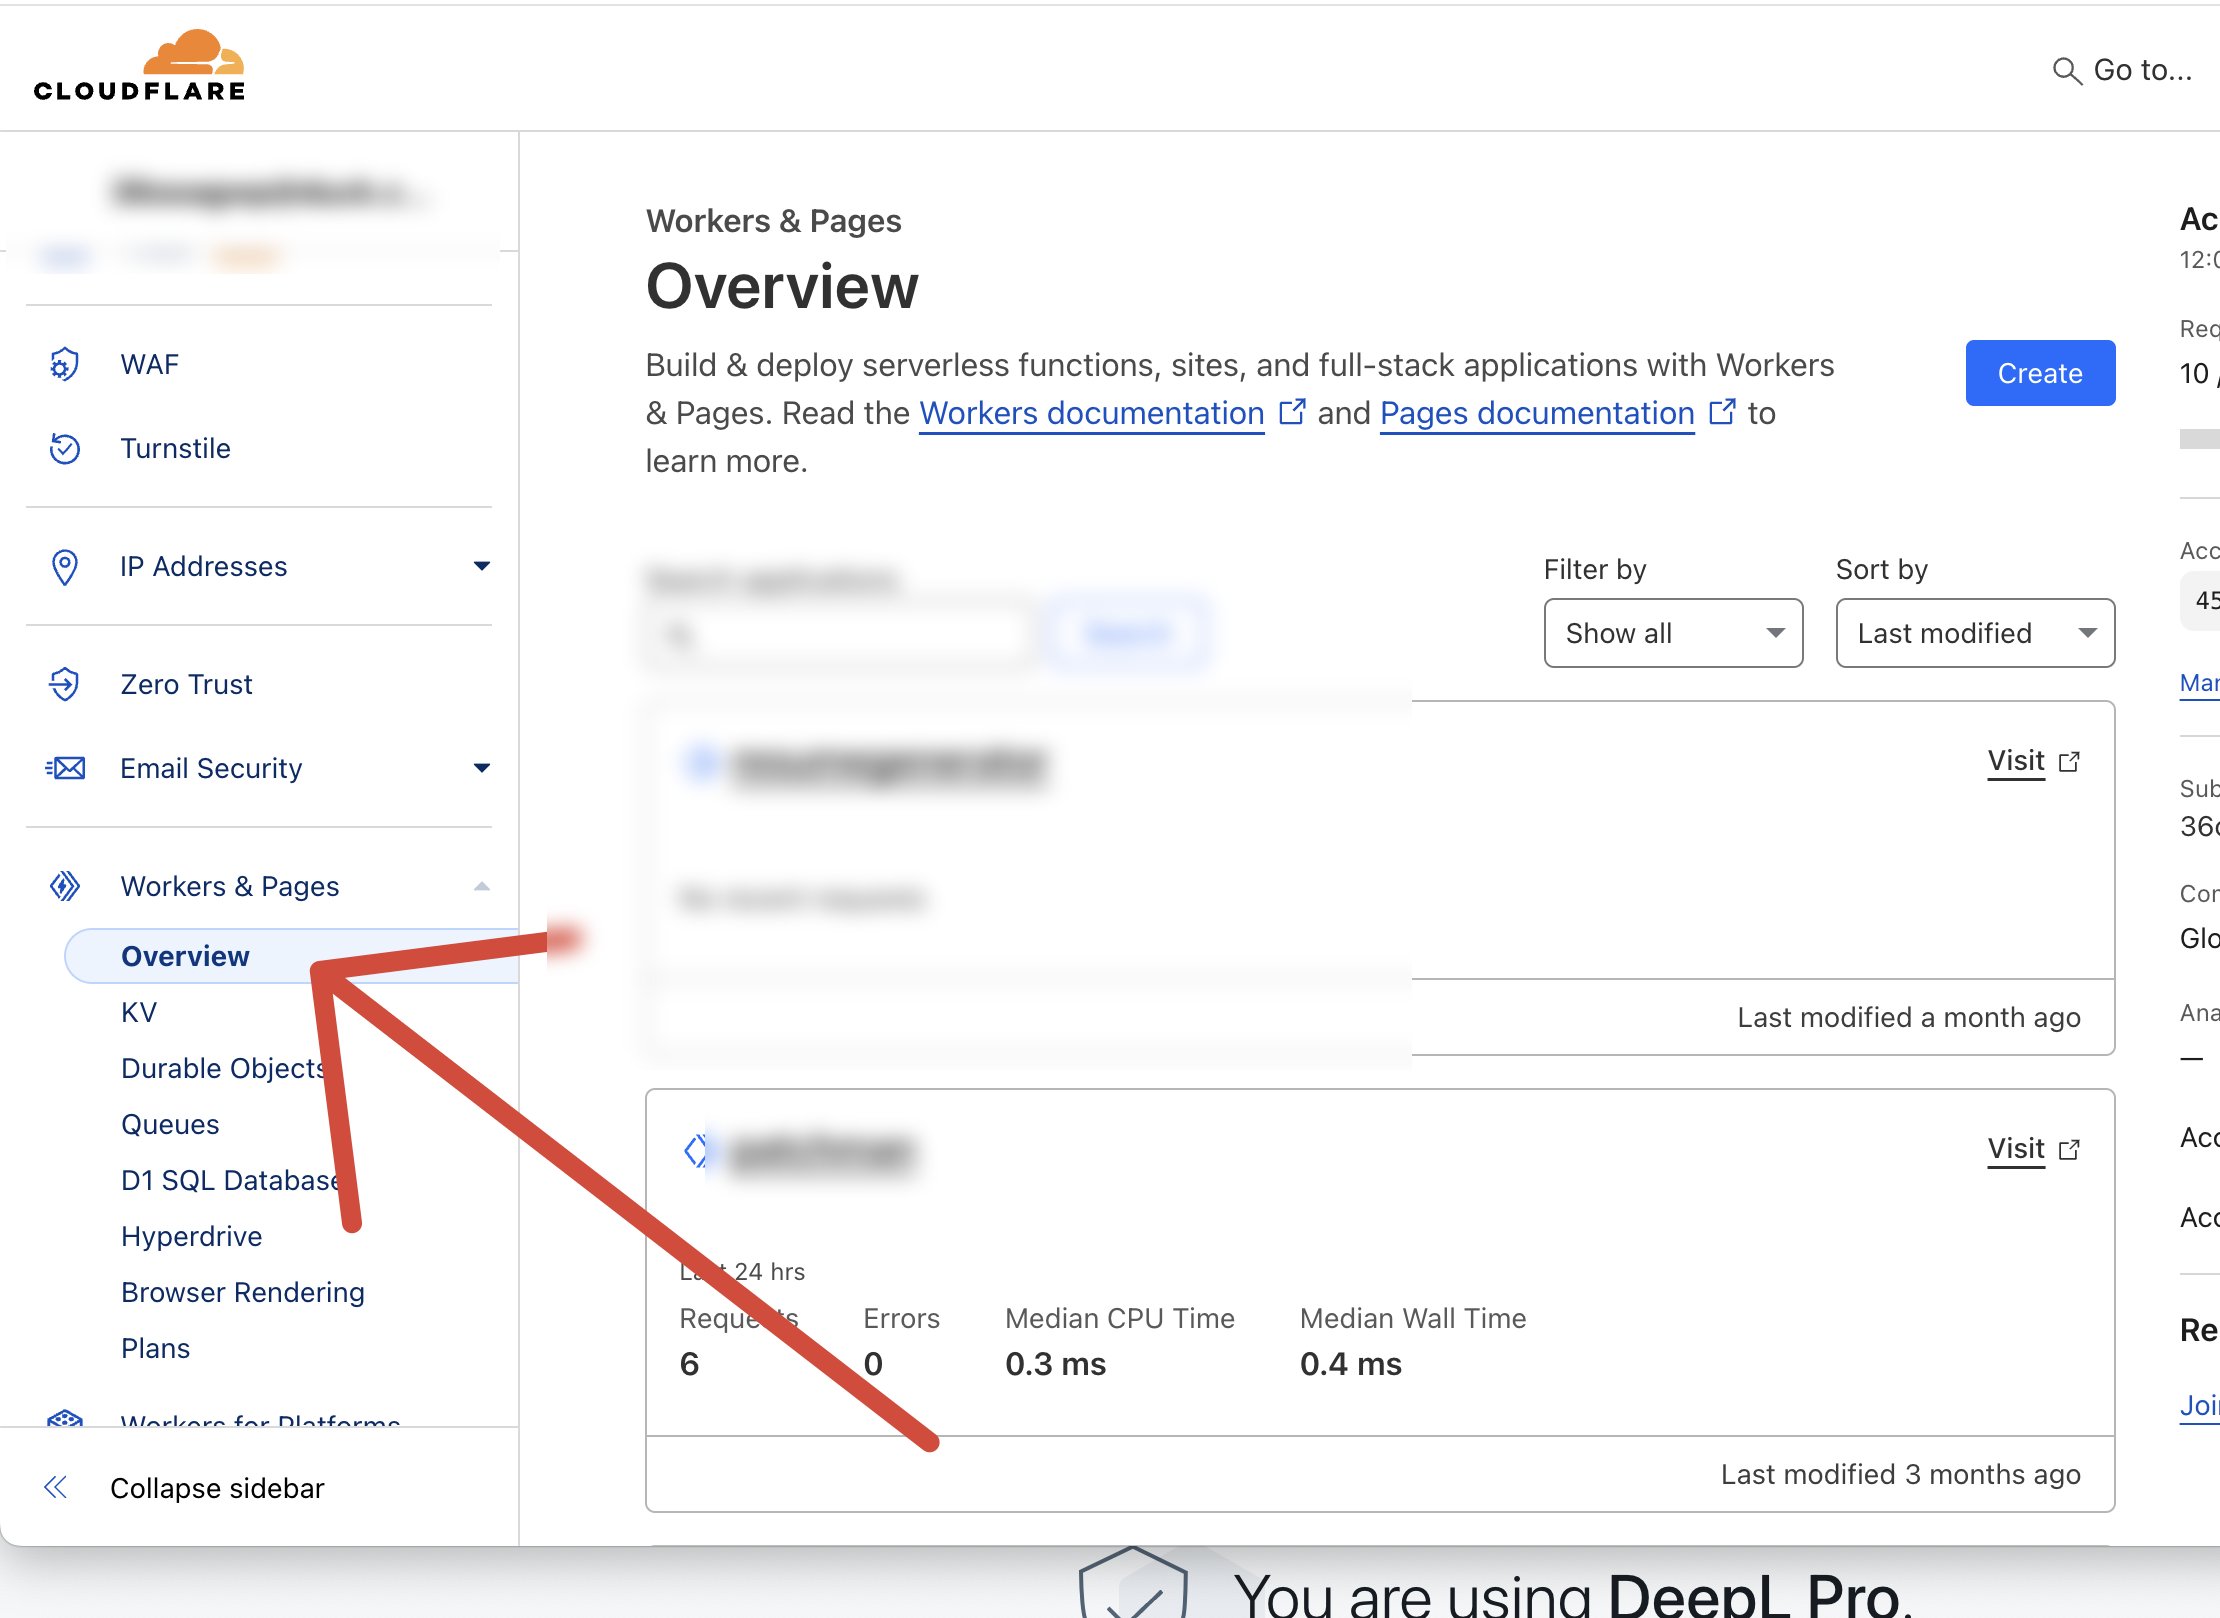
Now it's time to head back to the dashboard and click on Overview. You'll see the name of the project and page you just created, along with a link called "Visit" Click that link to see your newly created website!

Now you can share this link with wowherver to visit you website.