Three Steps to Keep LogSeq in Sync with all Devices
Discover how to effortlessly sync your LogSeq journal across Apple devices with a simple workaround! This step-by-step guide covers creating a new graph, selecting an iCloud folder, adding the graph on your iPhone, and verifying the sync, ensuring your notes are always up to date. Dive in for sea...
LogSeq is an amazing tool for journaling and note-taking. However, when it comes to syncing across multiple devices, things can get a bit complicated.
How to Setup and Use LogSeq Sync
If you don't want to go through all these steps but still want to sync across multiple devices (I’m an Apple guy 😊), there is a workaround I want to share with you here.
Outline of Steps
- Create a New Graph in LogSeq
- Select a Folder in iCloud
- Trigger a Resync on Each Device
Let's dive into how this works with a quick example using an Apple Mac and iPhone.
Step-by-Step Guide
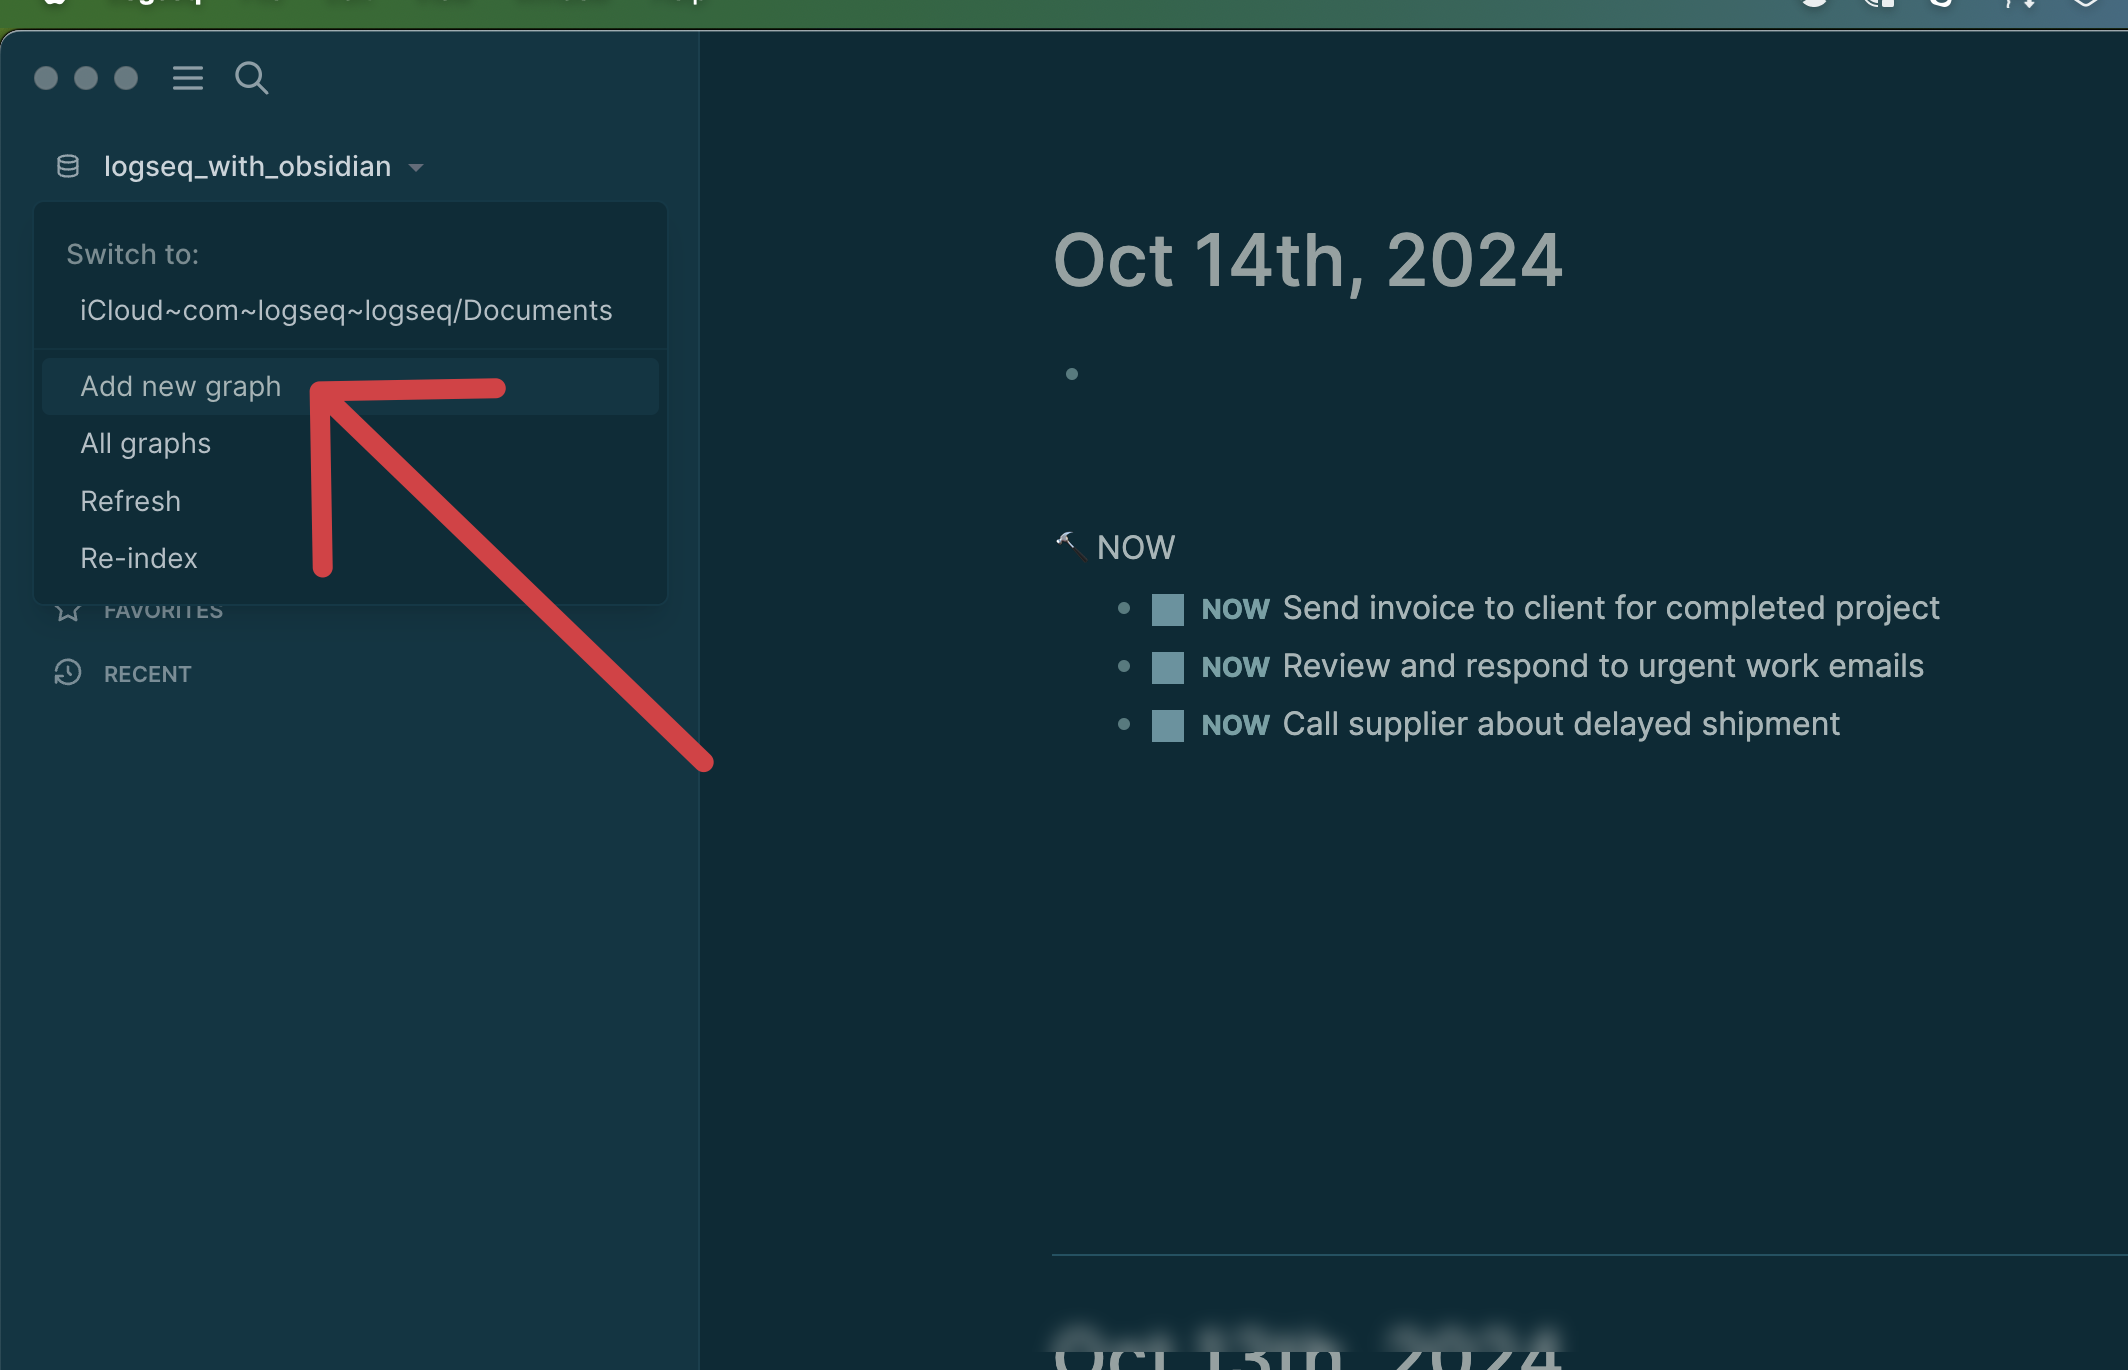
1. Create a New Graph (Mac)
First, create a new graph in LogSeq.
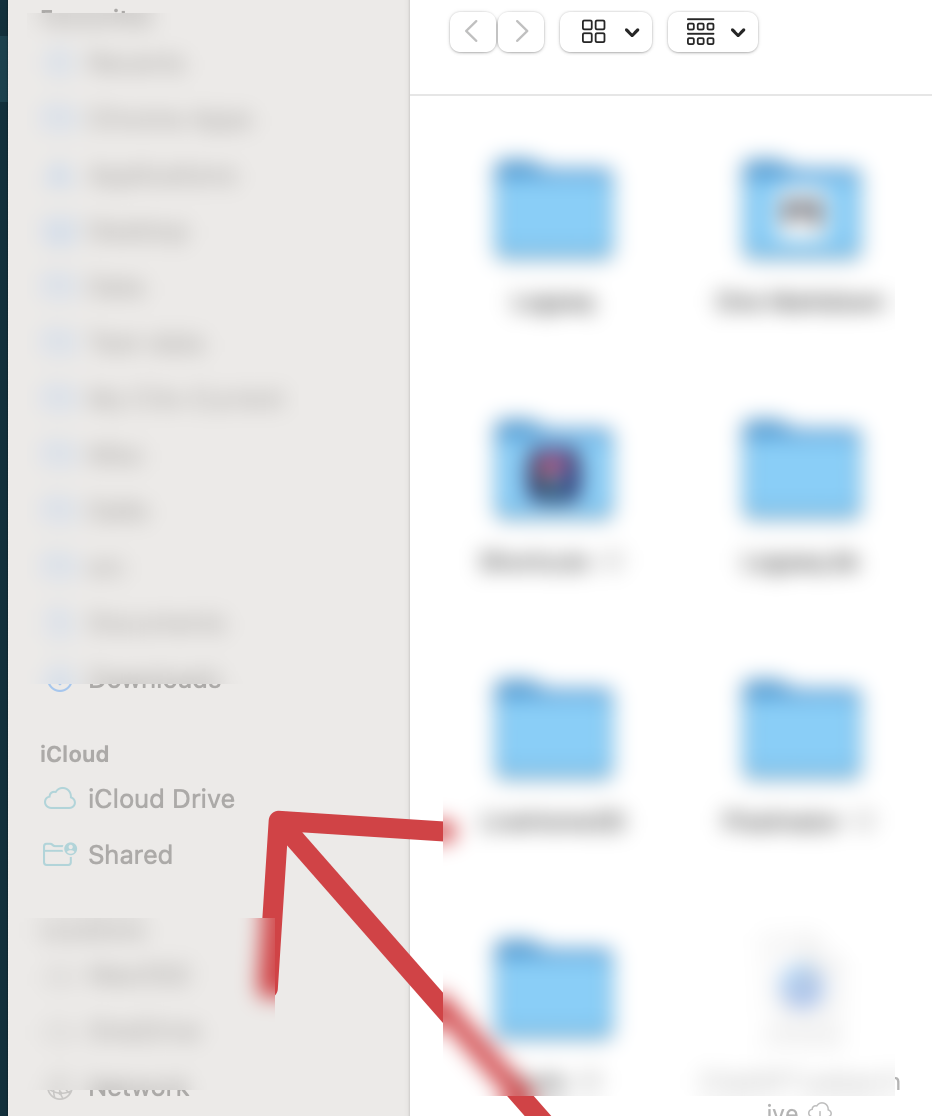
2. Select a Folder in iCloud
Next, select any folder in your iCloud.
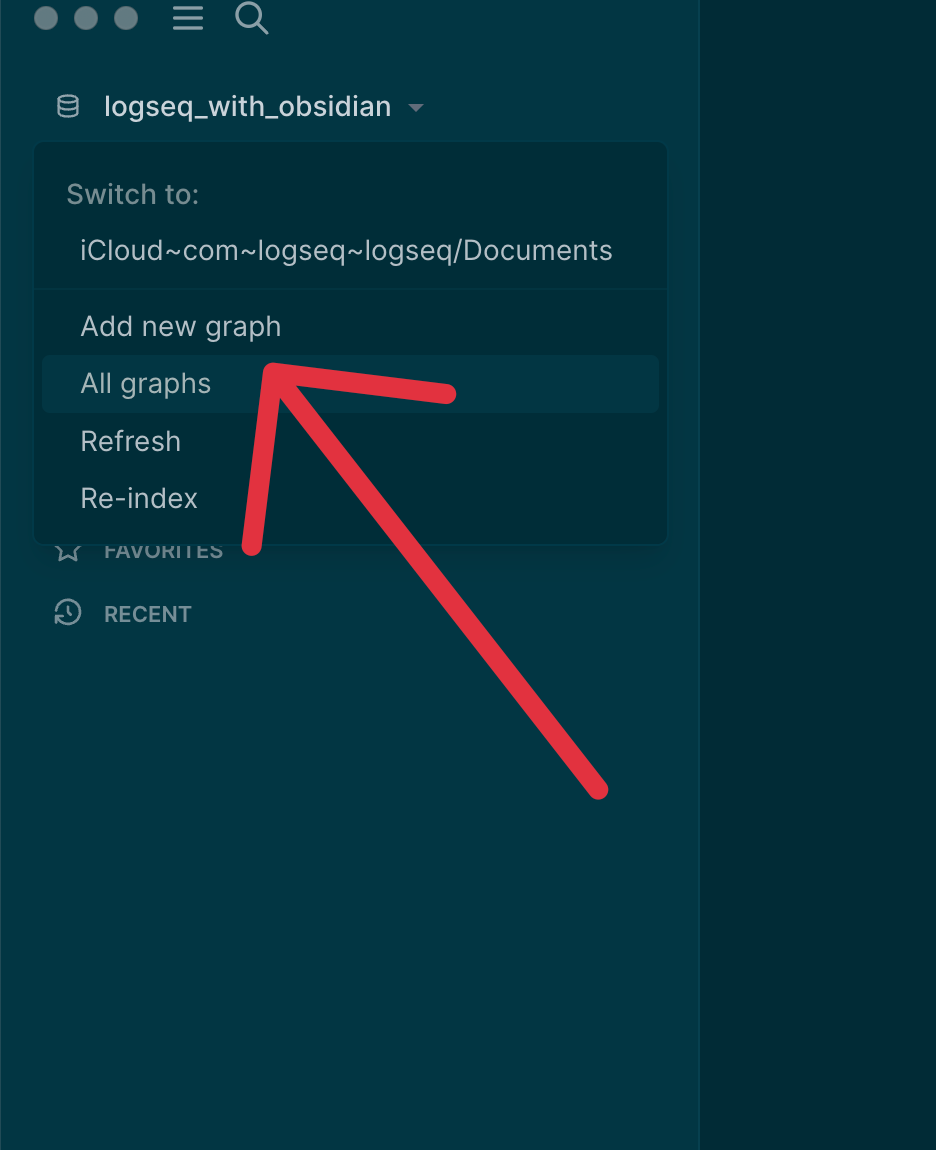
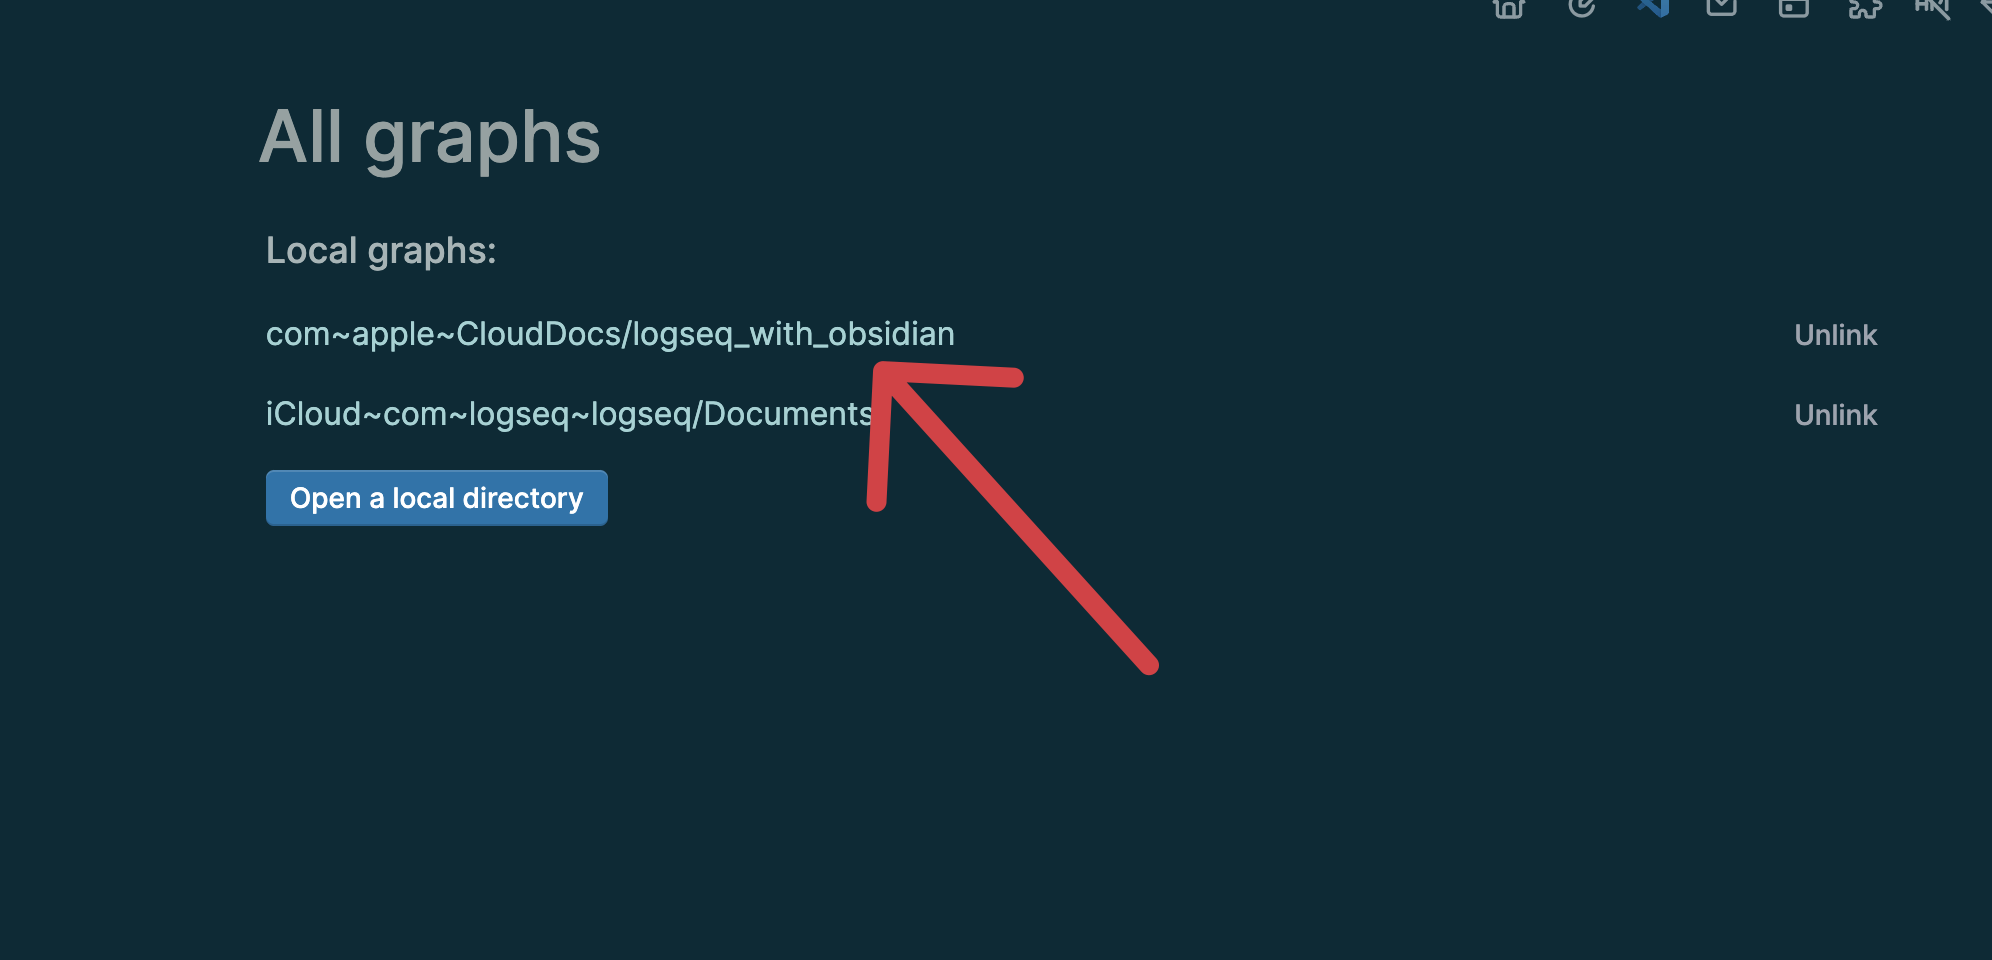
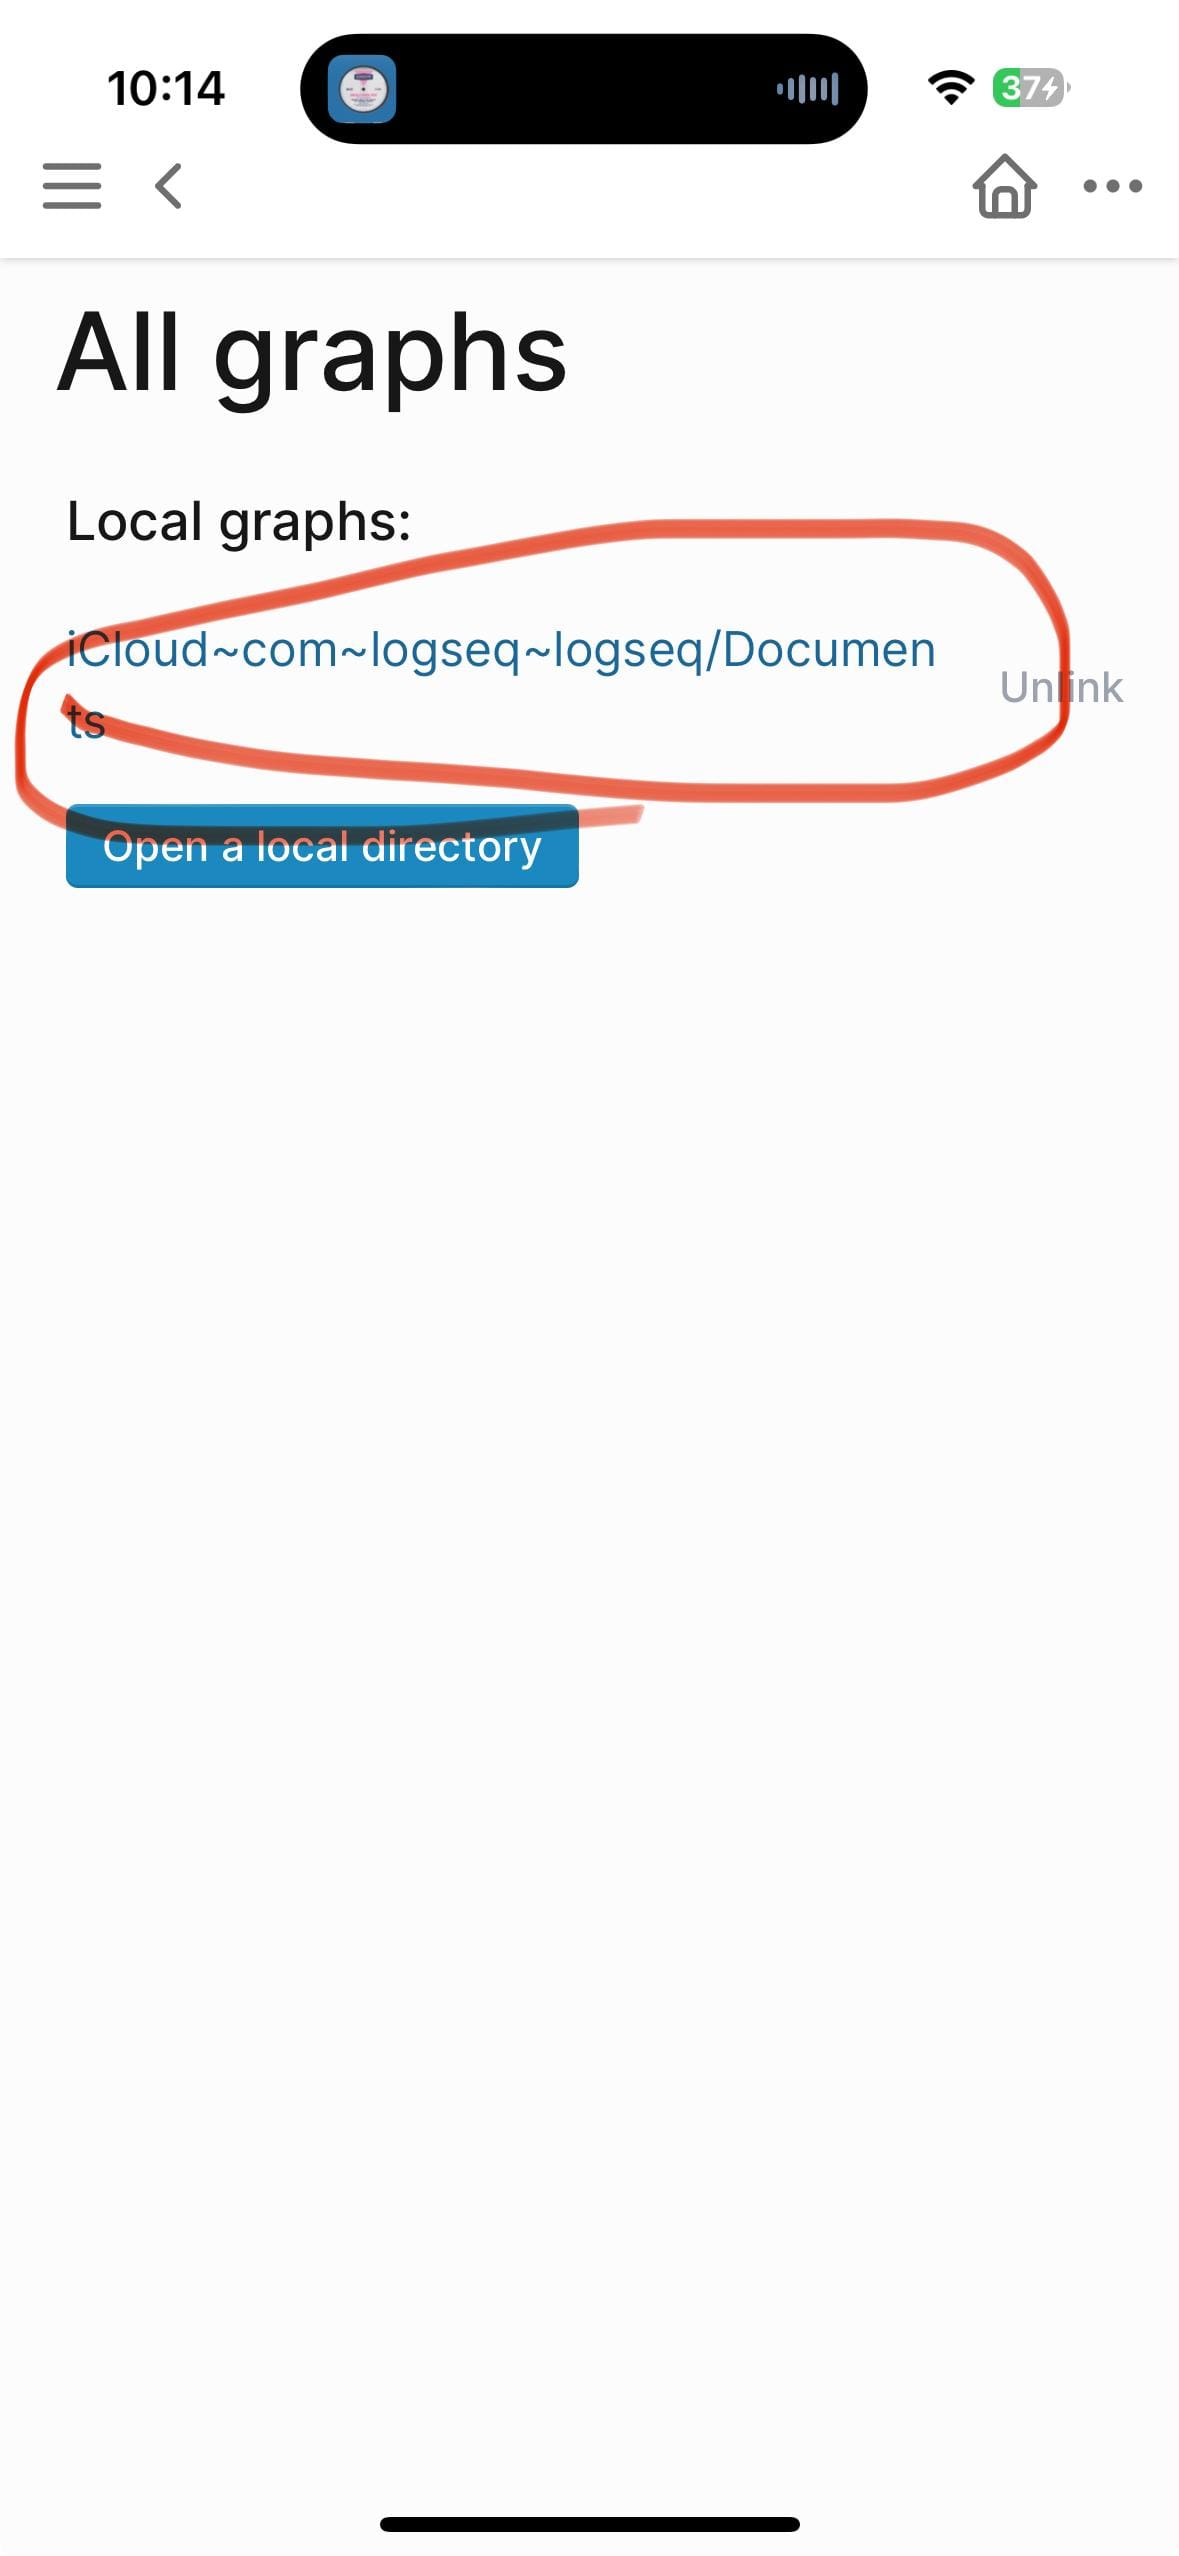
After creating the new graph, go to "All Graphs." You should now see a link to the newly created graph in iCloud.
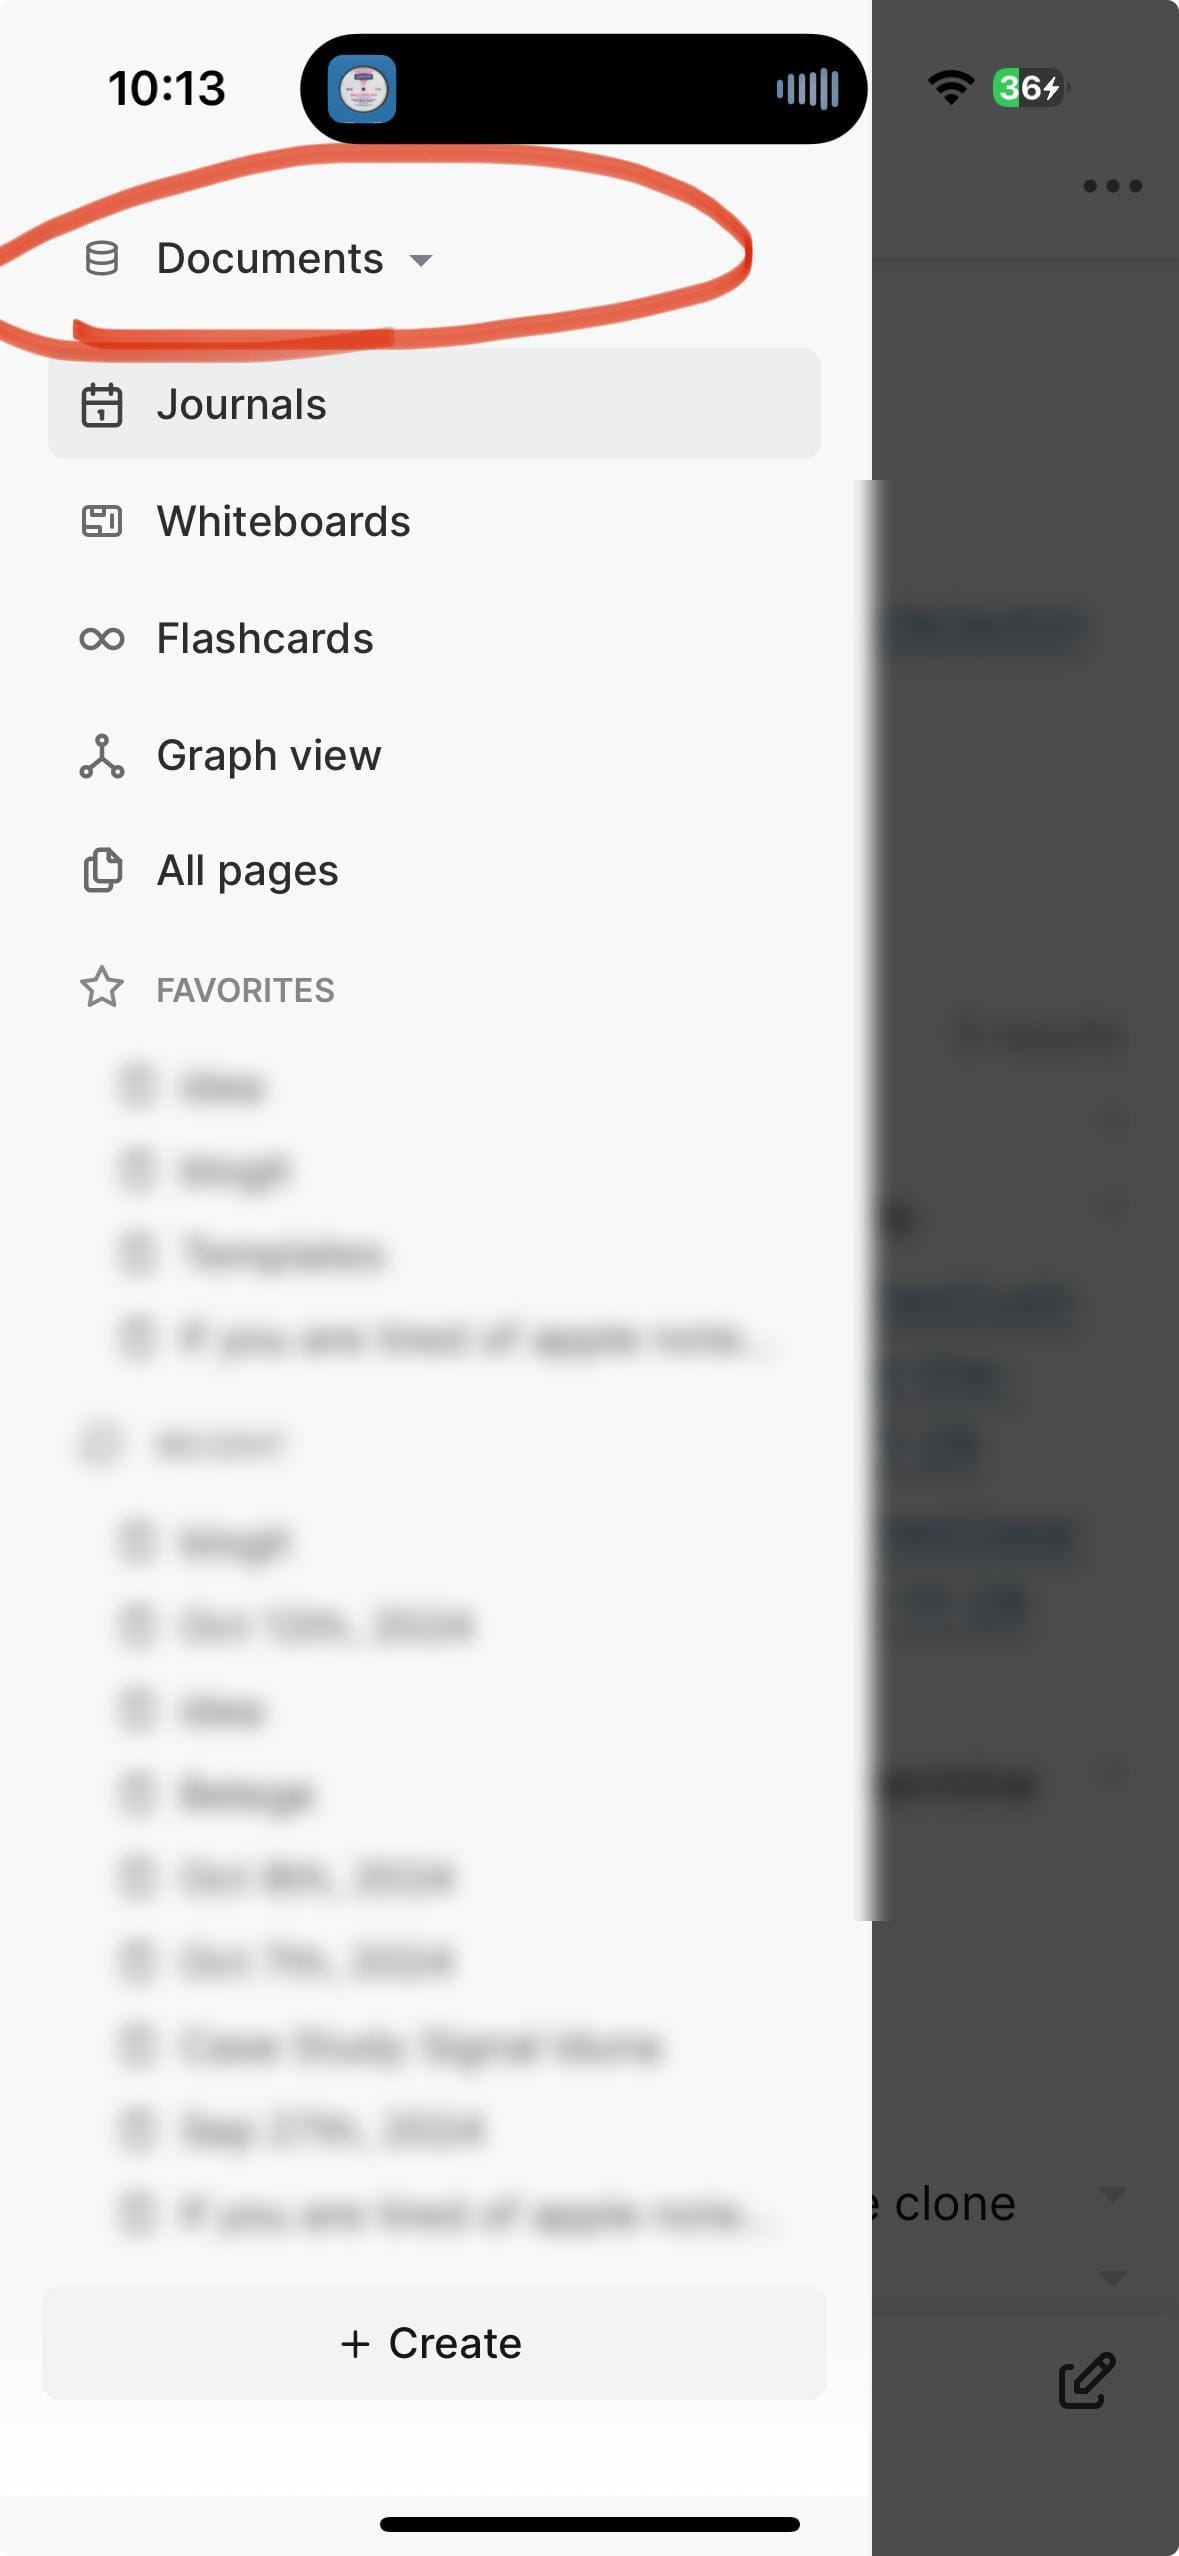
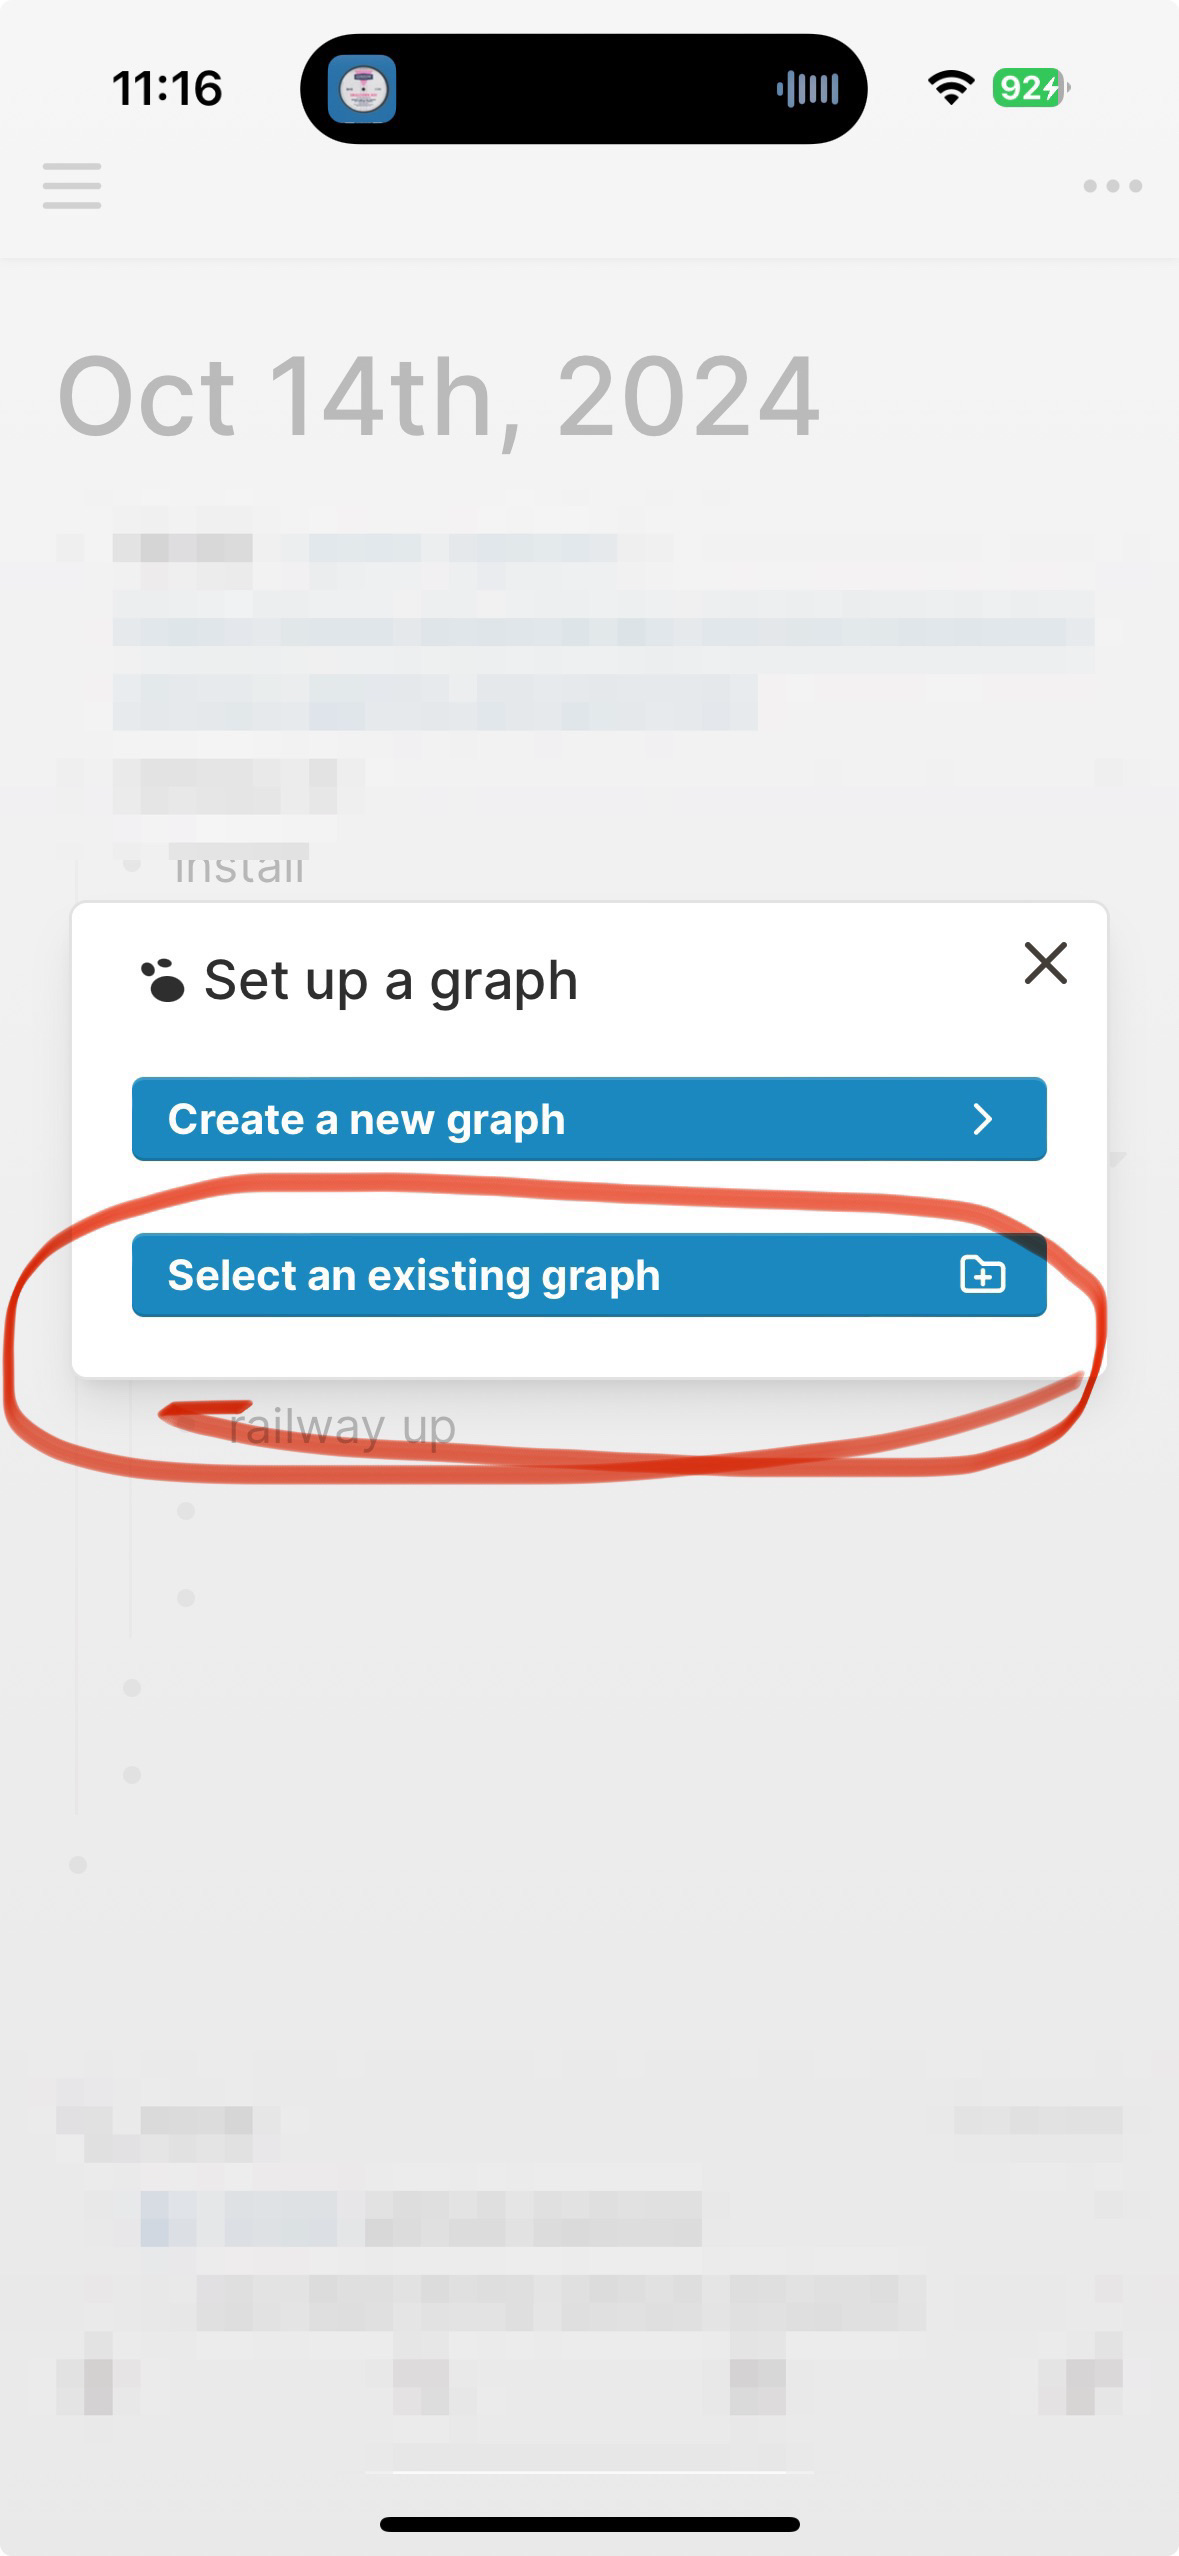
3. Add the Existing Graph on Your iPhone
Now, go to your iPhone and add an existing graph as depicted below.

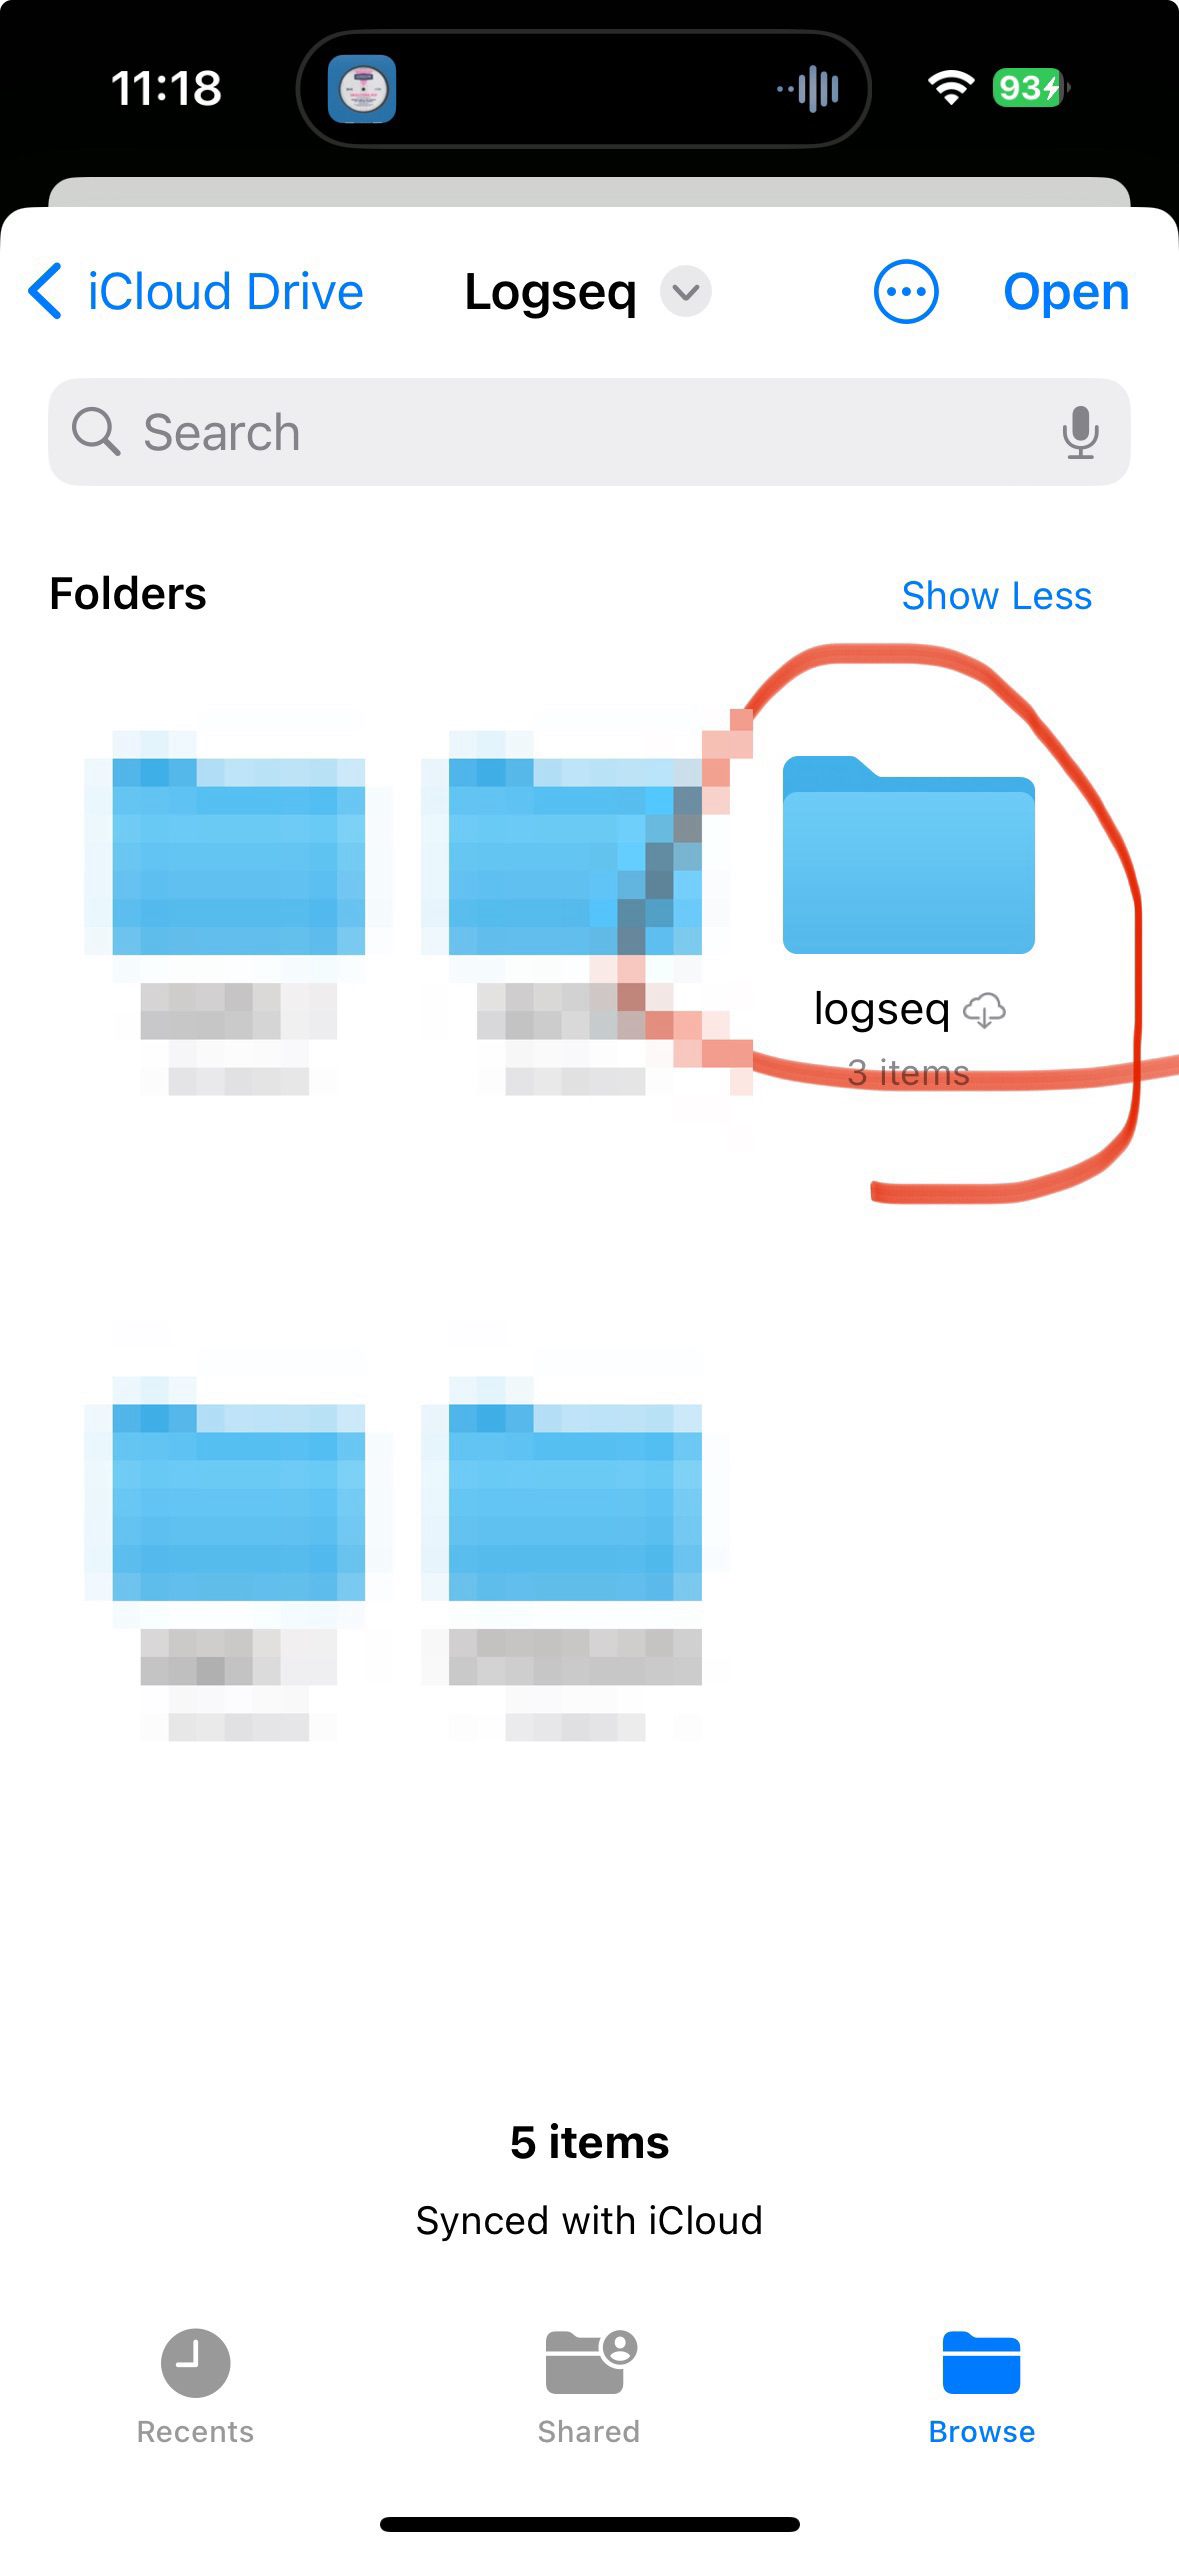
Select the iCloud folder you created previously and used in the graph on your Mac. Make sure to use the same name you picked earlier.
4. Verify the Sync
Now head to "All Graphs," and if all went well, you should see a new entry for the linked graph. When you click on it, you should see all recent changes made to the same graph on the Mac.
How to Sync?
Whenever you switch from one device to another, simply repeat the last step (go to "All Graphs" and click on the graph). This triggers a reload of the UI with the latest data.
That's it.