Goodbye Ghost.org: How to Move Your Blog to Your Own Server
Migrating your blog from The Ghost Cloud to your own server can save you money and offer greater flexibility. This post outlines a step-by-step guide to set up your Ghost instance on DigitalOcean for just $5/month, import your data seamlessly, and manage your images. Embrace independence and enha...

If you host your blog on The Ghost Cloud, you might think it's too expensive. For example, from 2024 you will only be able to access the API if you pay $25 a month, which comes to $300 a year. In my opinion, that is a lot of money.
And if you don't need all the fancy plugins and some of the fancy themes they offer, you might think twice about whether it's worth paying that price every year. Instead, you could simply move your blog to another provider, or even better, host it yourself.
In this blog post, we're going to do just that. We'll migrate your Ghost instance from Ghost.org to your own instance for just $5 per month. This will save you tons of money and give you unlimited access to the API, all themes and plugins.
We'll walk you through the entire process step-by-step, including setting up a new server, exporting your data, configuring your domain, importing your data, and making sure your images are migrated properly.
In the end, your blog will be up and running on your own server, giving you more control and flexibility.
Let's go.
Step 1: Install Ghost on DigitalOcean
In DigitalOcean, you can simply use a ready-to-use appliance that has everything already configured. Here's how:
First, sign up for DigitalOcean if you haven't already. Then, go to the dashboard here and create a new droplet.
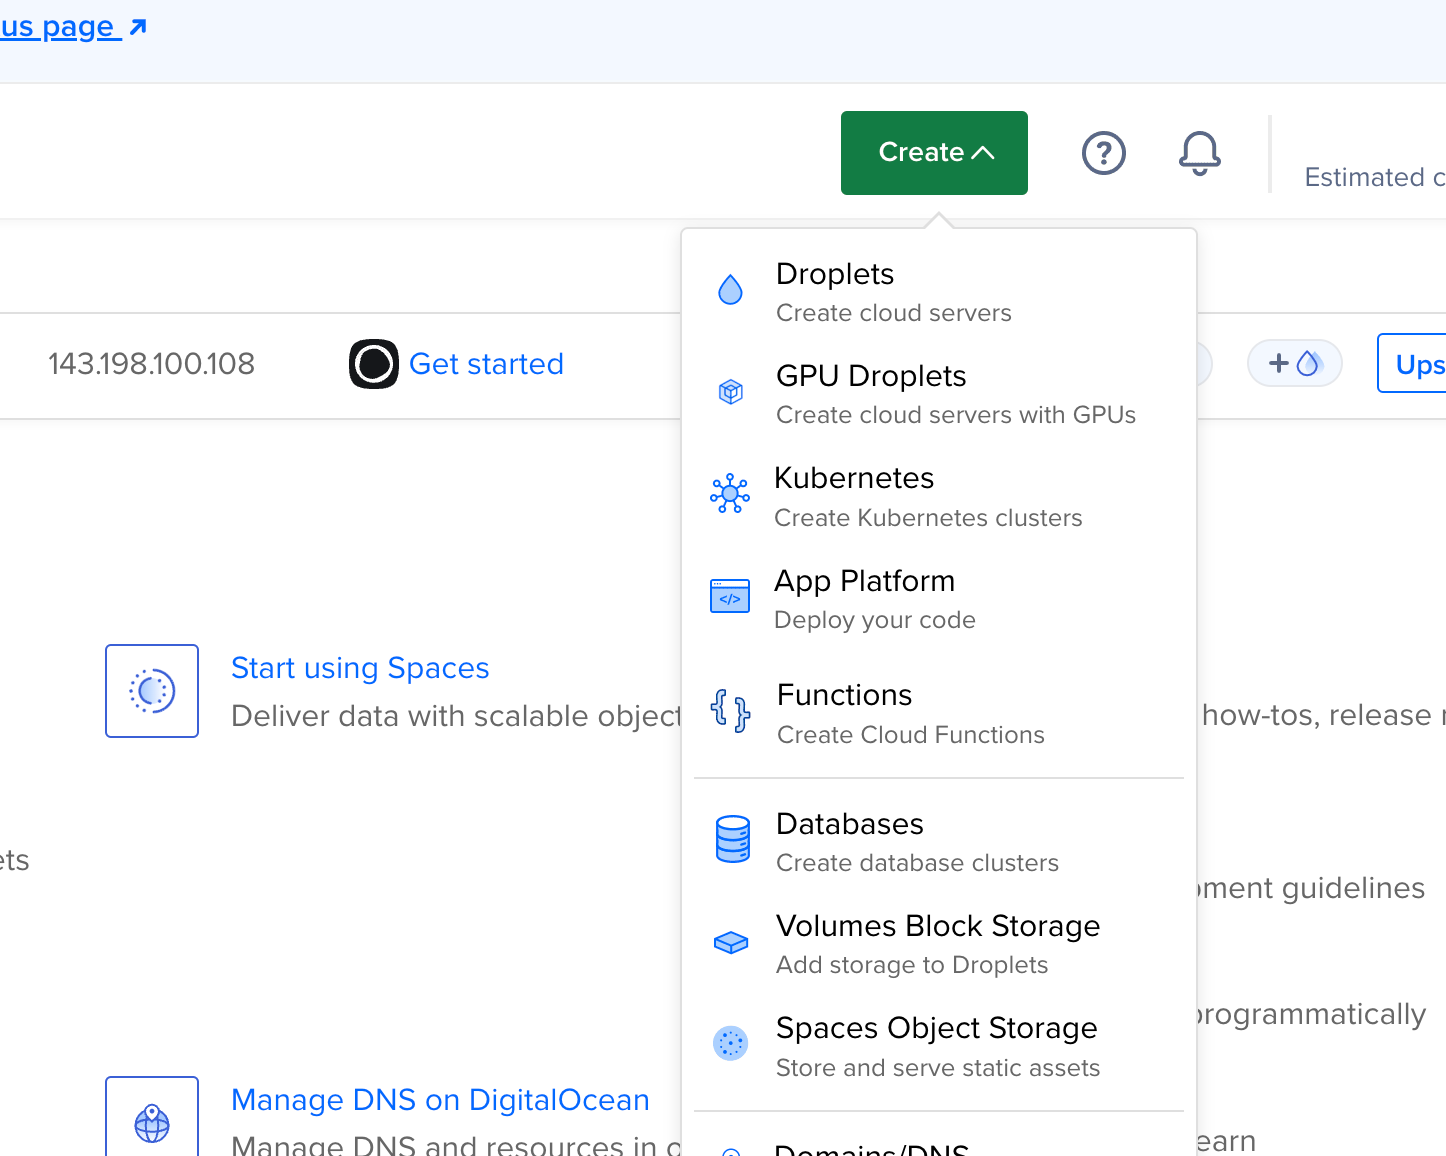
Select a droplet from the marketplace with Ghost as shown below.
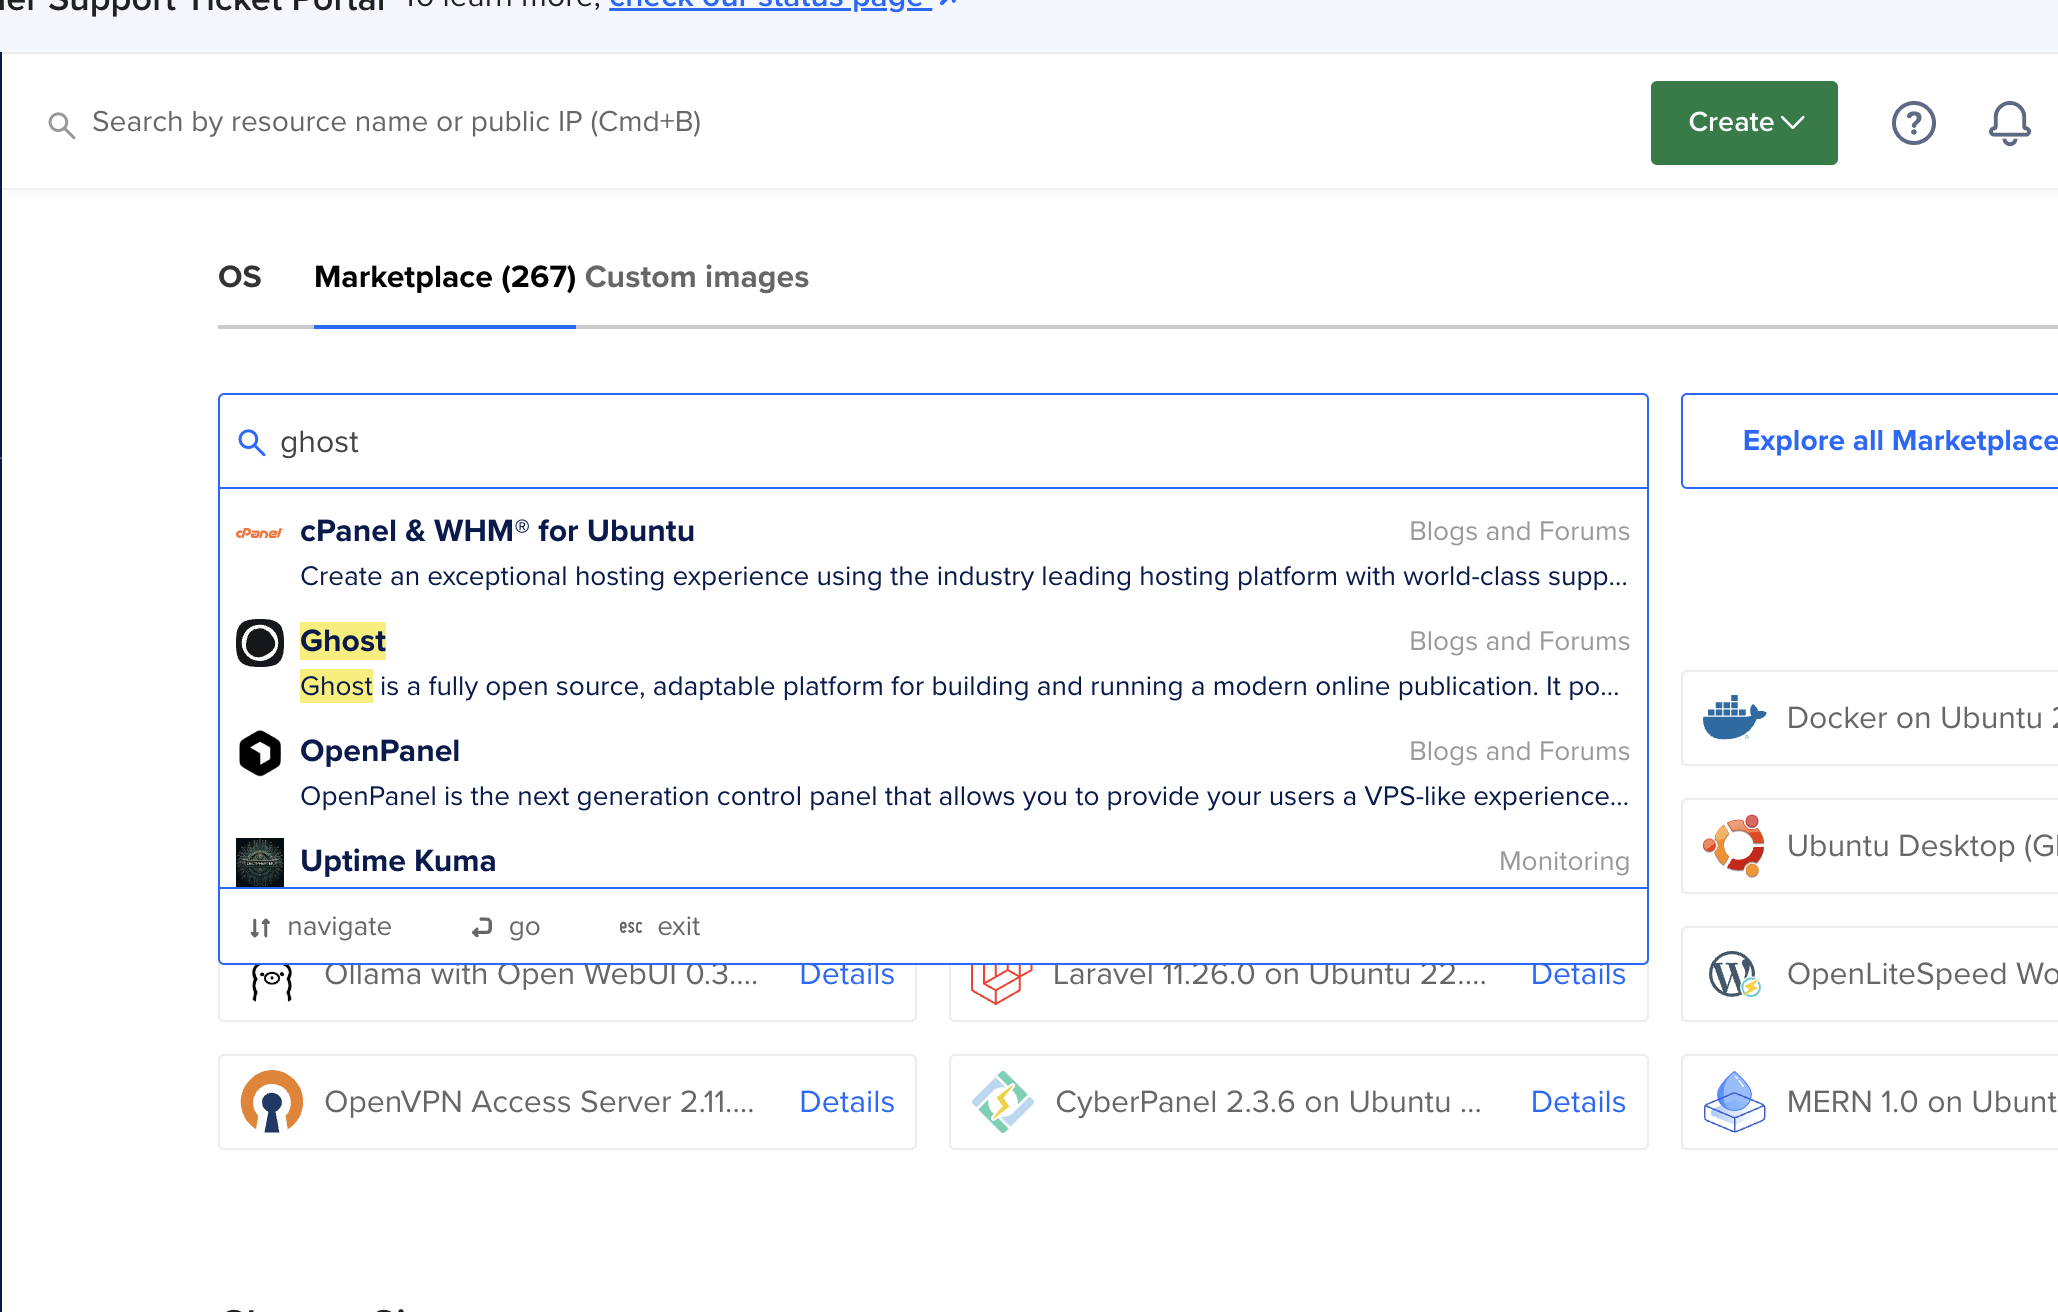
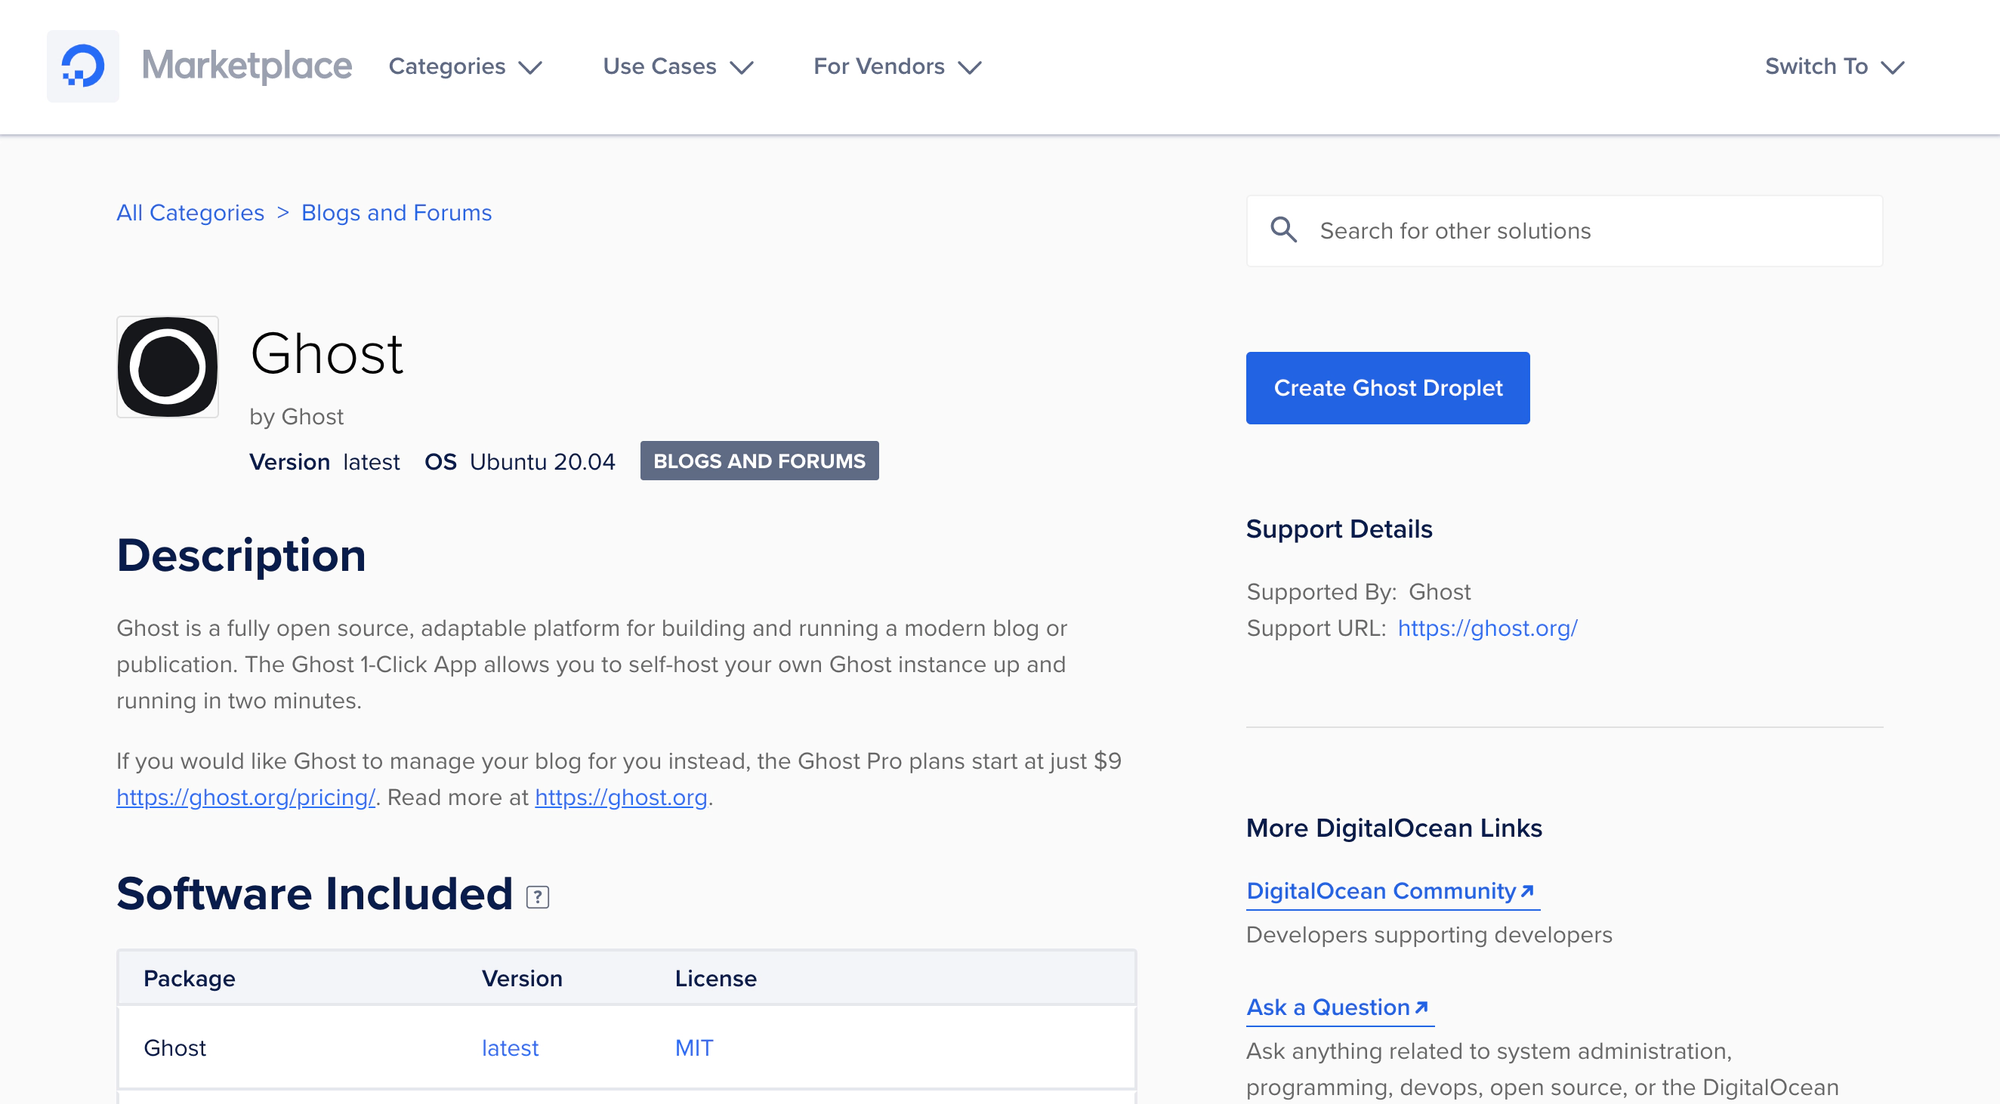
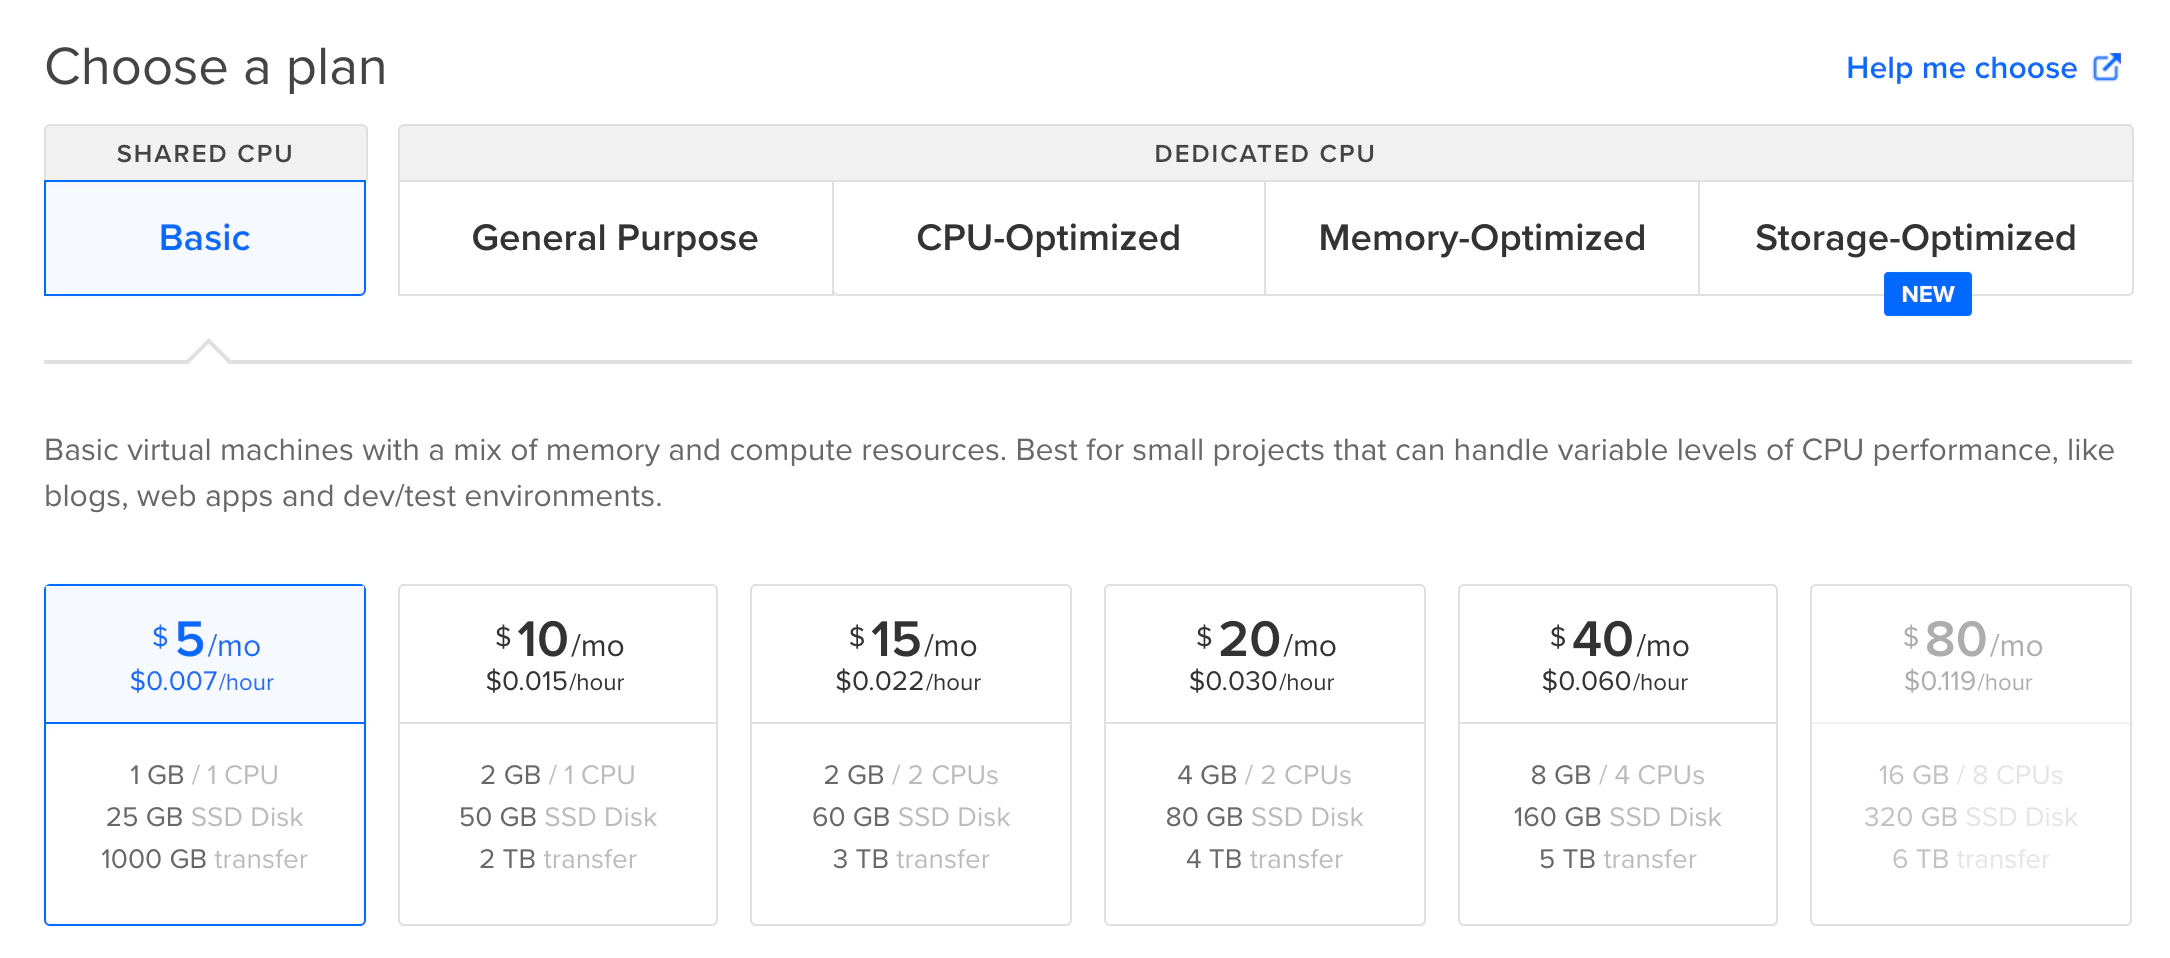
Choose any plan you like. For a start, the basic plan suffices.
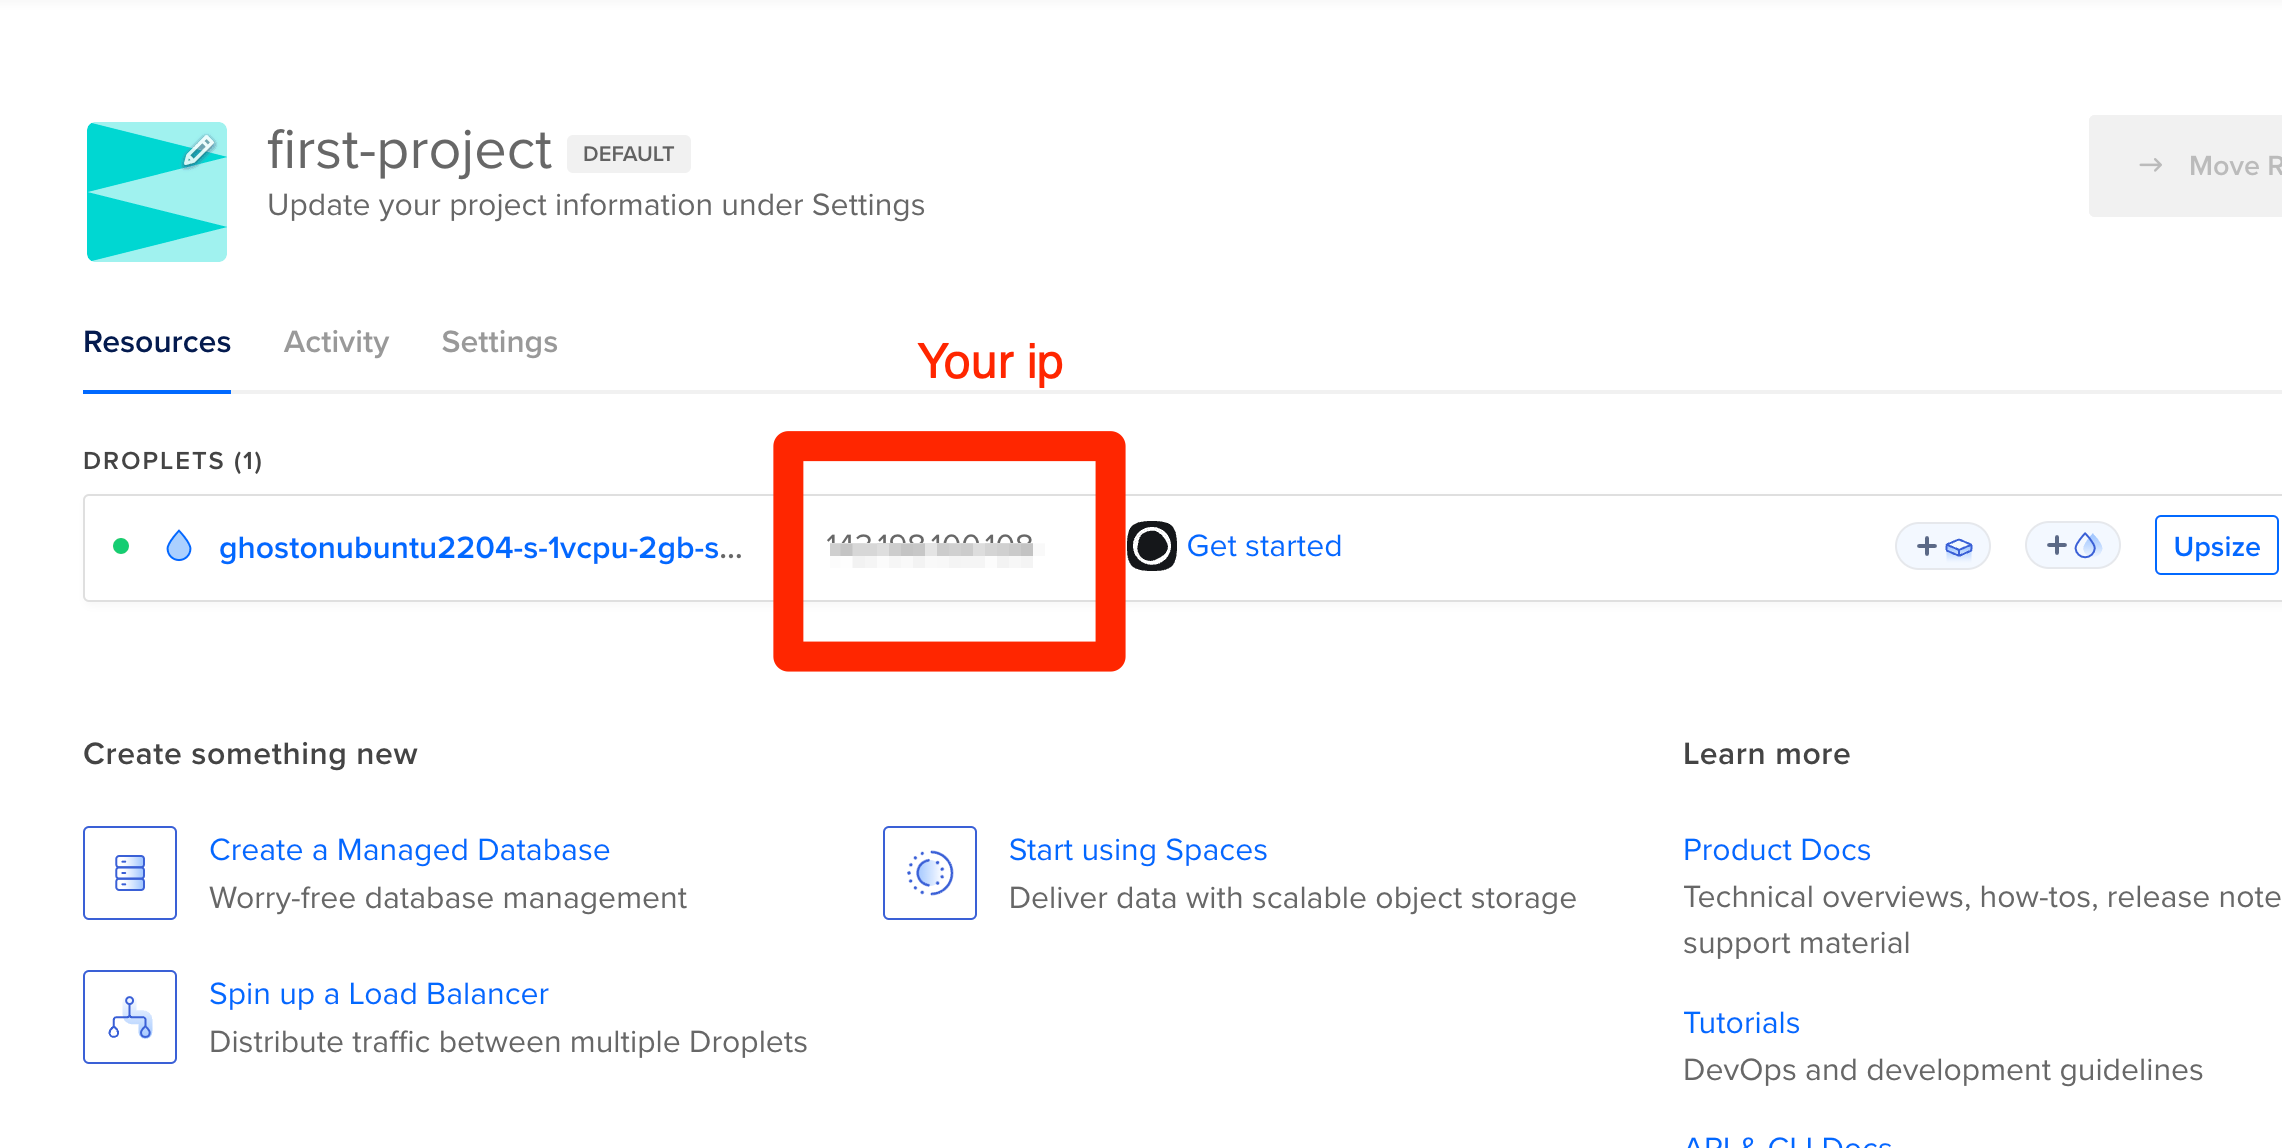
After a few minutes, your instance should be up and running. Note the IP address and the SSH key or password you selected during the creation.
Step 2: Exporting Your Data
Now, go to your Ghost Cloud settings at https://<your server>/ghost/#/settings and export your data.

Assume you've saved the export as export.json (renaming it for simplicity).
Next, copy this file to your DigitalOcean instance using the following command:
scp -i ~/.ssh/do ~/export.json root@143.xxxx:/tmp/export.json
Step 3: Configure the Domain
A good blog probably needs a good domain. If you already have a domain, you can use it. Make sure you have access to the domain configuration to set up the DNS if necessary.
If not, you can use any domain provider such as Namecheap (my favourite) or GoDaddy (too complicated in my opinion).
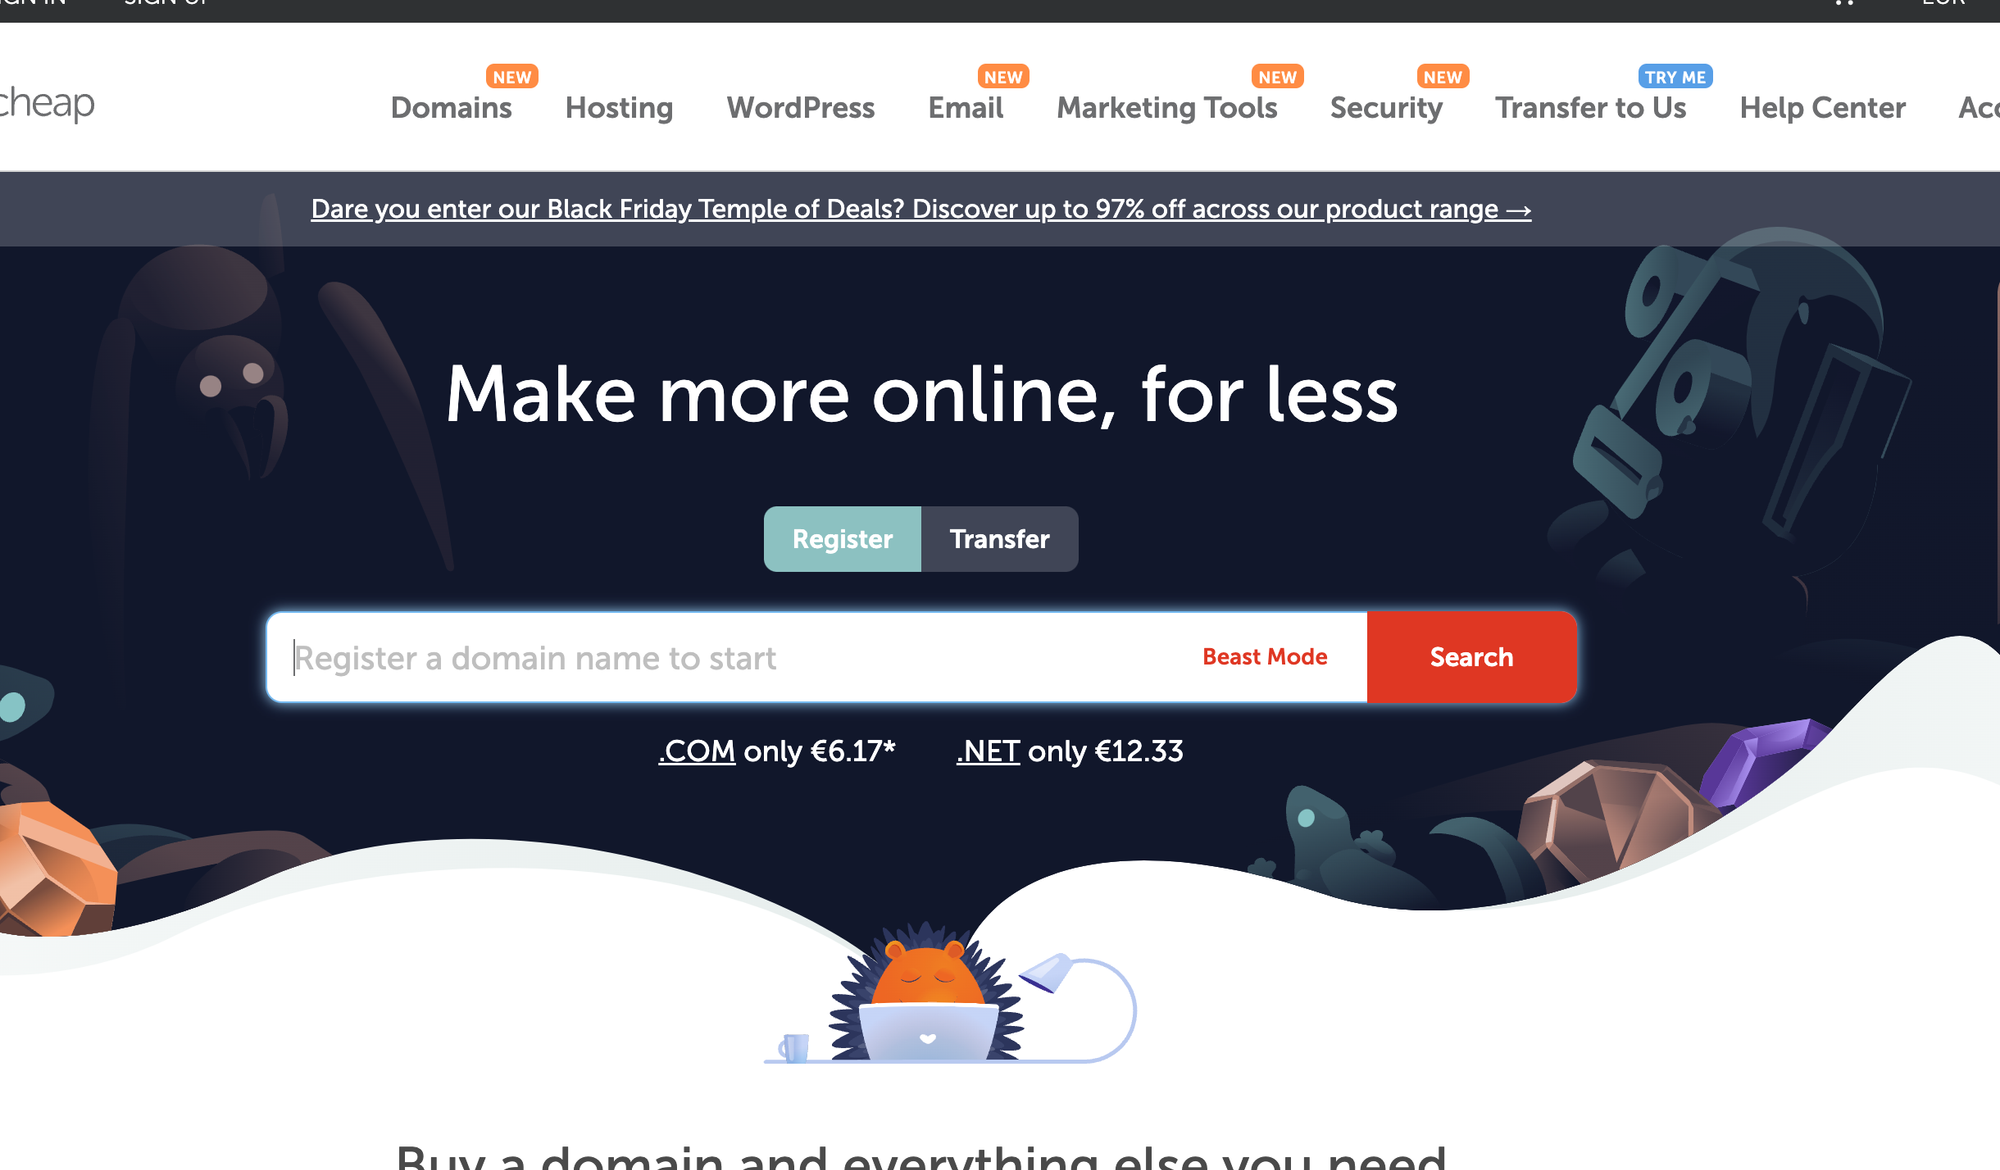
If you don't have a domain yet, you can test your blog with the IP of your DigitalOcean instance. Note, however, that changing it later is not easy.
Step 4: Finish the Setup
With the export file and the domain at hand, we can now finish the setup and import the data. Log in to the instance using SSH:
ssh root@your_server_ip
Ghost will prompt you for two details related to your domain. If you don't have a domain, you can simply use the IP of the DigitalOcean instance as shown below.
1. Your domain
   2. Add an A Record -> xxx.xxx.xxx.xxx & ensure the DNS has fully propagated
   3. Or alternatively enter http://xxx.xxx.xxx.xxx
2. Your email address (only used for SSL)
Press enter when you're ready to get started!
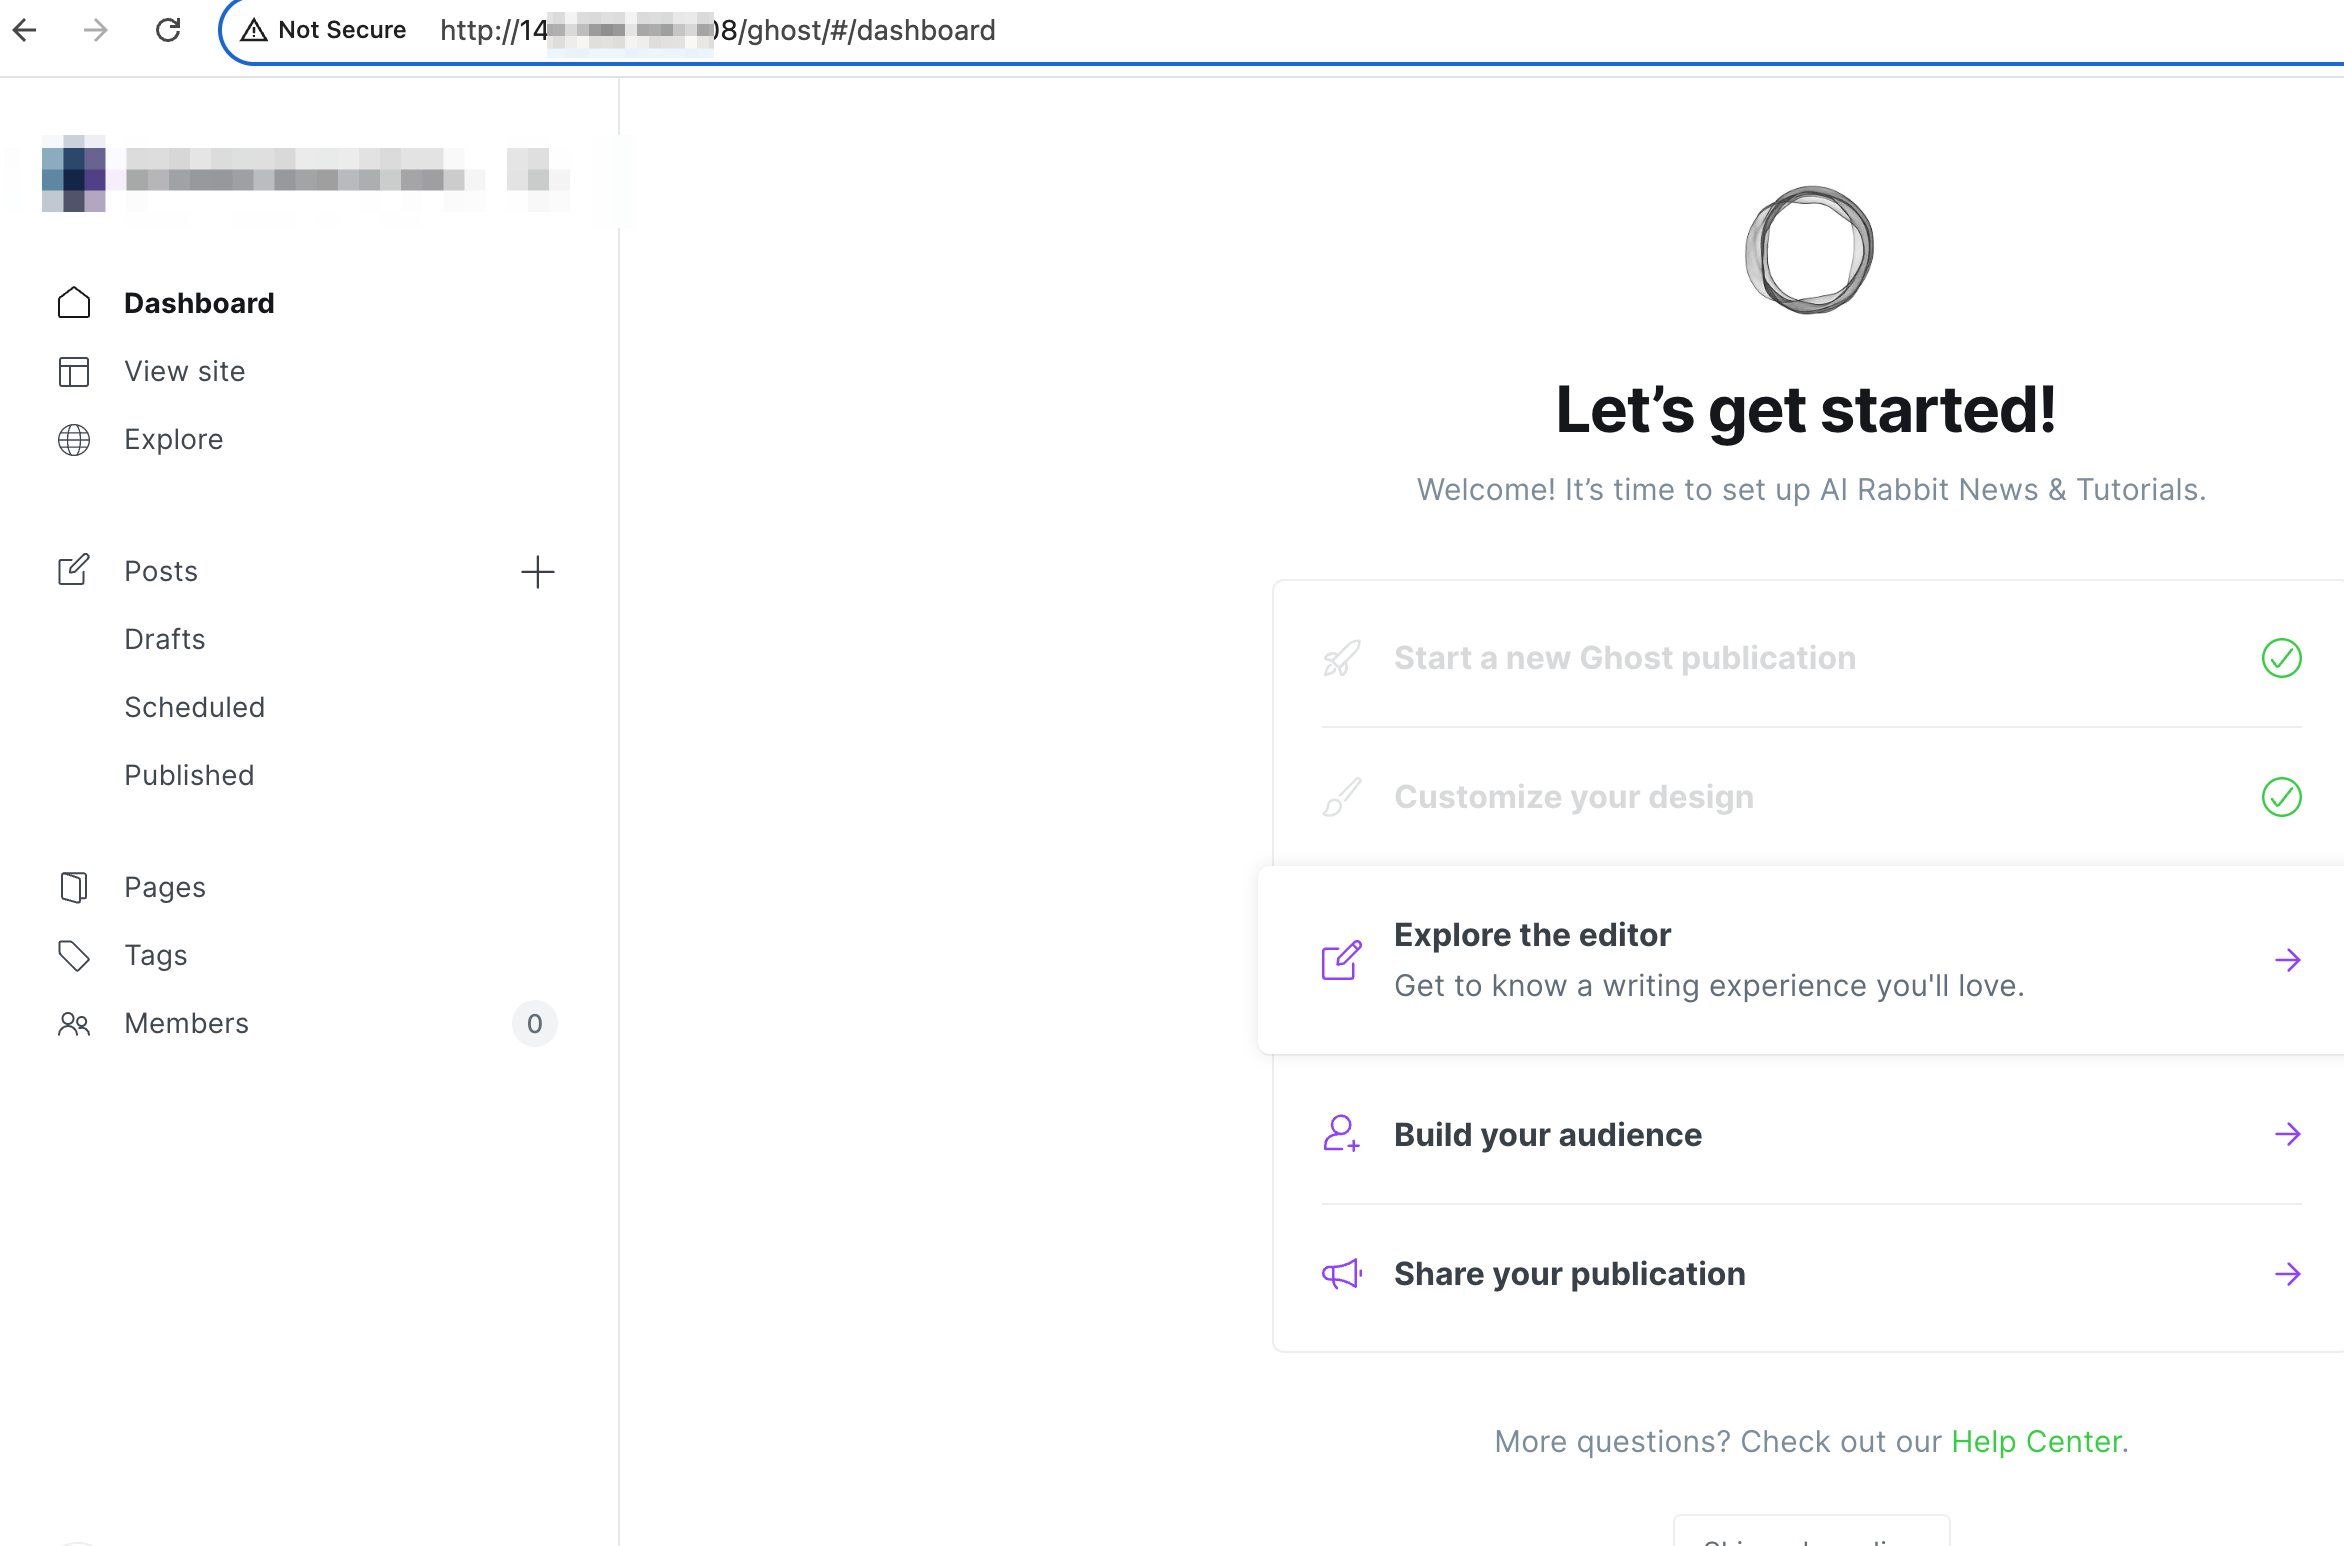
Now you should be able to see the instance at http://<your server>/ghost/. The posts are still empty or have only one dummy post. You can configure the themes and other settings anytime later.
Step 5: Import the Data
Now, let's import the data we exported from Ghost.org. Select the .json file from the export (export.json).
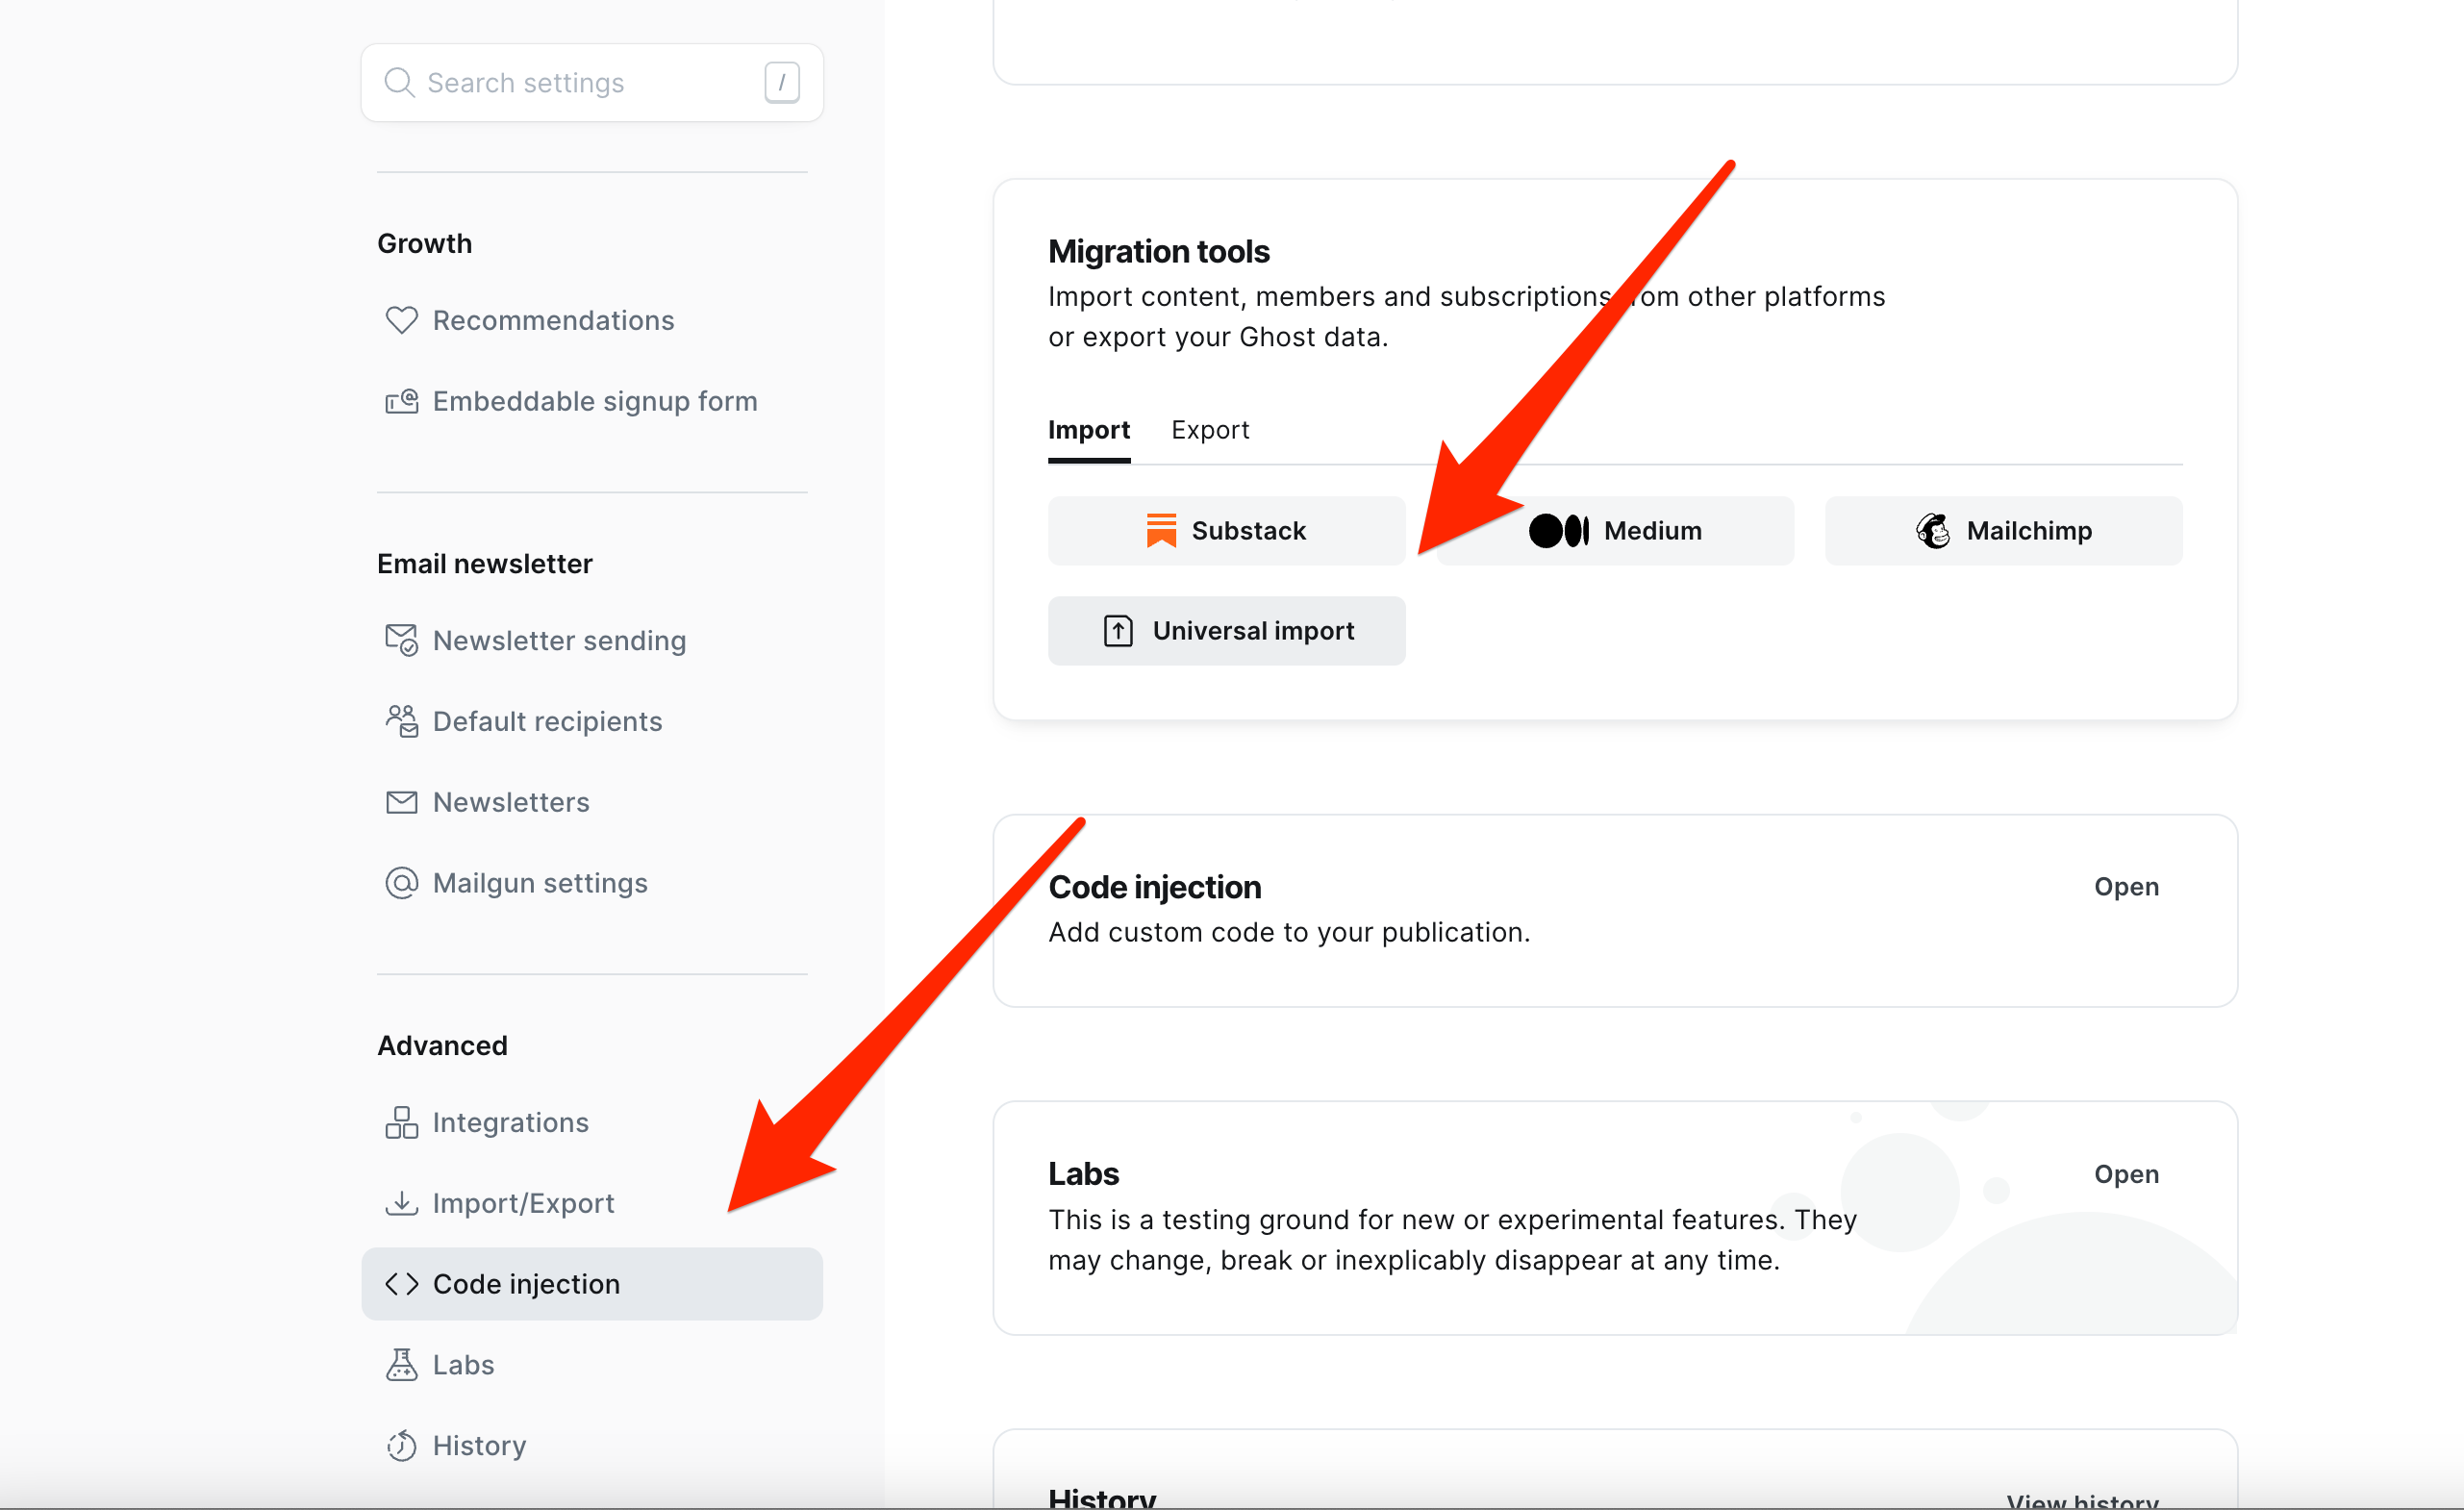
The import should finish, and you should already be able to see the posts.
http://<your domain or ip>
That's great, but if you have images saved in Ghost Cloud, you probably won't be able to see them yet.
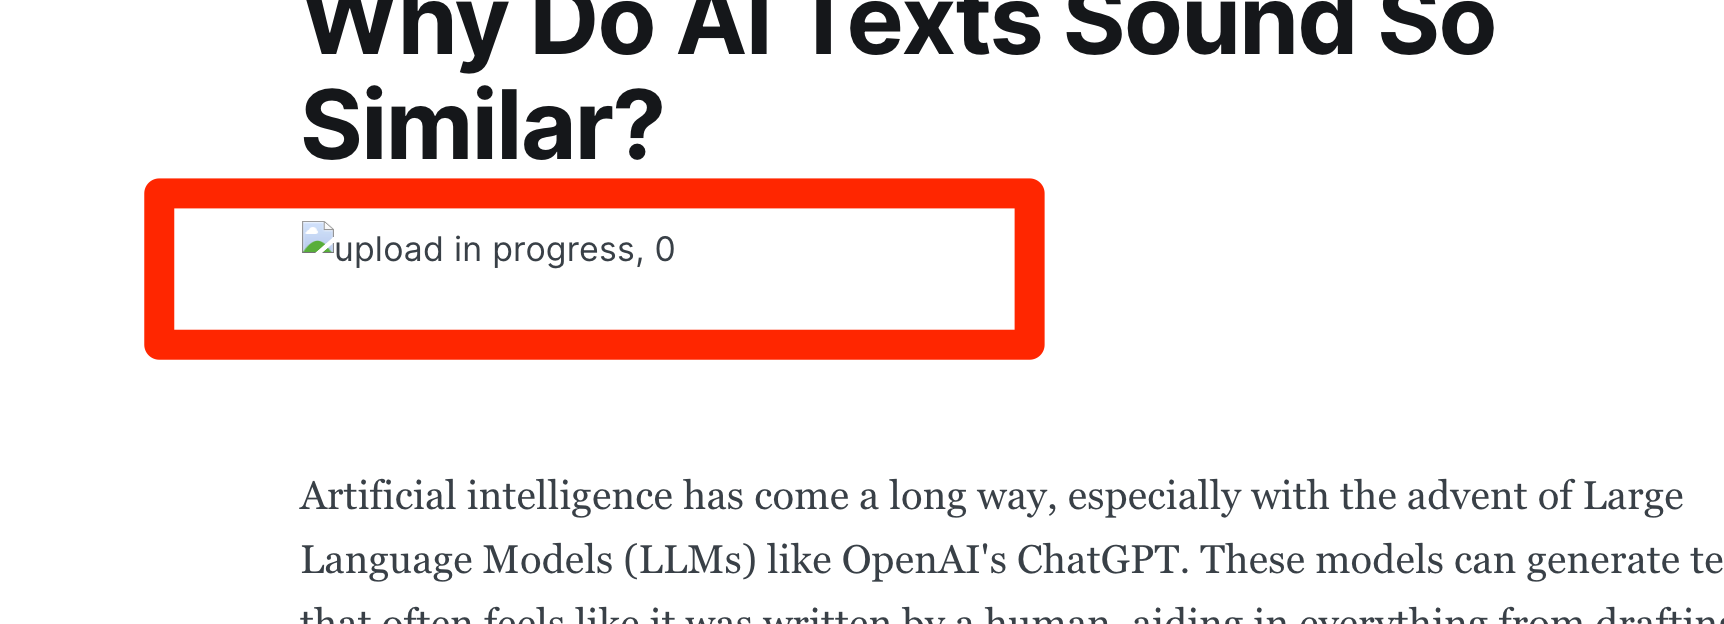
The reason is that the export file includes only the links to the image files saved on Ghost Cloud. I don't know why Ghost.org does that, although many people complain about it. I presume it's to increase the migration effort?
In any case, we need to solve it.
The Simple Solution
The solution is to download the images and save them in the images folder under /var/www/ghost/content/images.
Assuming the export file is in /tmp/export.json, here's a one-liner that will do just that. Make sure to replace airabbit.blog with the URL of your website accordingly.
grep -oE 'https://airabbit.blog/content/images[^" ]+\.(png|jpe?g|gif|bmp|svg)' /tmp/export.json \
| sed 's|https://airabbit.blog|https://airabbit.blog|' \
| while read -r url; do \
    relative_path="${url#https://airabbit.blog/content/images/}" \
    mkdir -p "/var/www/ghost/content/images/$(dirname "$relative_path")" && \
    wget -nc "$url" -O "/var/www/ghost/content/images/$relative_path"; \
done | tee download.log
Done.
Let's Test It
Now visit your instance. Here is my instance after importing all the images:
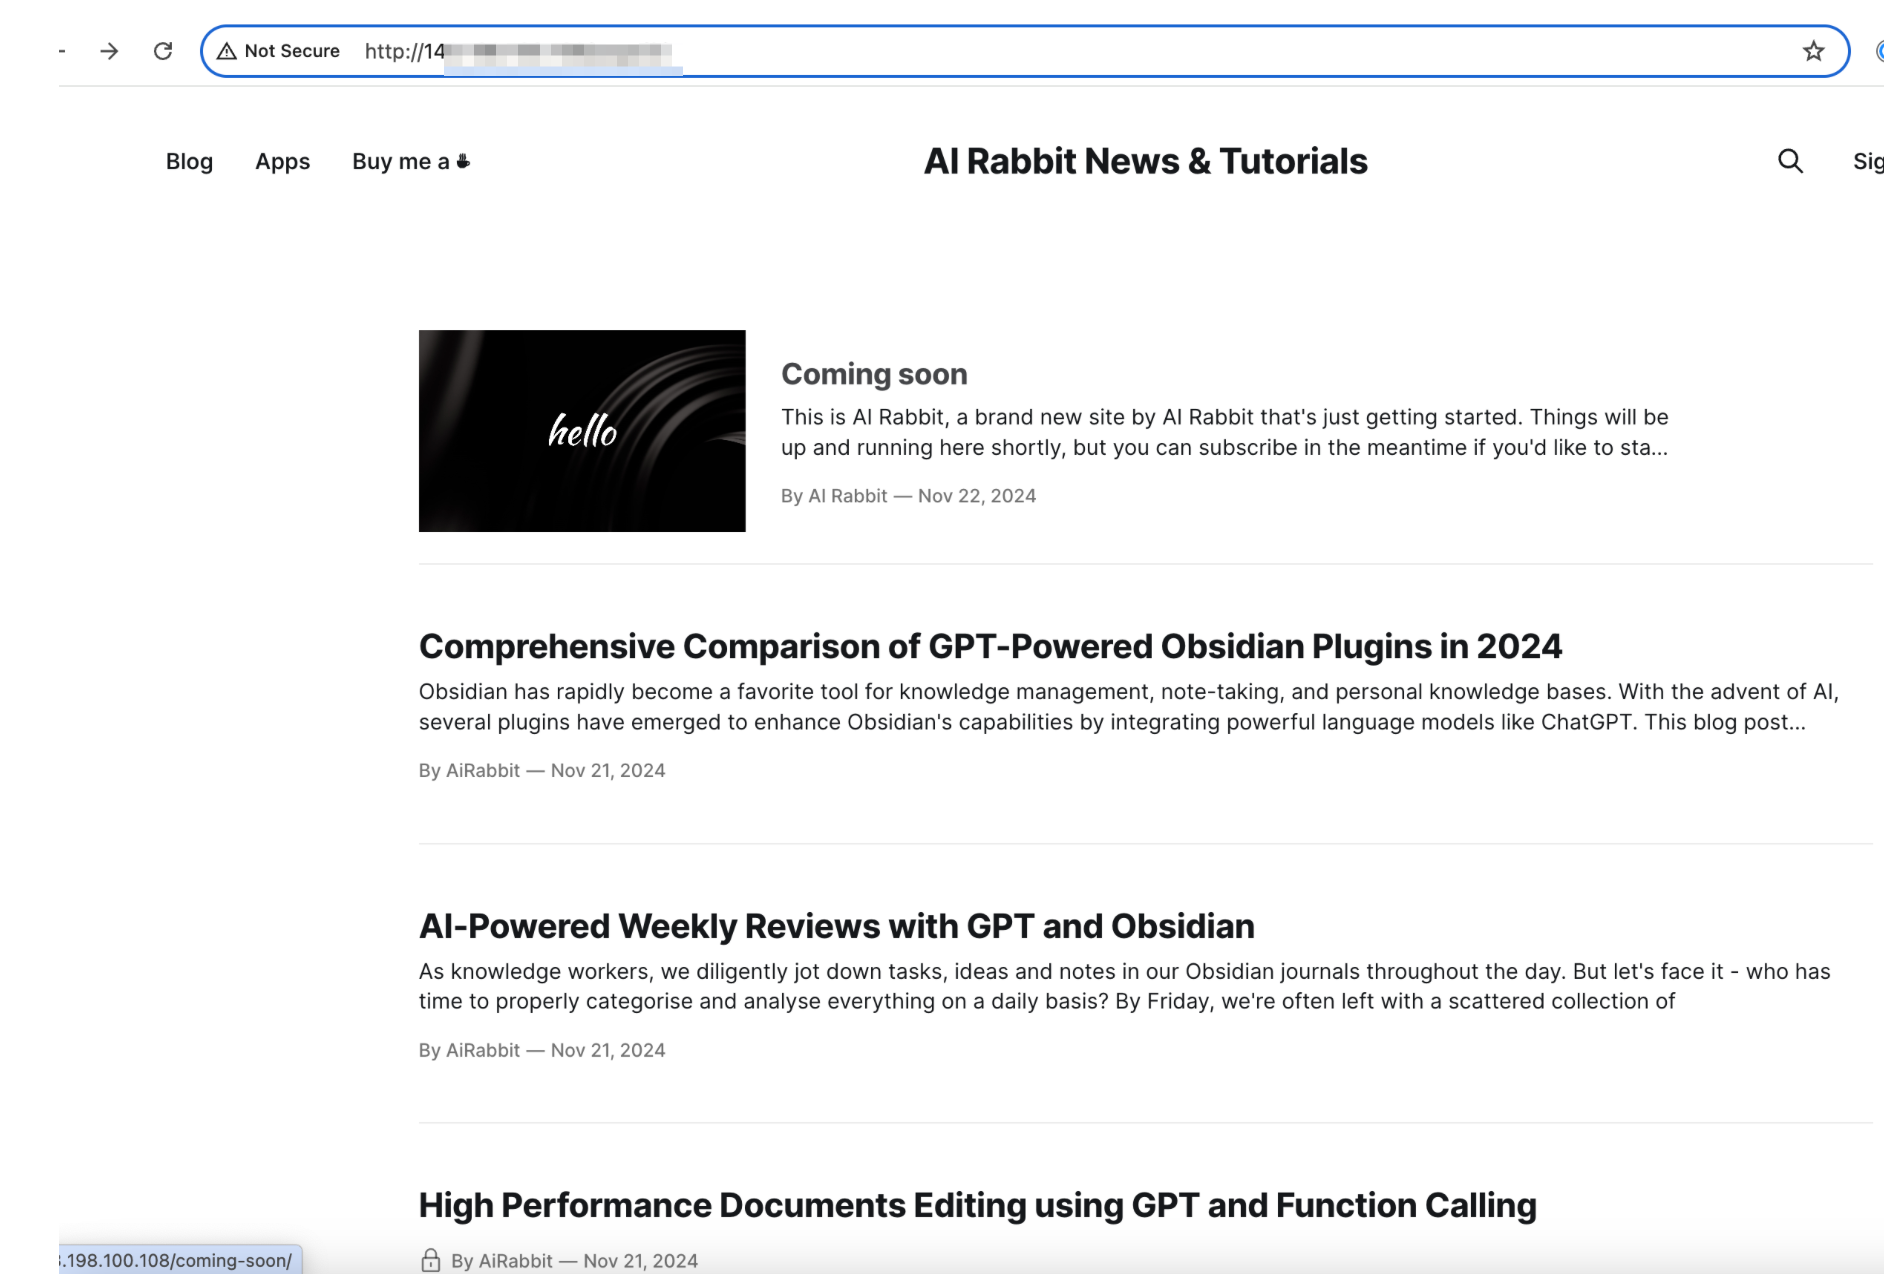
Great, it looks much more interesting with the images now!

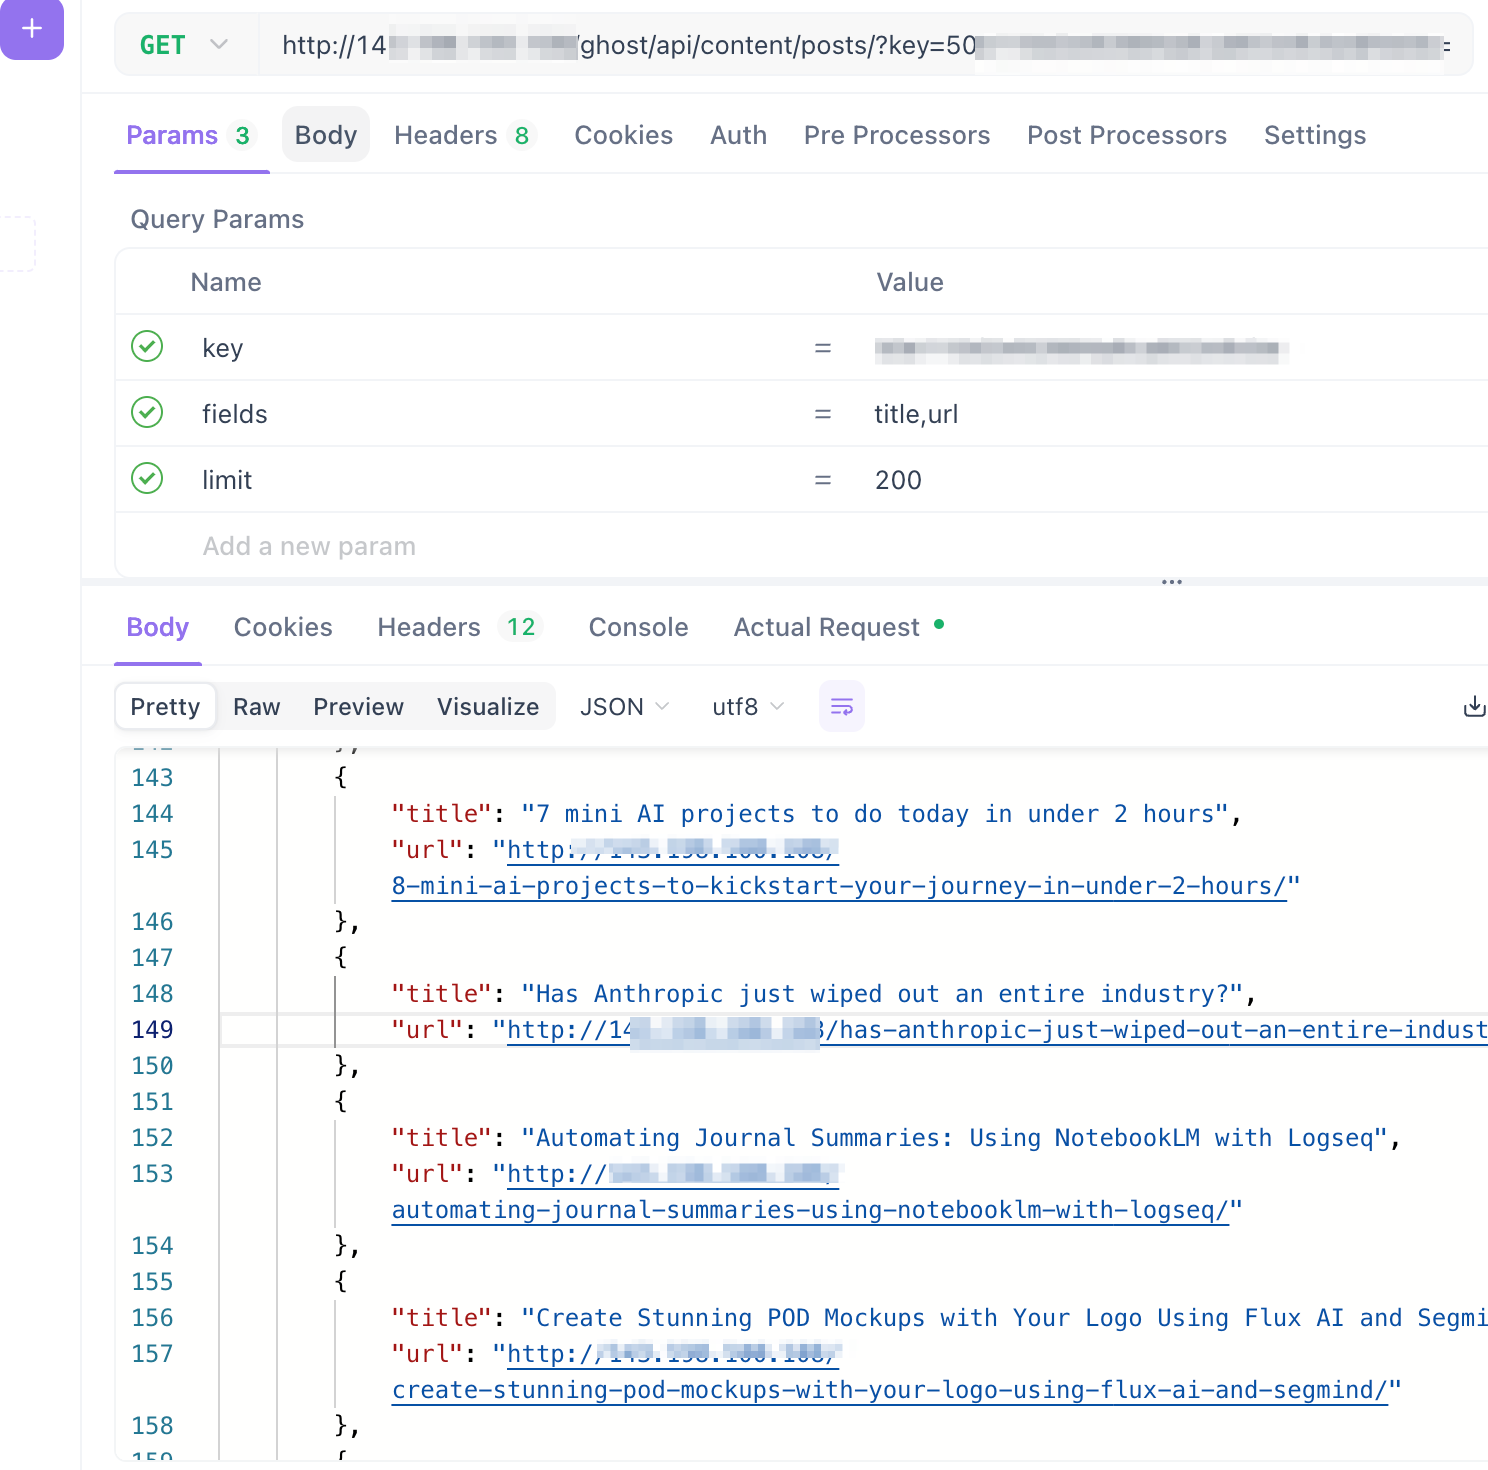
Finally, let's see if we can access the API. Here's a simple curl command that can fetch all your posts. Make sure to set the key and the urlaccordingly.
curl --location --request GET 'http://143.xxxx/ghost/api/content/posts/?key=xxxx&fields=title,url&limit=200' \
--header 'Accept-Version: v5.0'
And here is the result:
Wrap Up
In this blog post, we covered the nuts and bolts of migrating a blog from Ghost.org, complete with posts and images.
First, we spun up an instance at DigitalOcean using an out-of-the-box appliance. We added the domain, imported the exported data and finally imported the images.
That was the hard part of the migration and our blog was up and running.
What remains is to migrate the users and set up an email provider.
For more information, you can refer to the Ghost documentation.
Happy blogging!


