Claude MCP + Apify: 5000+ Web Tools for Productivity
Explore the power of the Model Context Protocol (MCP) to connect AI models to digital services. Learn how to seamlessly integrate Apify's pre-built tools with Claude desktop app, enabling dynamic interactions with websites and web APIs. Navigate through getting API keys, setting configurations, t...
If you've been keeping up with the latest in AI, you know that technologies enabling AIs to interact with the external world are game-changers. The Model Context Protocol (MCP) is quickly becoming a crucial standard for connecting AI models to APIs, databases, and frankly, almost anything digital. This allows AIs to move beyond static knowledge and take action or retrieve real-time information.
But tapping into the vast universe of external services brings its own set of challenges:
- Identifying reliable data sources and APIs for specific tasks (e.g., finding product reviews, checking stock prices, extracting news).
- Figuring out how to interact with vastly different website structures and APIs.
- Handling authentication, rate limits, and data parsing for each source.
- Maintaining these connections as websites change.
- Ensuring secure access to the data.
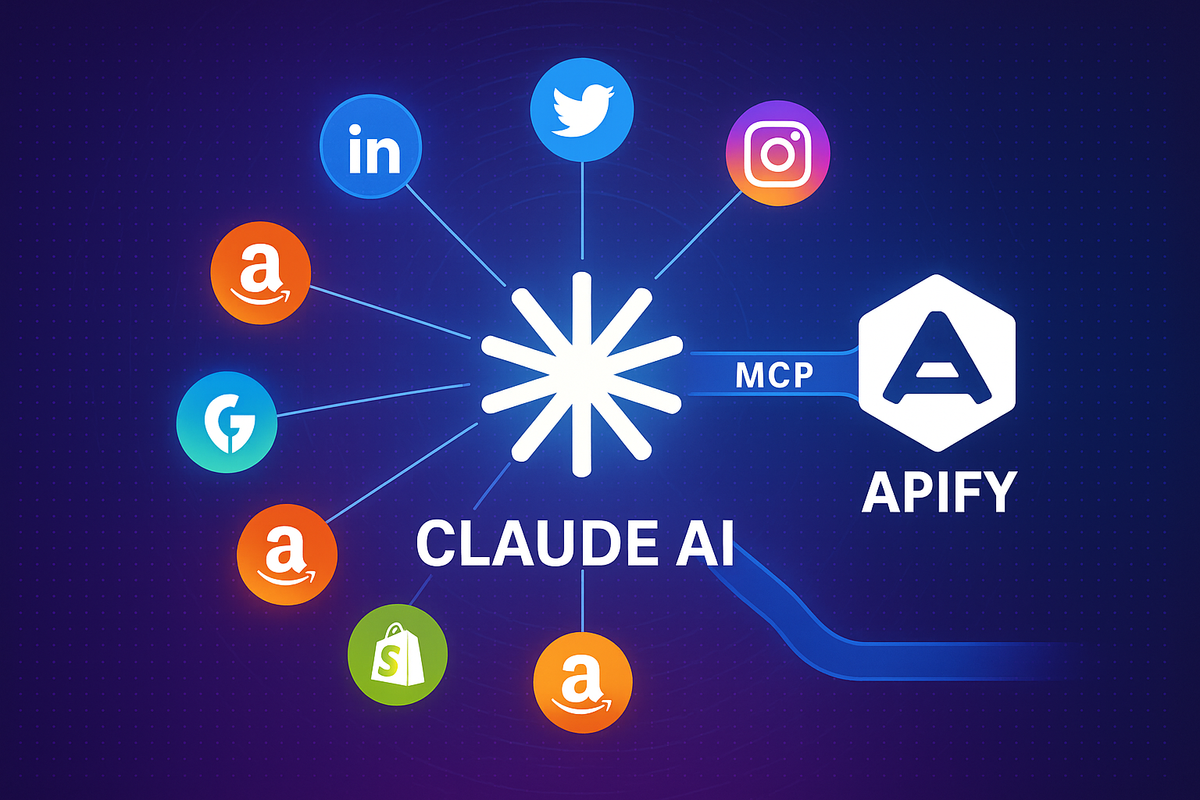
While there are many tools to help with these issues, platforms that act as a unified gateway are incredibly powerful. Just as Zapier provides a single connection point for thousands of traditional SaaS APIs, Apify offers a similar concept for web data and web APIs, providing a marketplace of pre-built tools (called "Actors") designed to interact with websites and extract data.
This is huge for enabling AI to leverage the web.
What does this mean?
It means that by adding a single connection to your Apify account via a dedicated MCP server, you can potentially gain access to data and functionality from a vast range of websites and web APIs that Apify's Actors can interact with.
For example, you could open your Claude chat and say: "Find the top 5 reviews for the latest iPhone on Amazon, then summarize the common pros and cons, and also find the latest news headlines mentioning 'Apple stock' from the last 24 hours." Claude, powered by different Apify Actors exposed as tools, could potentially execute this complex request seamlessly.
In this tutorial, I'll show you how to connect your Claude desktop application to Apify using MCP in just a few steps, allowing your AI to interact with a multitude of websites and web APIs configured via Apify's powerful platform.
What you need:
- claude desktop app (Tested on Mac, works on Windows/Linux too)
- An Apify account (a free account is sufficient)
- Node.js installed (required to run the Apify MCP server package)
How it works in a nutshell
Apify provides an official Node.js package (@apify/actors-mcp-server) that runs a local MCP server. This server acts as the bridge between Claude and the Apify platform. It uses your Apify API key to authenticate with Apify and run Actors on your behalf. It can be configured to expose specific Apify Actors as MCP tools to your AI. When Claude wants to perform an action related to a website (like searching for data), it calls the corresponding tool exposed by the Apify MCP server, which in turn instructs the Apify platform to run the relevant Actor.
Let’s dive in.
#Step 1: Get Your Apify API Key
First, you need your personal Apify API token. This key is necessary for the Apify MCP server to authenticate with your Apify account and run Actors on your behalf.