Powerful GenAI Enterprise Search with Onyx
Explore Onyx, the open-source GenAI Search Engine designed for intelligent search across intranet and public sites. With a modular architecture, it integrates seamlessly with your data, allowing for automatic indexing and updates. This guide walks you through setup and customization, empowering y...

I’ve talked recently about Algolia, a great product that powers many website searches online, including massive open source projects.
This time, we’re going to explore an open source GenAI Search Engine —Onyx. It’s a fantastic product that not only adds intelligent search but also offers a complete RAG-based solution for both intranet and public websites (using the API)

What is Onyx (formerly Danswer)
is the AI Assistant connected to your company's docs, apps, and people. Onyx provides a chat interface and plugs into any LLM of your choice. It can be deployed anywhere—on a laptop, on-premise, or to the cloud. Since you own the deployment, your user data and chats remain fully in your control. Onyx is dual licensed, with most of the project under the MIT license, and it’s designed to be modular and easily extensible. It also comes production-ready with user authentication, role management (admin/basic users), chat persistence, and a UI for configuring AI Assistants.
Why Onyx?
There are dozens of RAG solutions out there. For example CustomGPT, Claude Workspace, OpenWebui and many more you can upload documents some with and without RAG solutions, that is indexing and then being able to chat with those documents. A great technology, but not rocket science anymore. The challenge though is Day2. What happens when the source changes? In many cases you have to re-upload the document.
In an enterprise environment with thousands of documents, this is a no-go. This is where Onyx and other SaaS technologies like Algolia come in. They scrape the documents, in this case the website, and automatically update the index (i.e. embed and make the latest data available to the chatbot). In real business scenarios, this is an invaluable feature.
In this walkthrough, we’ll use OpenAI for embedding and inference, and Cohere for reranking. You’ll also need a Docker environment with sufficient RAM and storage.
Here’s an example from my environment:

---
Minimal Recommended Setup
Based on the Docker stats shown, here’s a minimal recommended setup for running the Onyx stack:
RAM:
Minimum: 8GB RAM (to run comfortably)
Recommended: 16GB RAM (for better performance)
Current headroom shows the stack is well optimized - using ~6GB total

Storage:
Minimum: 20GB free space
Recommended: 50GB+ for growth (indexes, database, model files)

Other requirements:
Docker + Docker Compose
Open ports:
80/3000 (nginx)
8080 (api server)
8081/19071 (vespa index)
5432 (postgres)
6379 (redis)

CPU:
Minimum: 4 cores
Recommended: 8 cores (since index container can hit 12% CPU)
---
Getting Started
1. Clone the Repository
https://github.com/onyx-dot-app/onyx
2. Navigate to the Docker Compose Directory
cd deployment/docker_compose
3. Delete Old Stuff (If Any)
docker compose -f docker-compose.dev.yml -p onyx-stack down -v

# Remove specific volumes if they exist
docker volume rm onyx-stack_vespa_volume
docker volume rm onyx-stack_model_cache_huggingface
docker volume rm onyx-stack_indexing_huggingface_model_cache
docker volume rm onyx-stack_db_volume
4. Export and Start
export DISABLE_MODEL_SERVER=false
docker compose -f docker-compose.dev.yml -p onyx-stack up -d

Check:
---
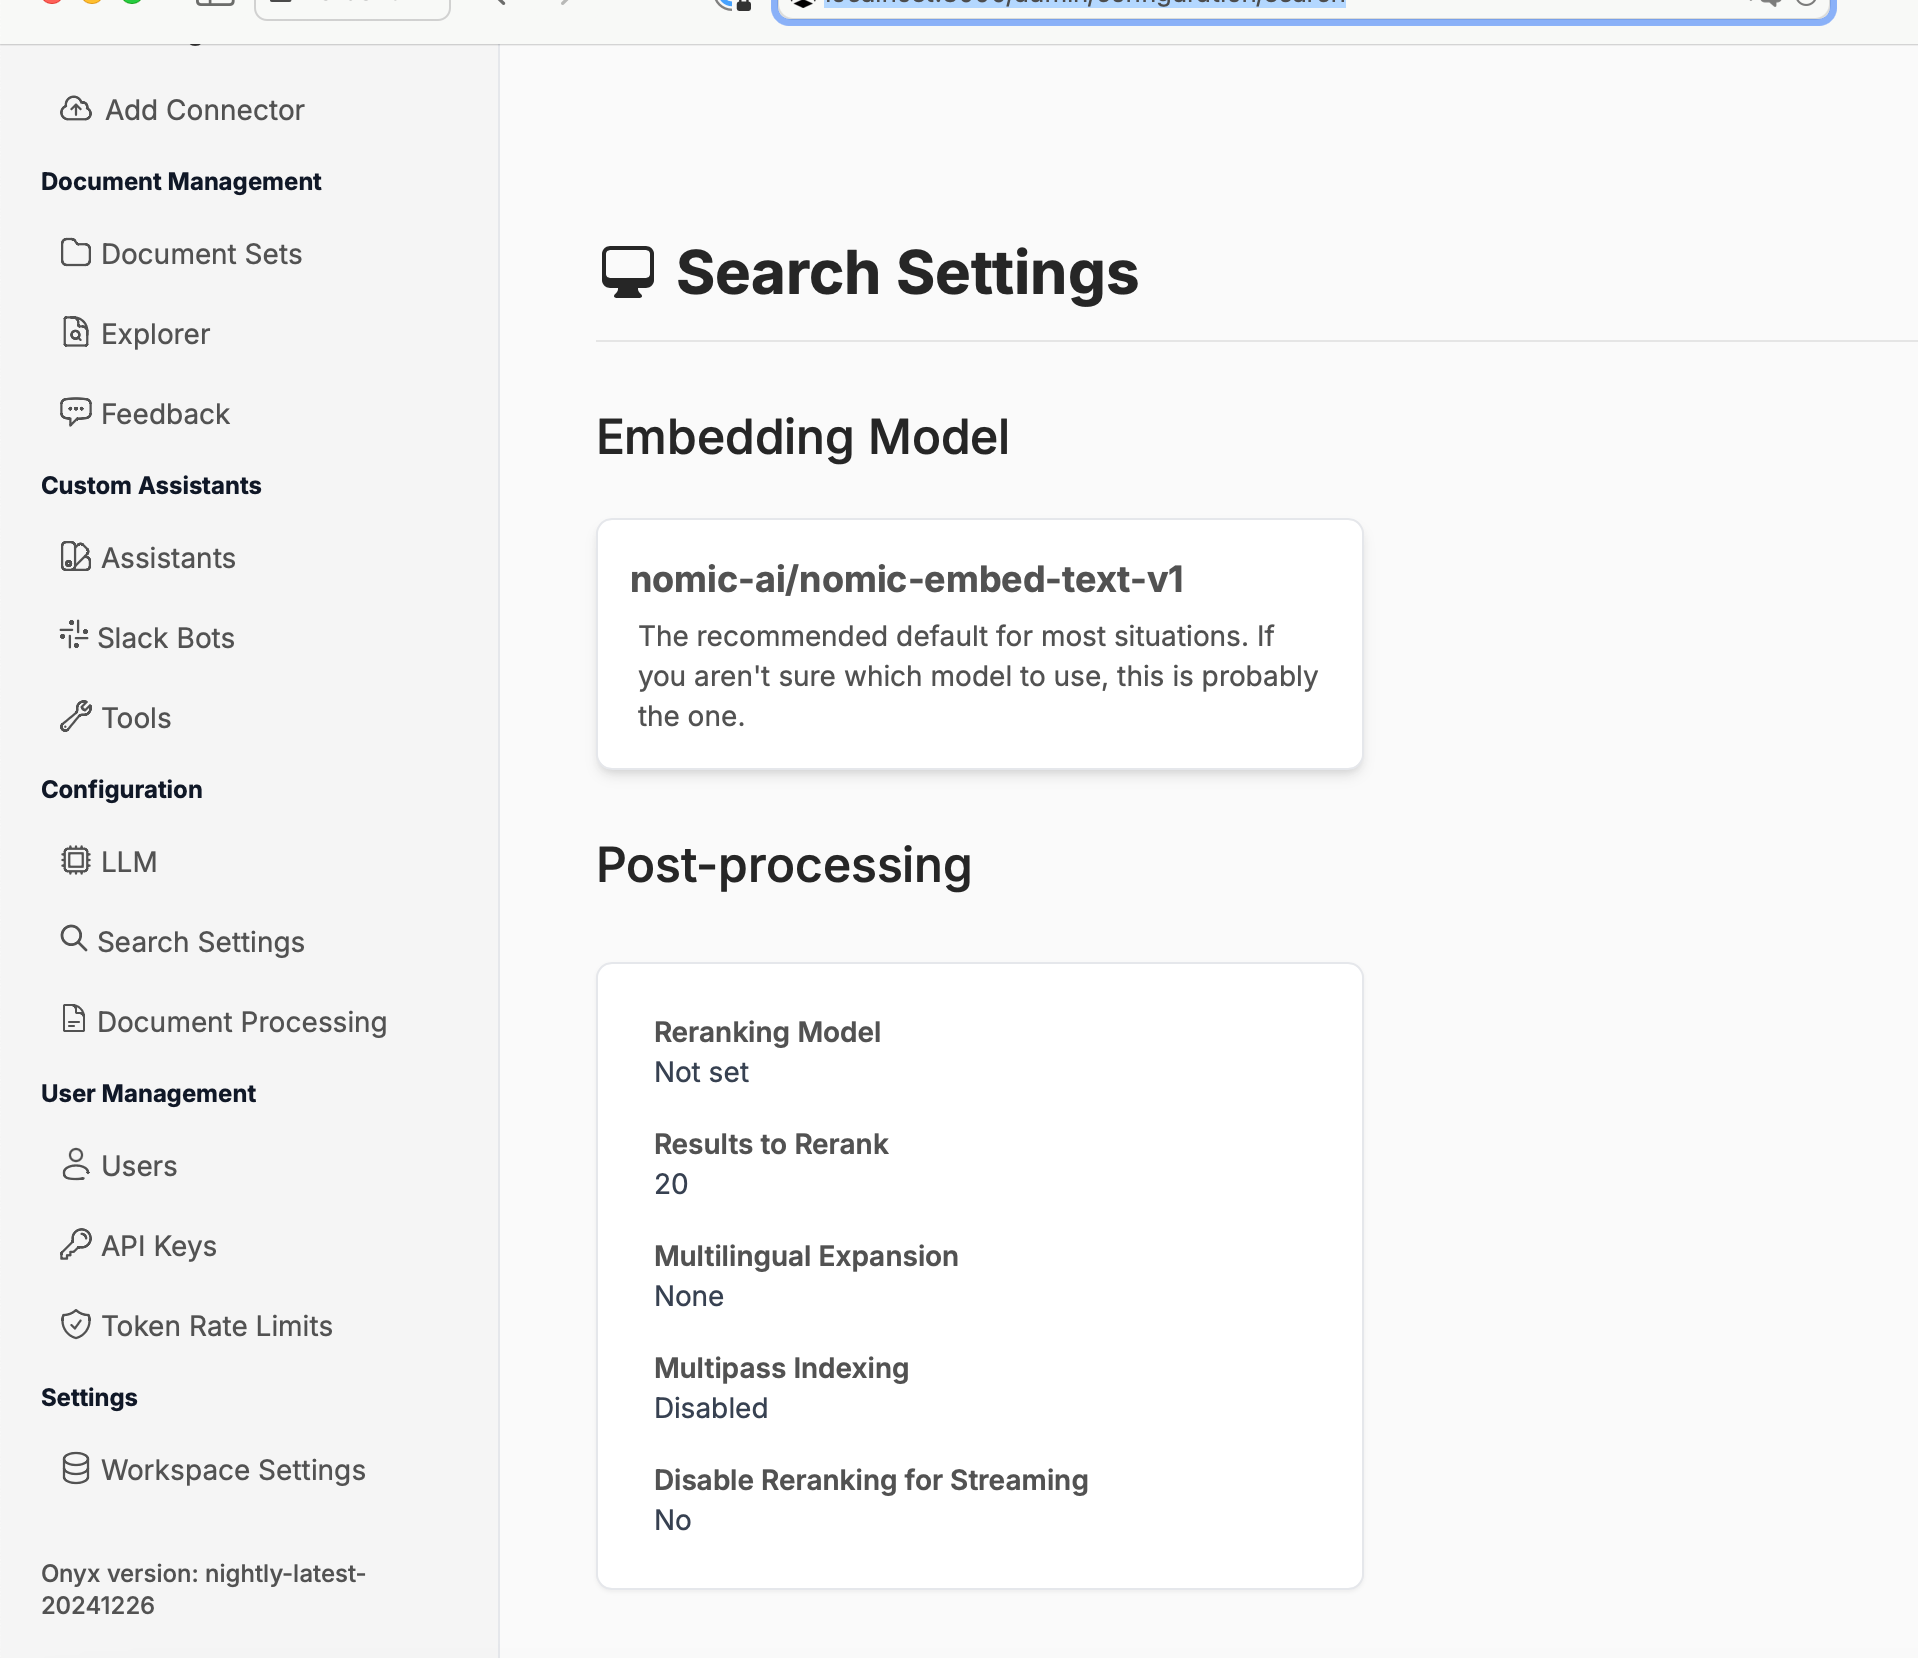
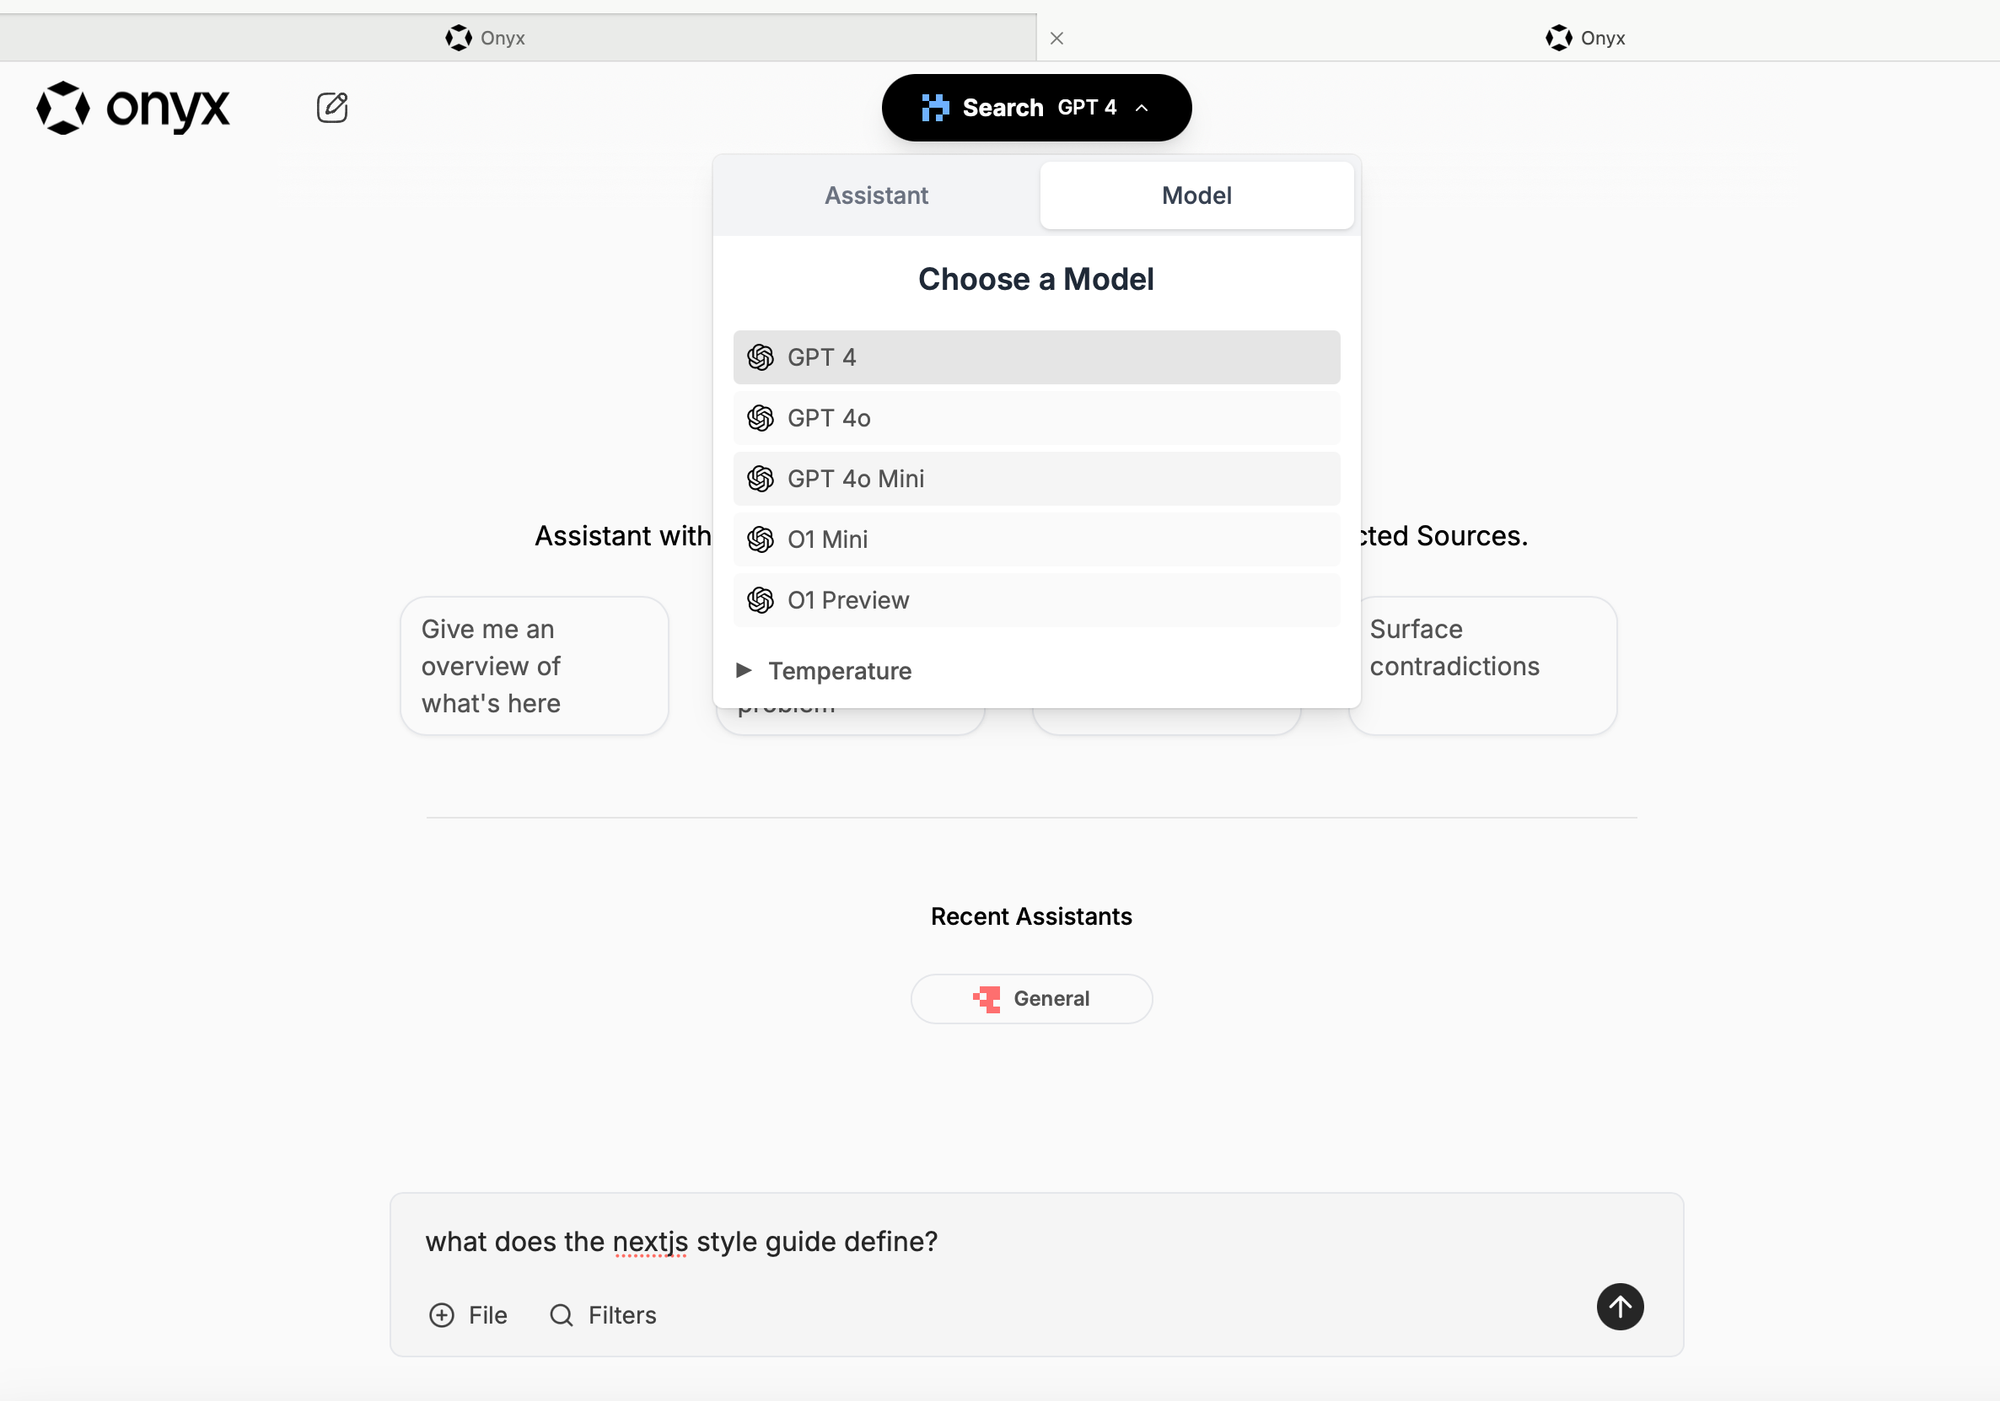
Configuring the LLM Models
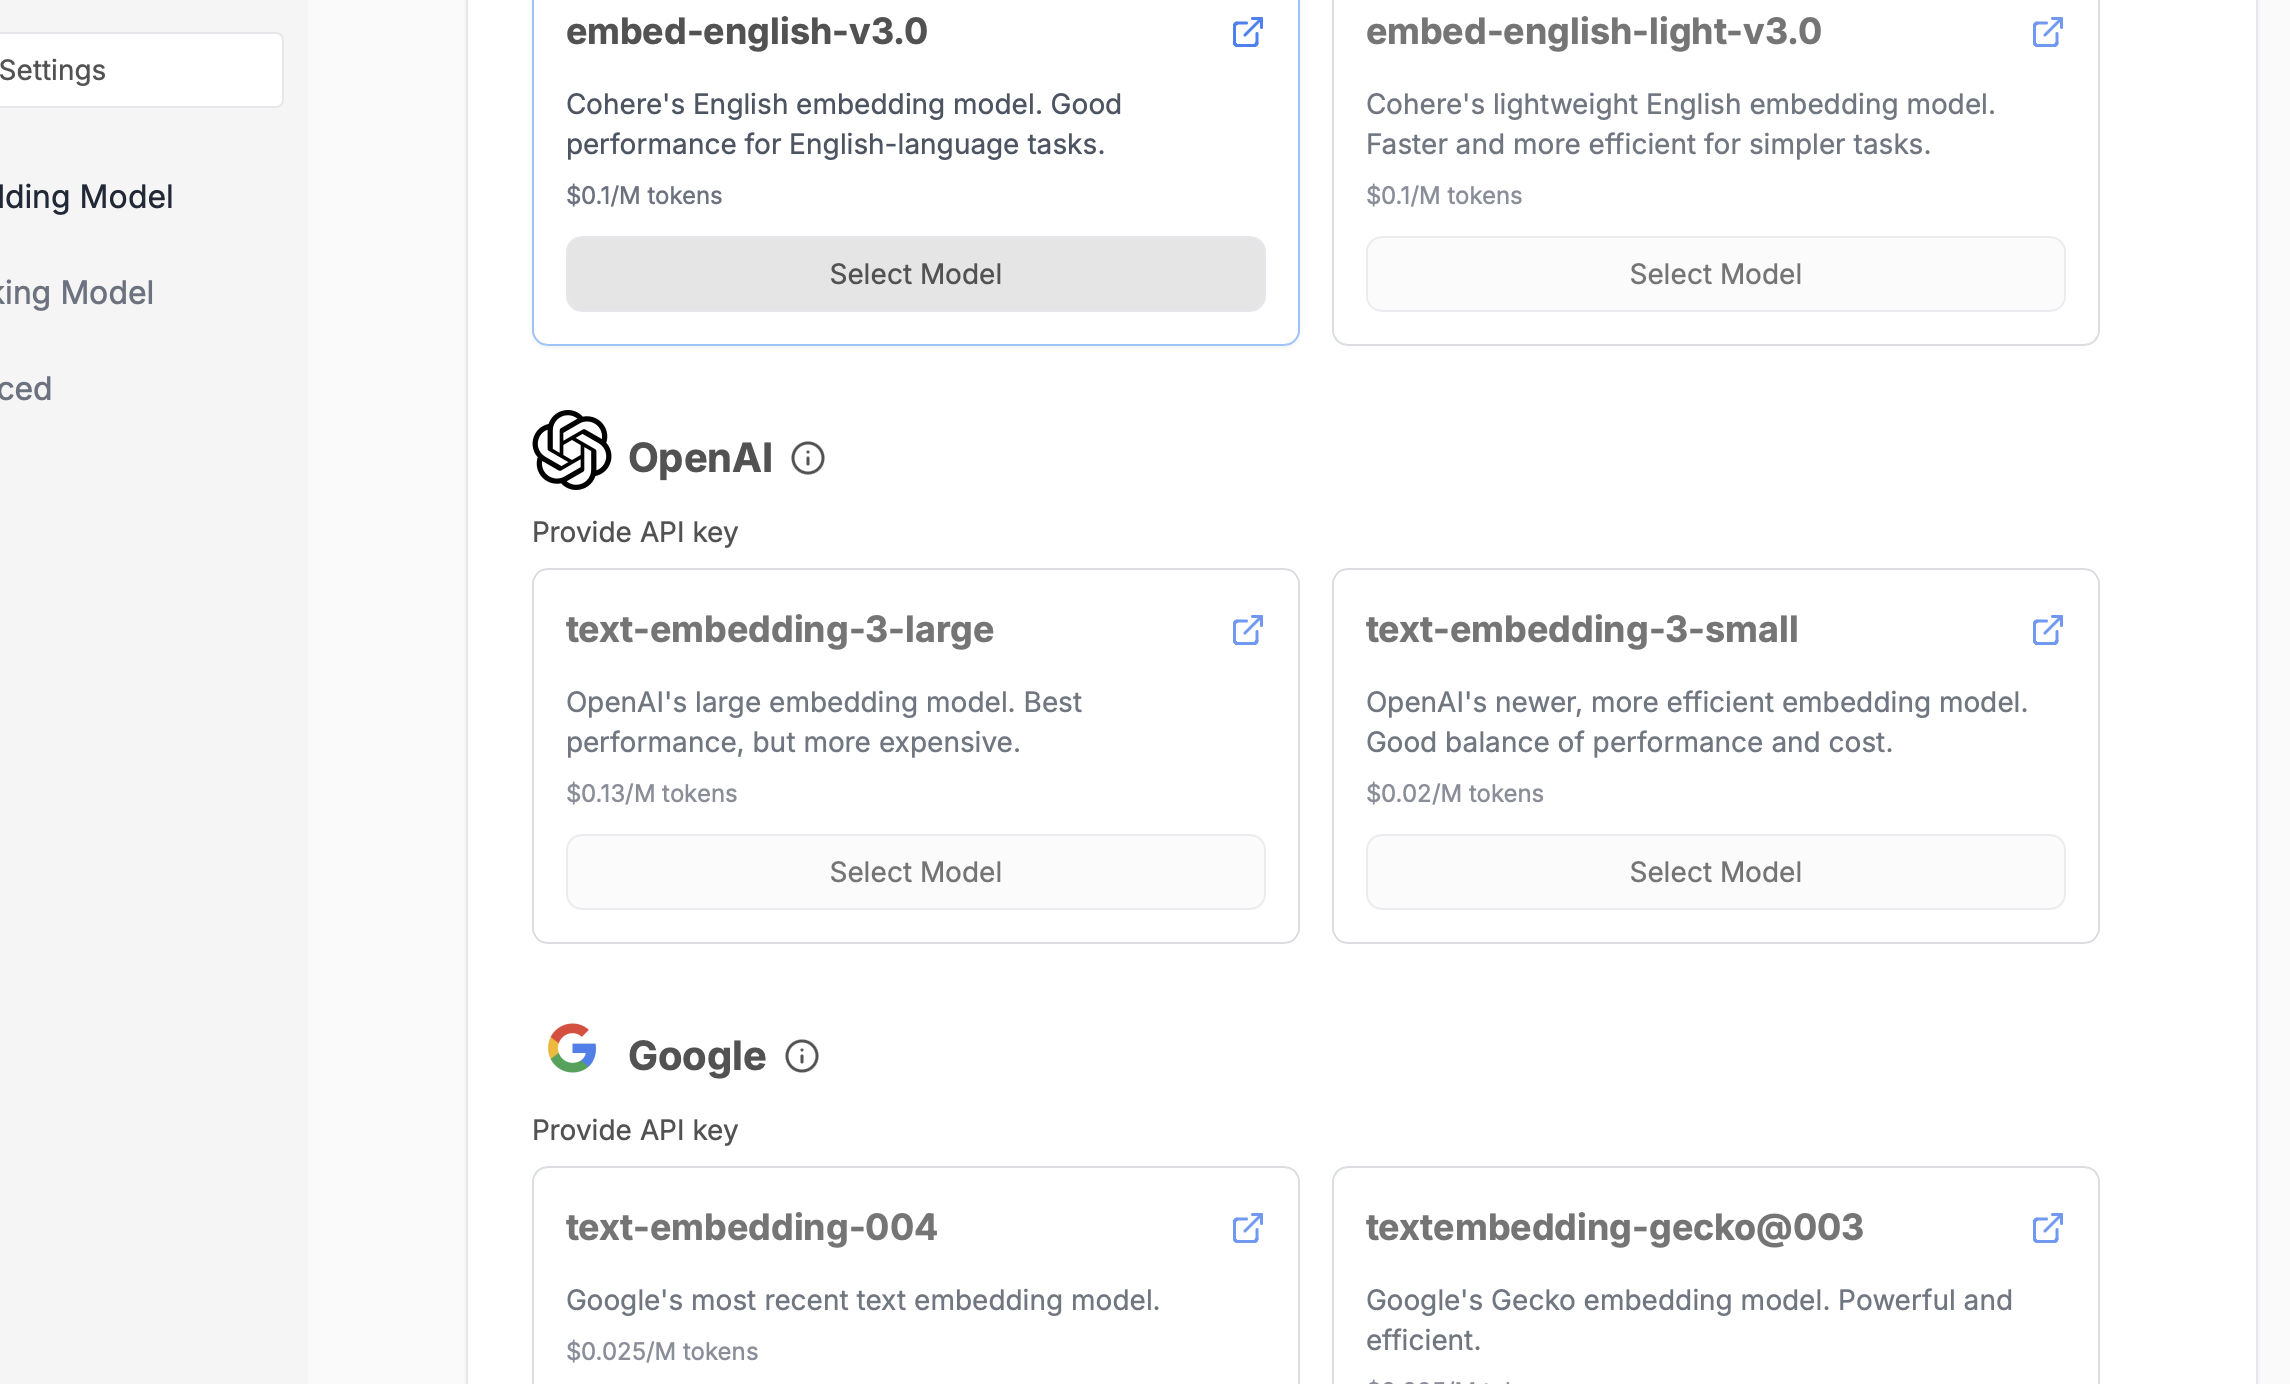
We’ll set up our models. Instead of the local nomic-embed for embedding, we’ll use OpenAI:
First, set the text-embedding-3small model:
Then, configure Cohere for reranking:
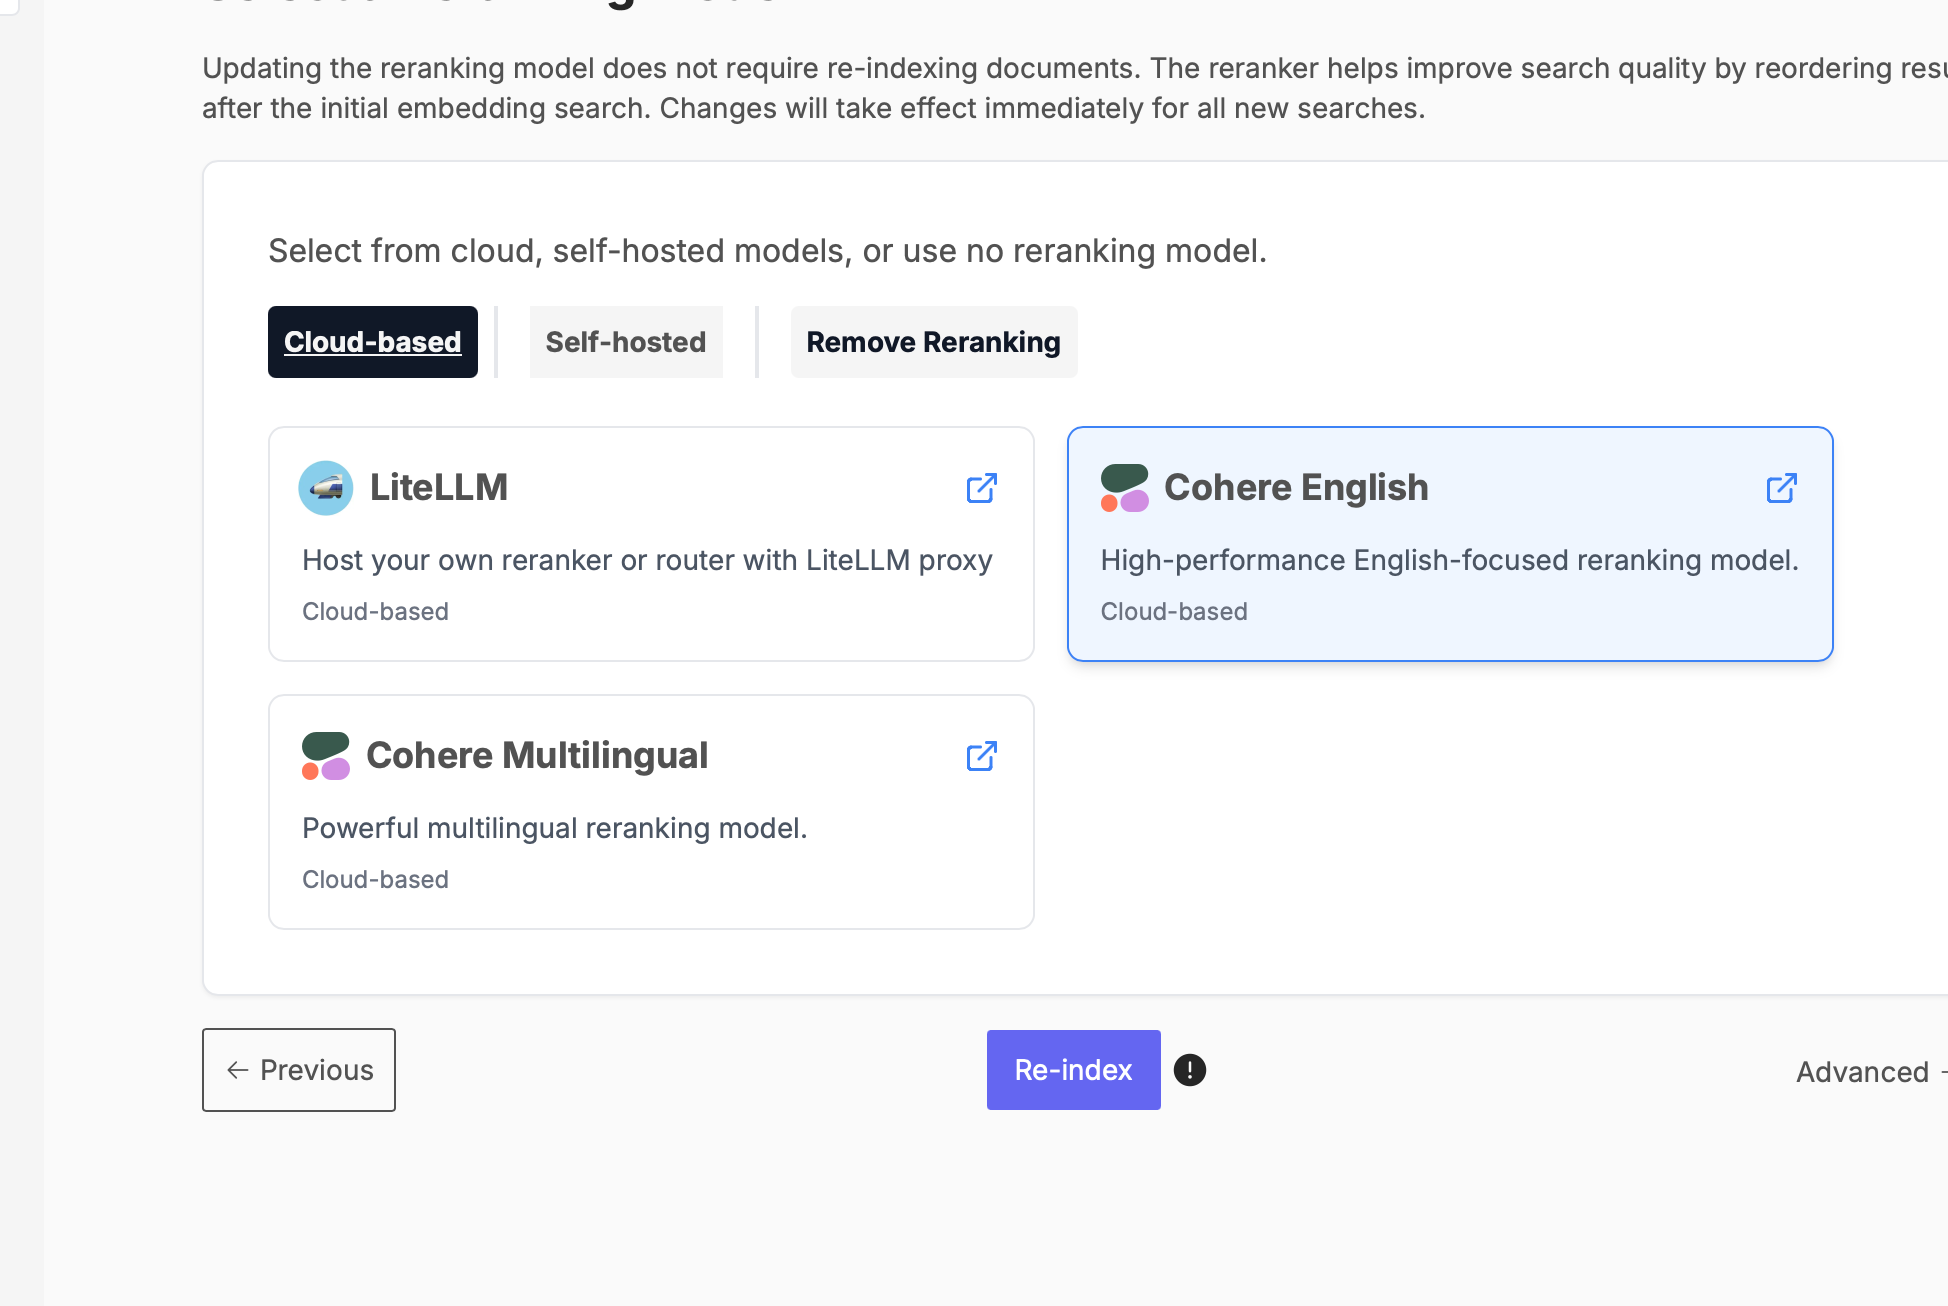
When finished, hit Re-index.
---
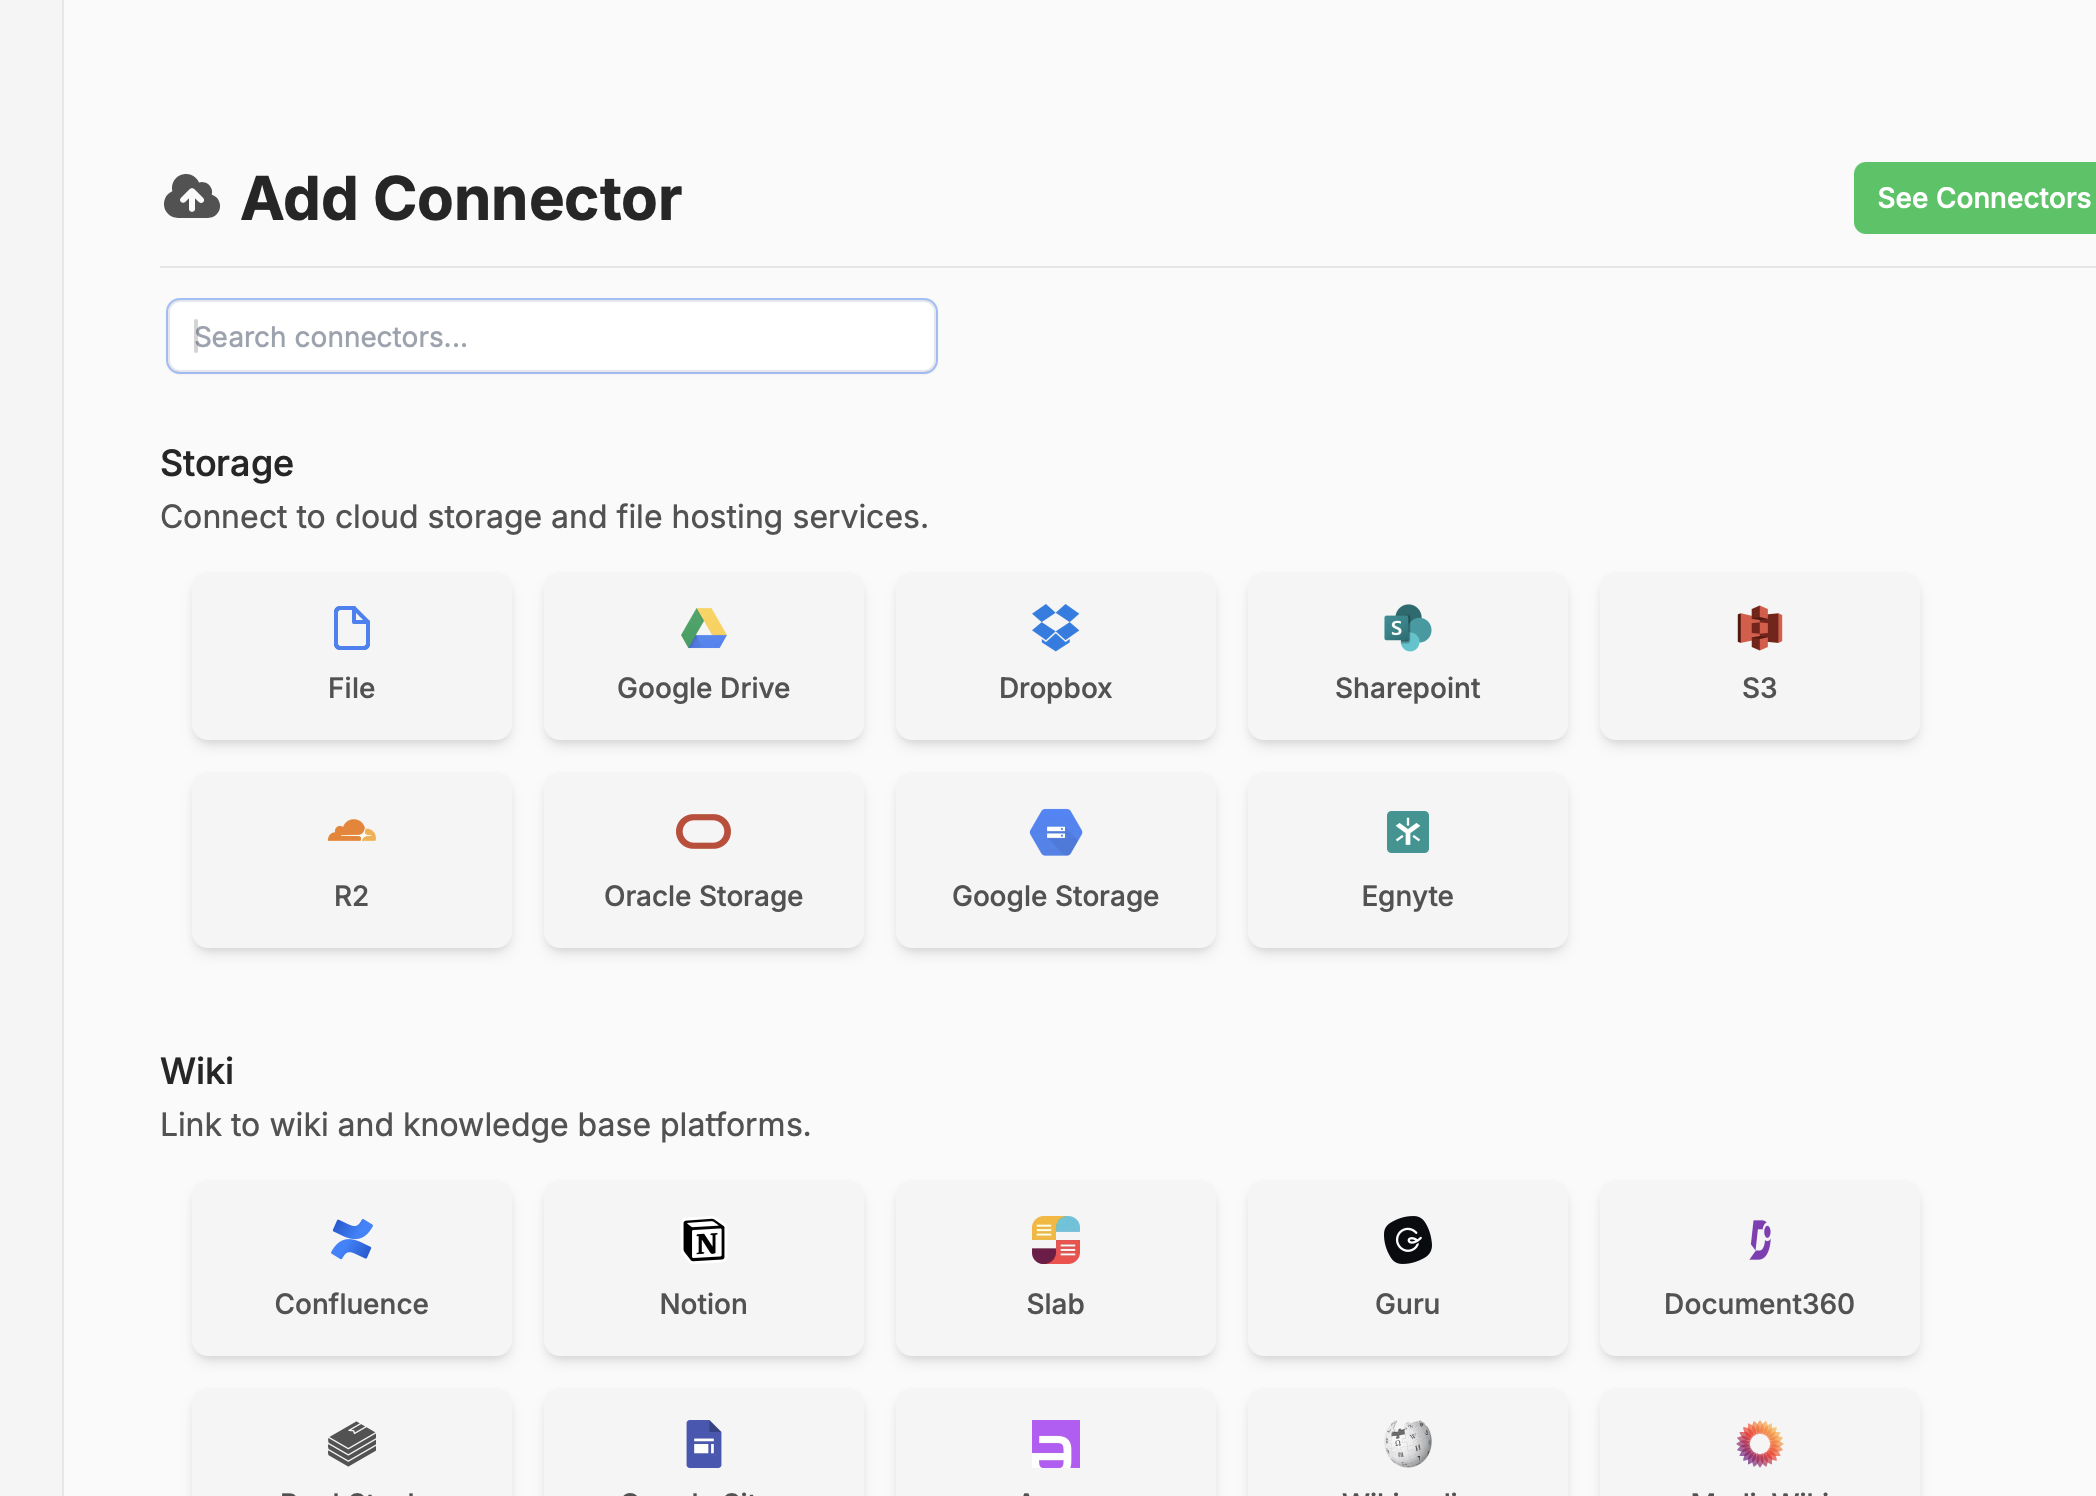
Adding Data Using Connectors
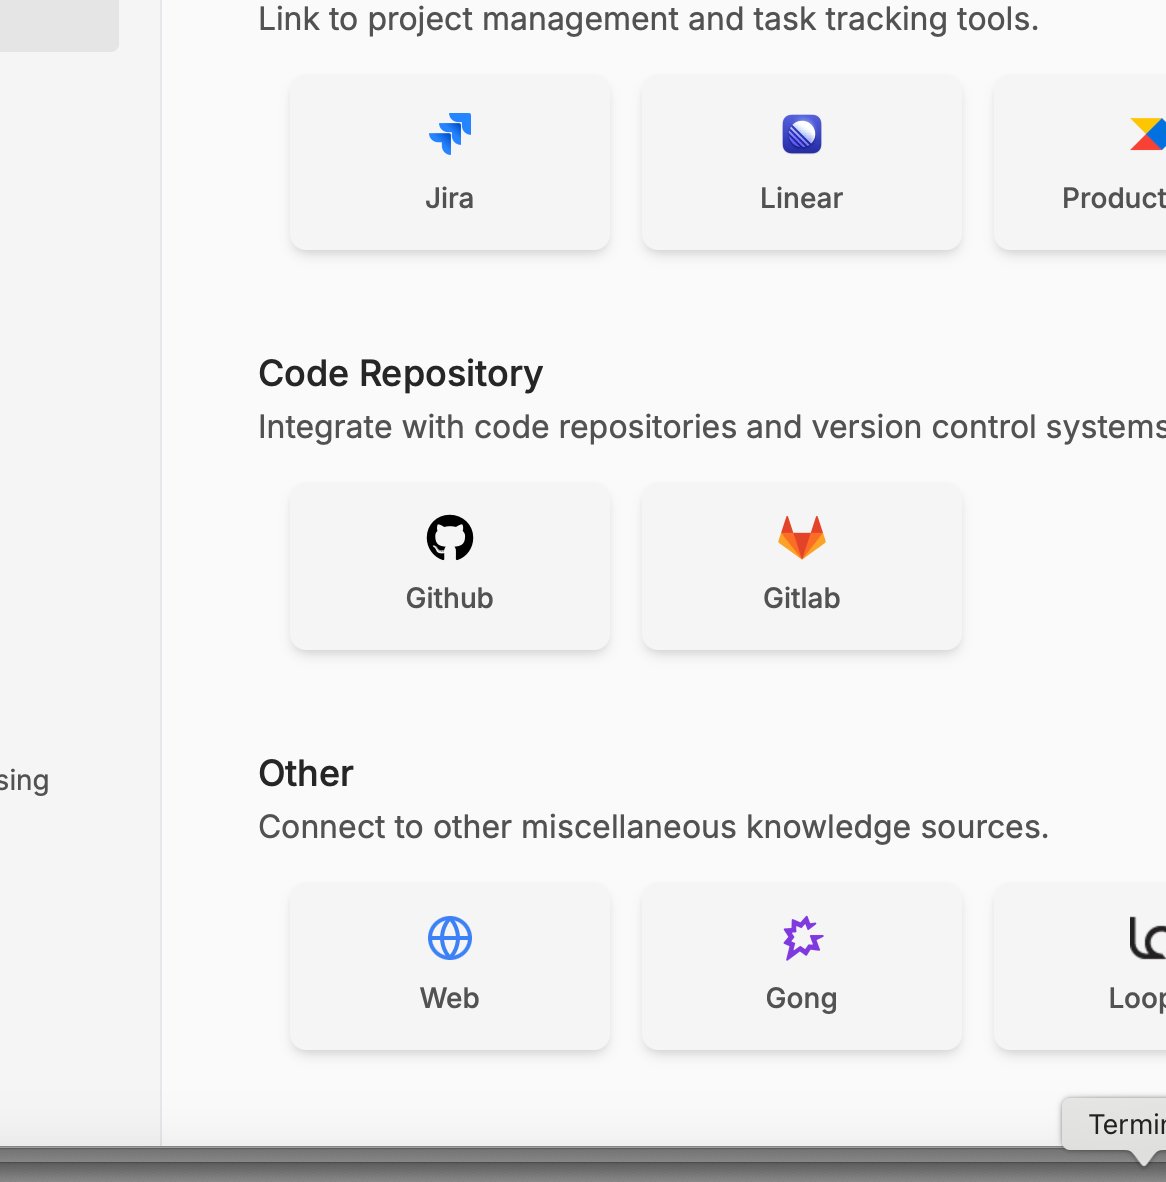
Onyx supports dozens of connectors. In this tutorial, we’ll use the web connector, but you can also use others for Slack, Dropbox, and more.
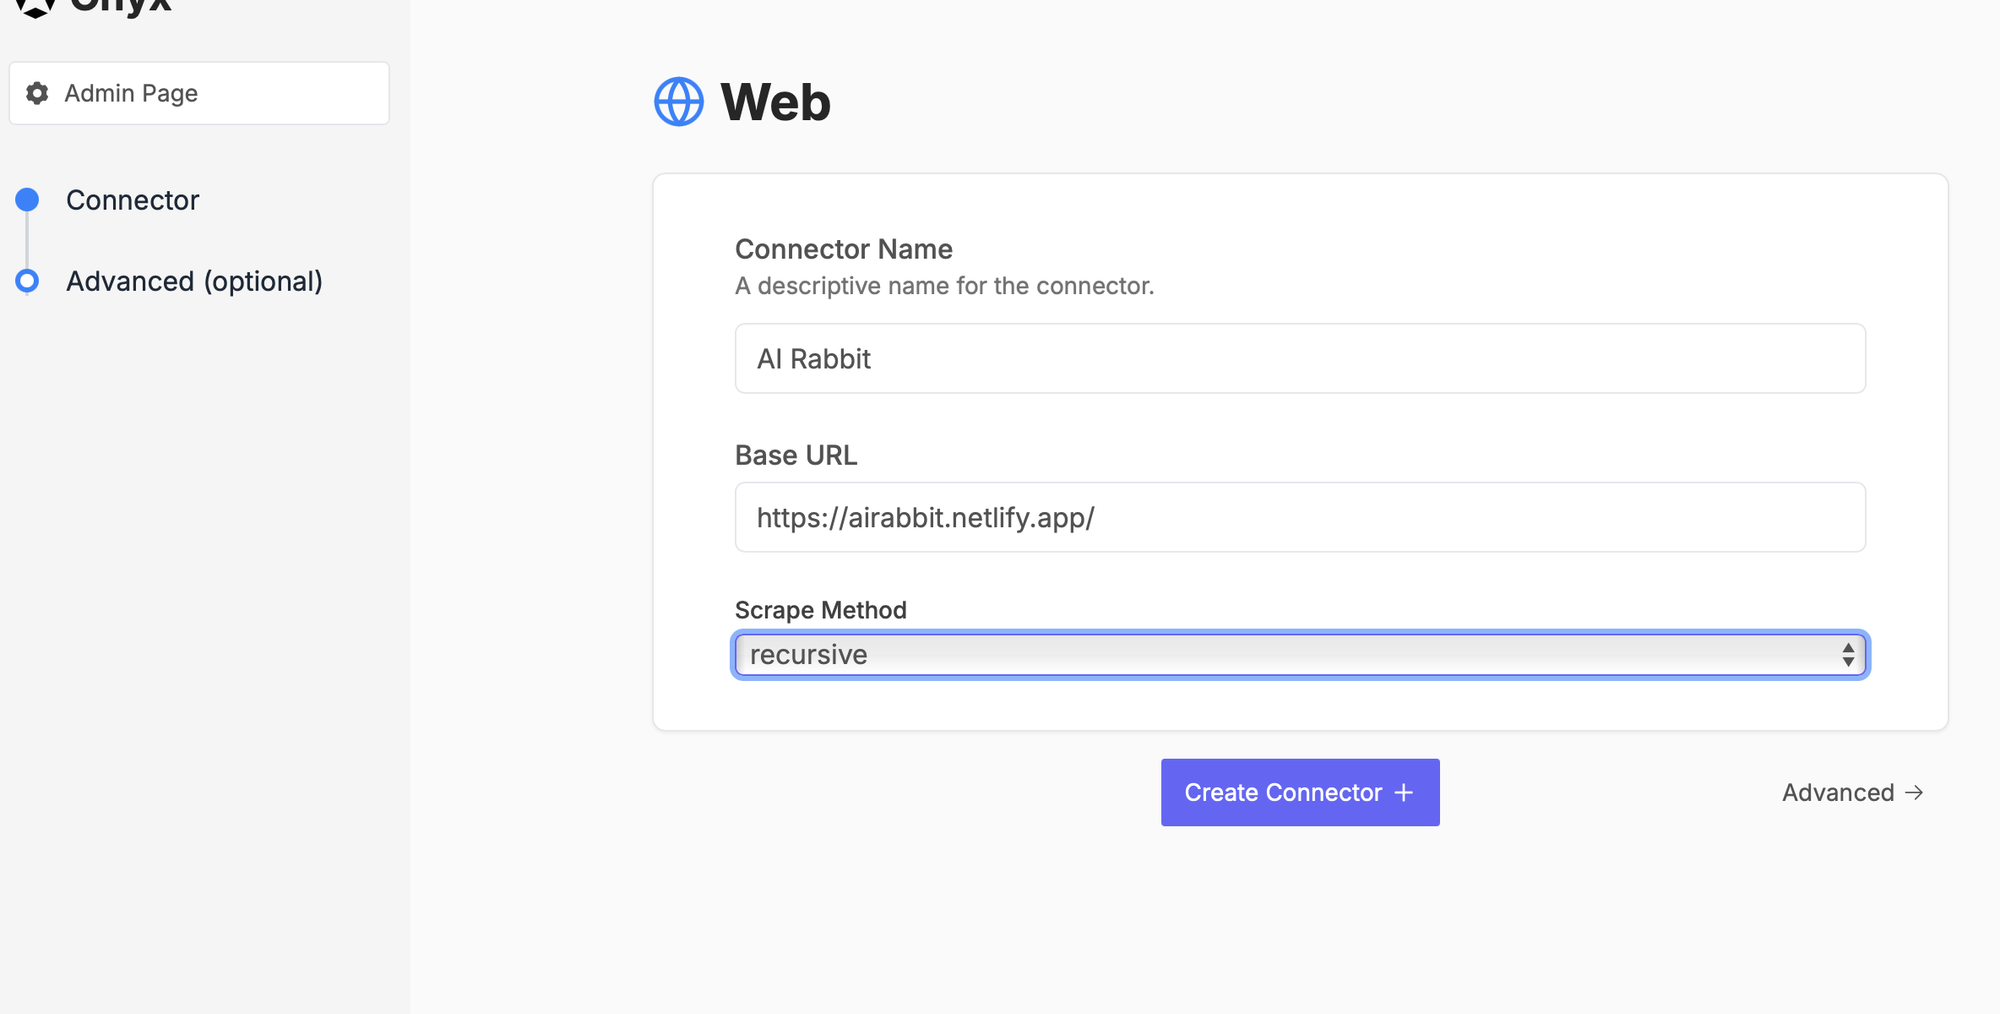
Click the Web connector:
Enter the website data. We’ll use a small site here for testing. Later, we can add additional pages to see how auto-sync behaves.
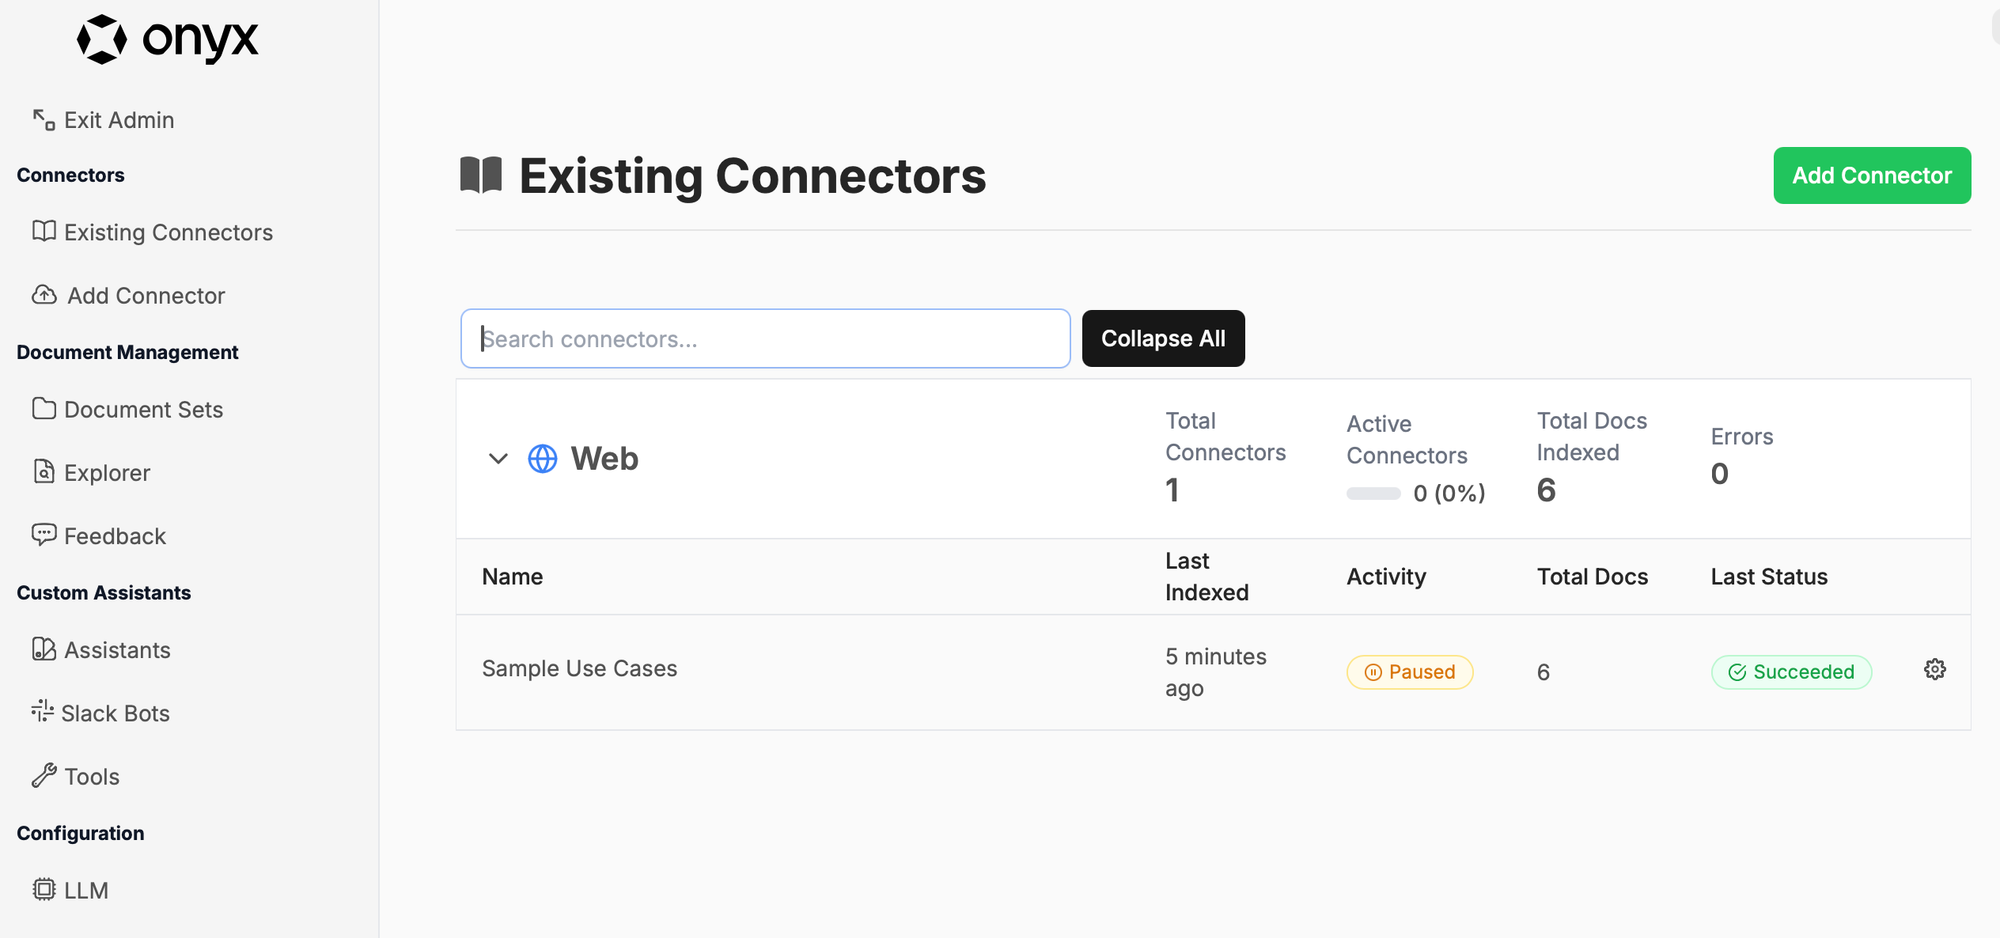
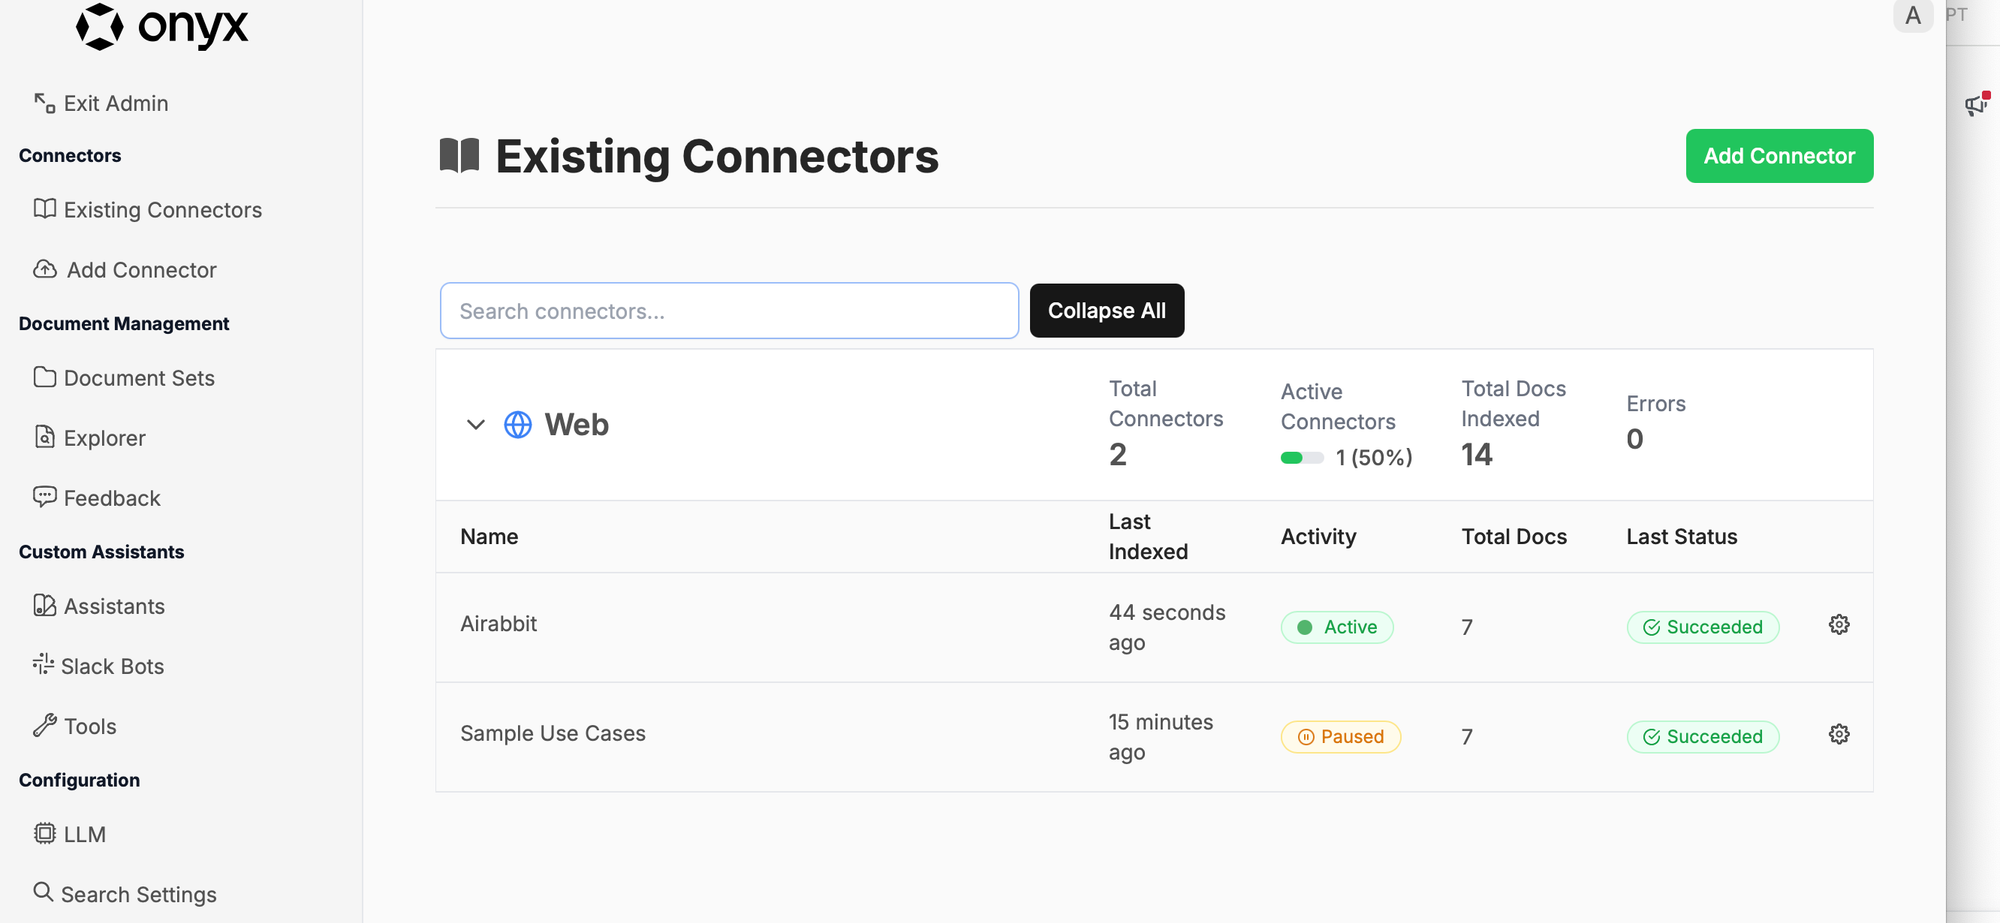
It looks like this after adding. Total docs are still 0 initially:
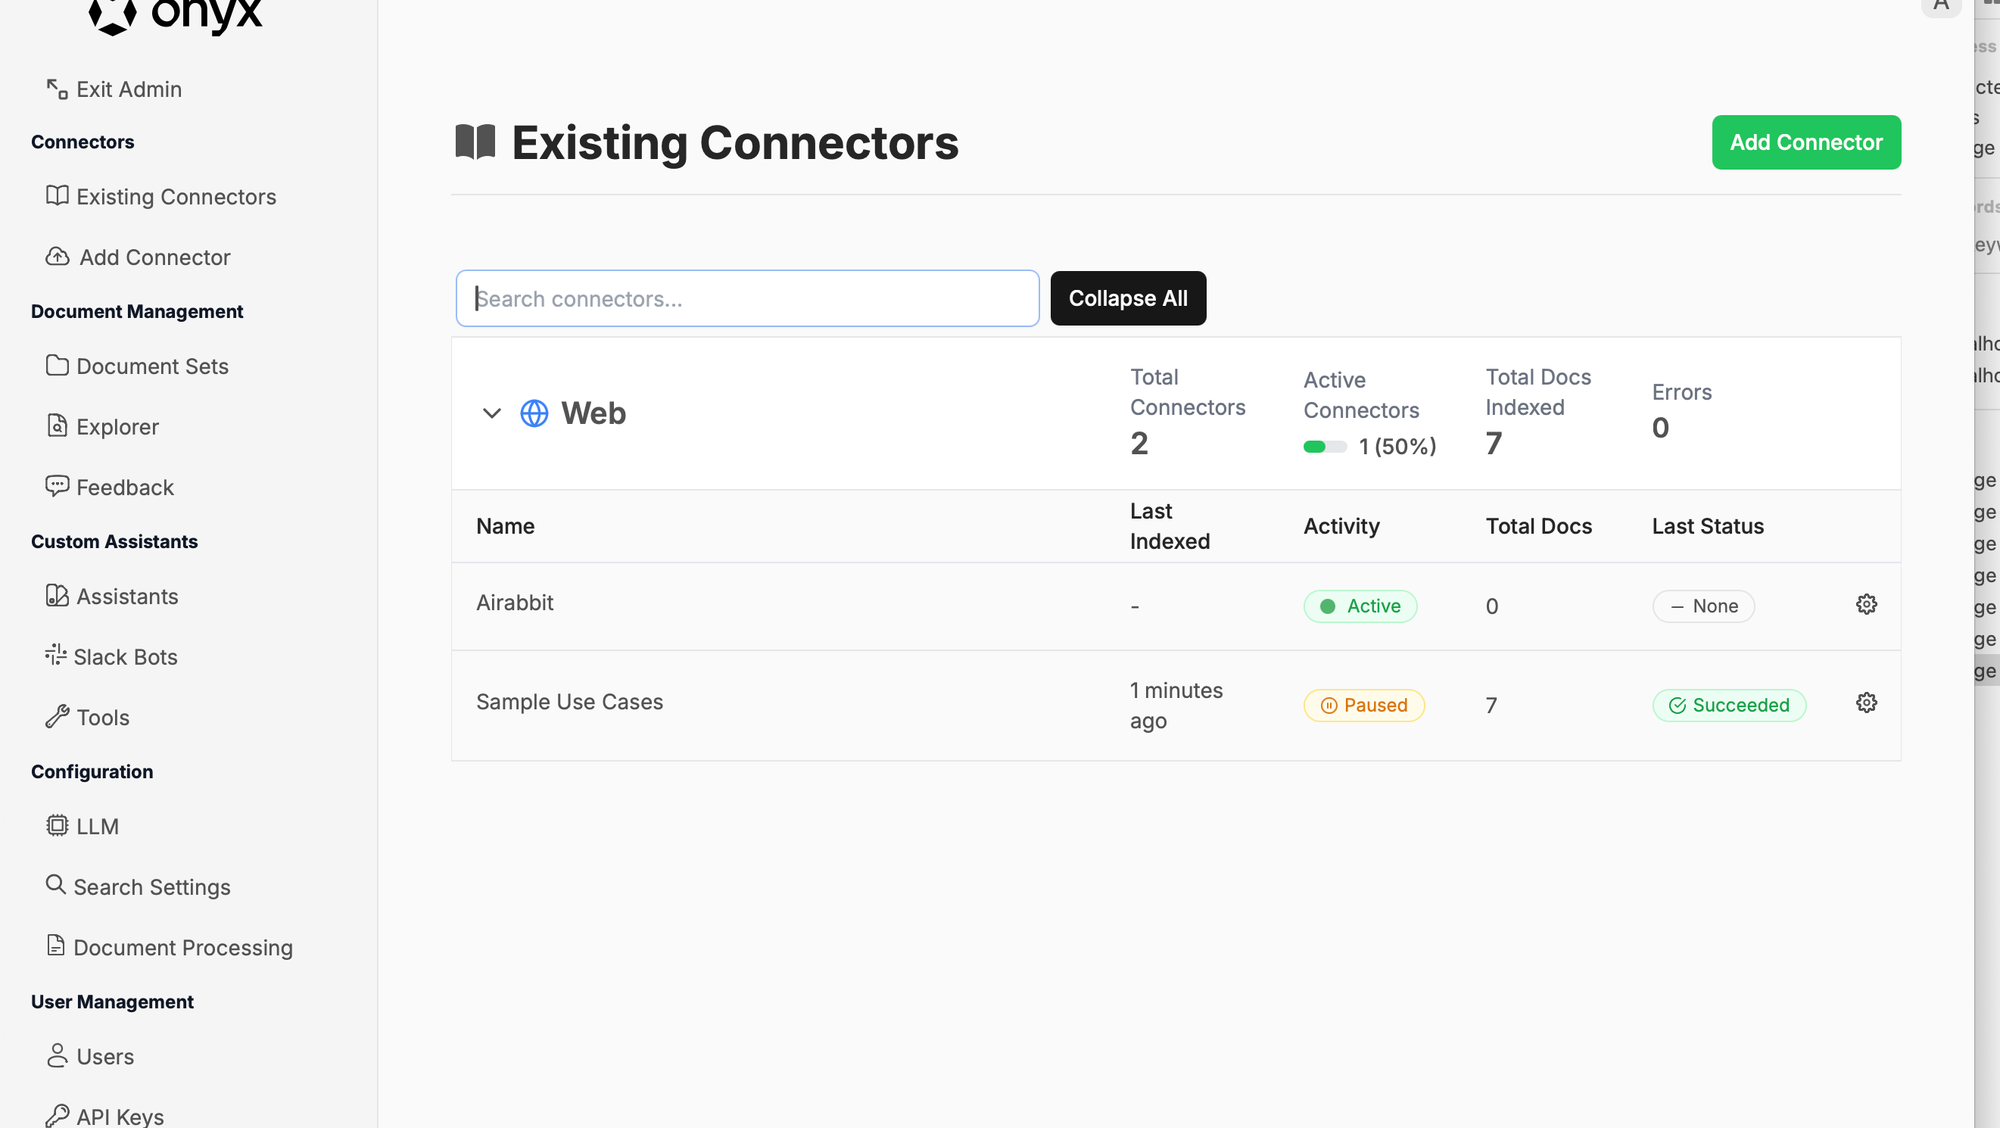
After a few seconds, it has indexed 7 docs:
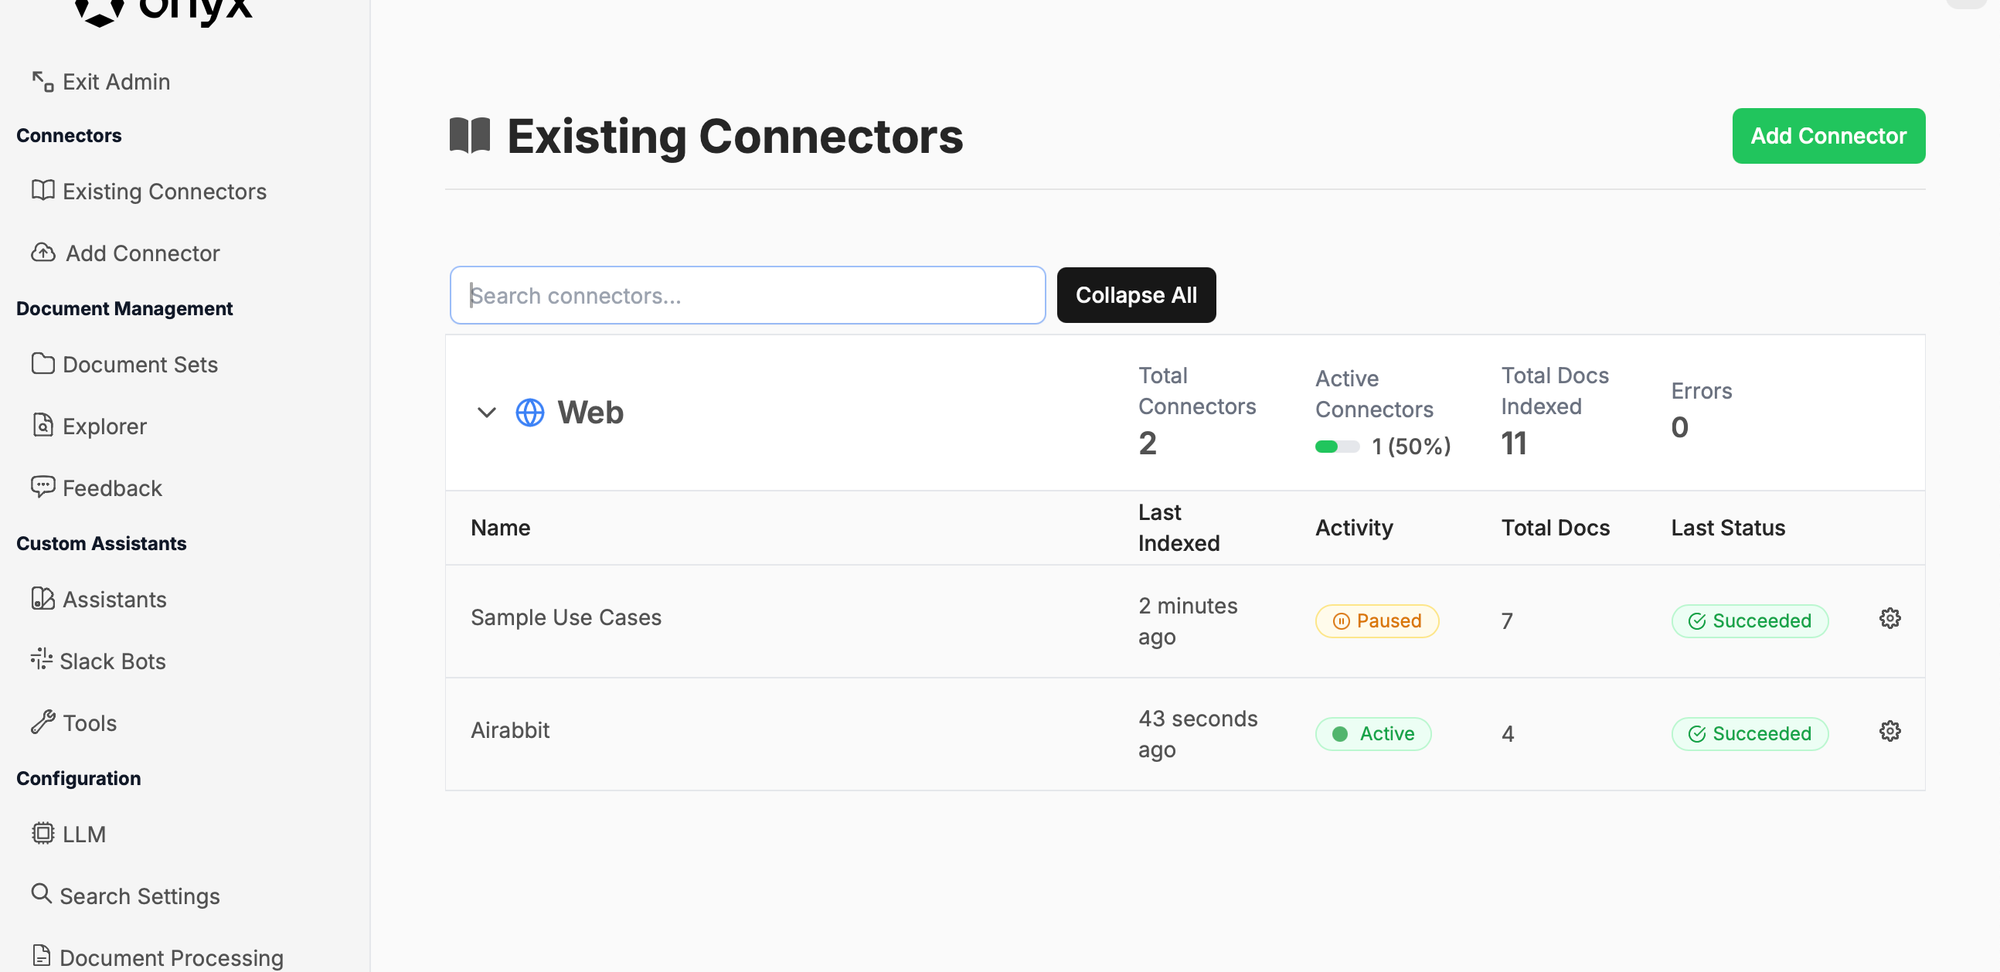
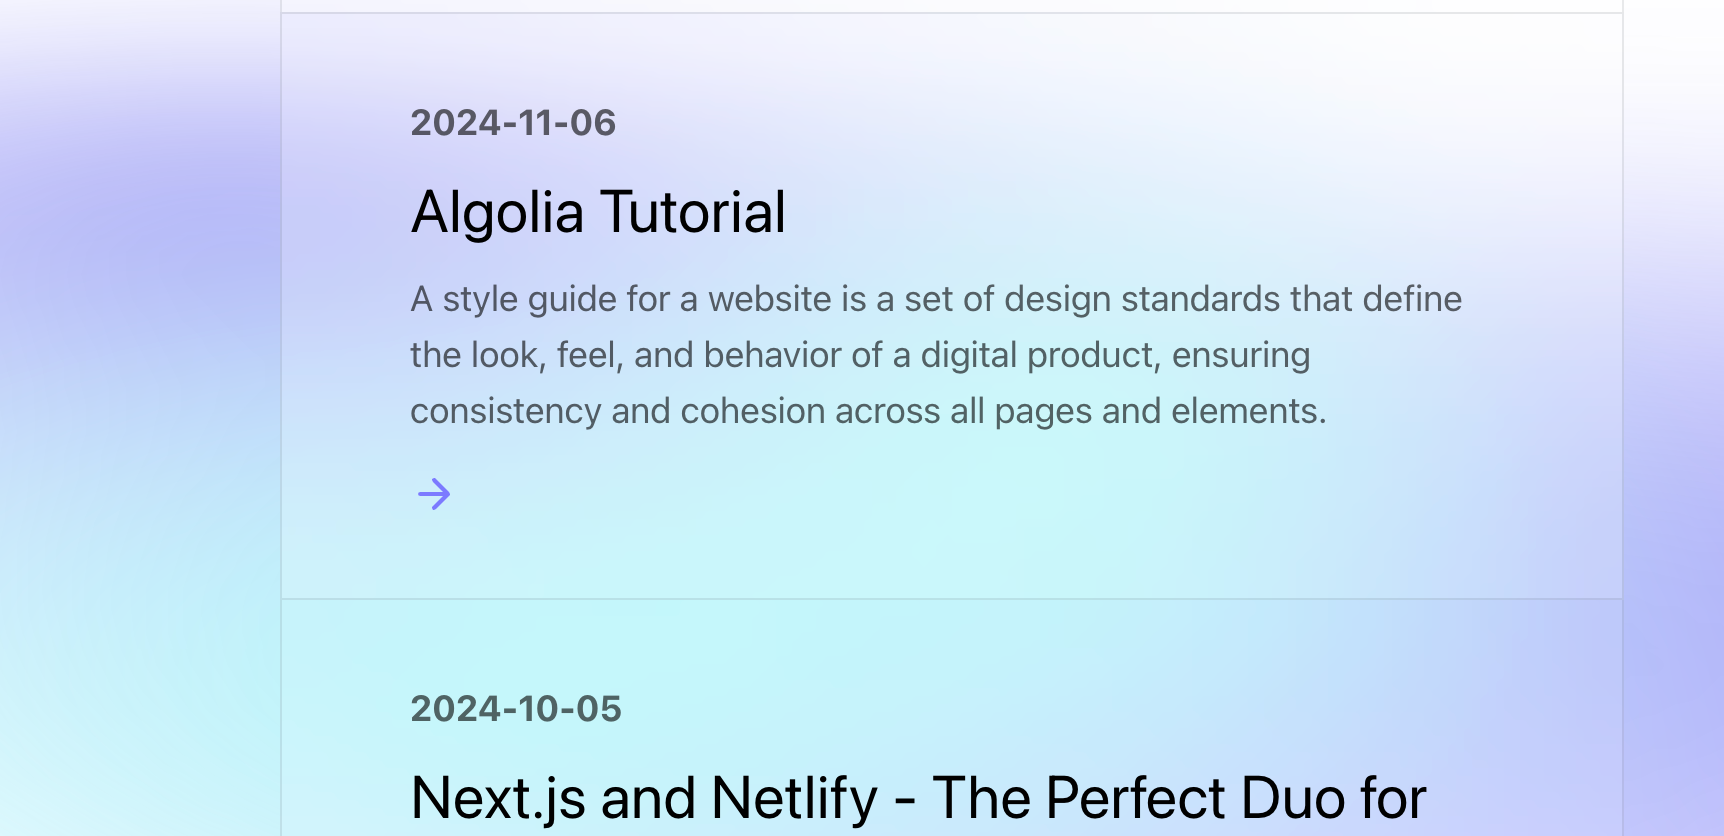
Here’s the website we’re testing—just a simple blog with 6 posts:

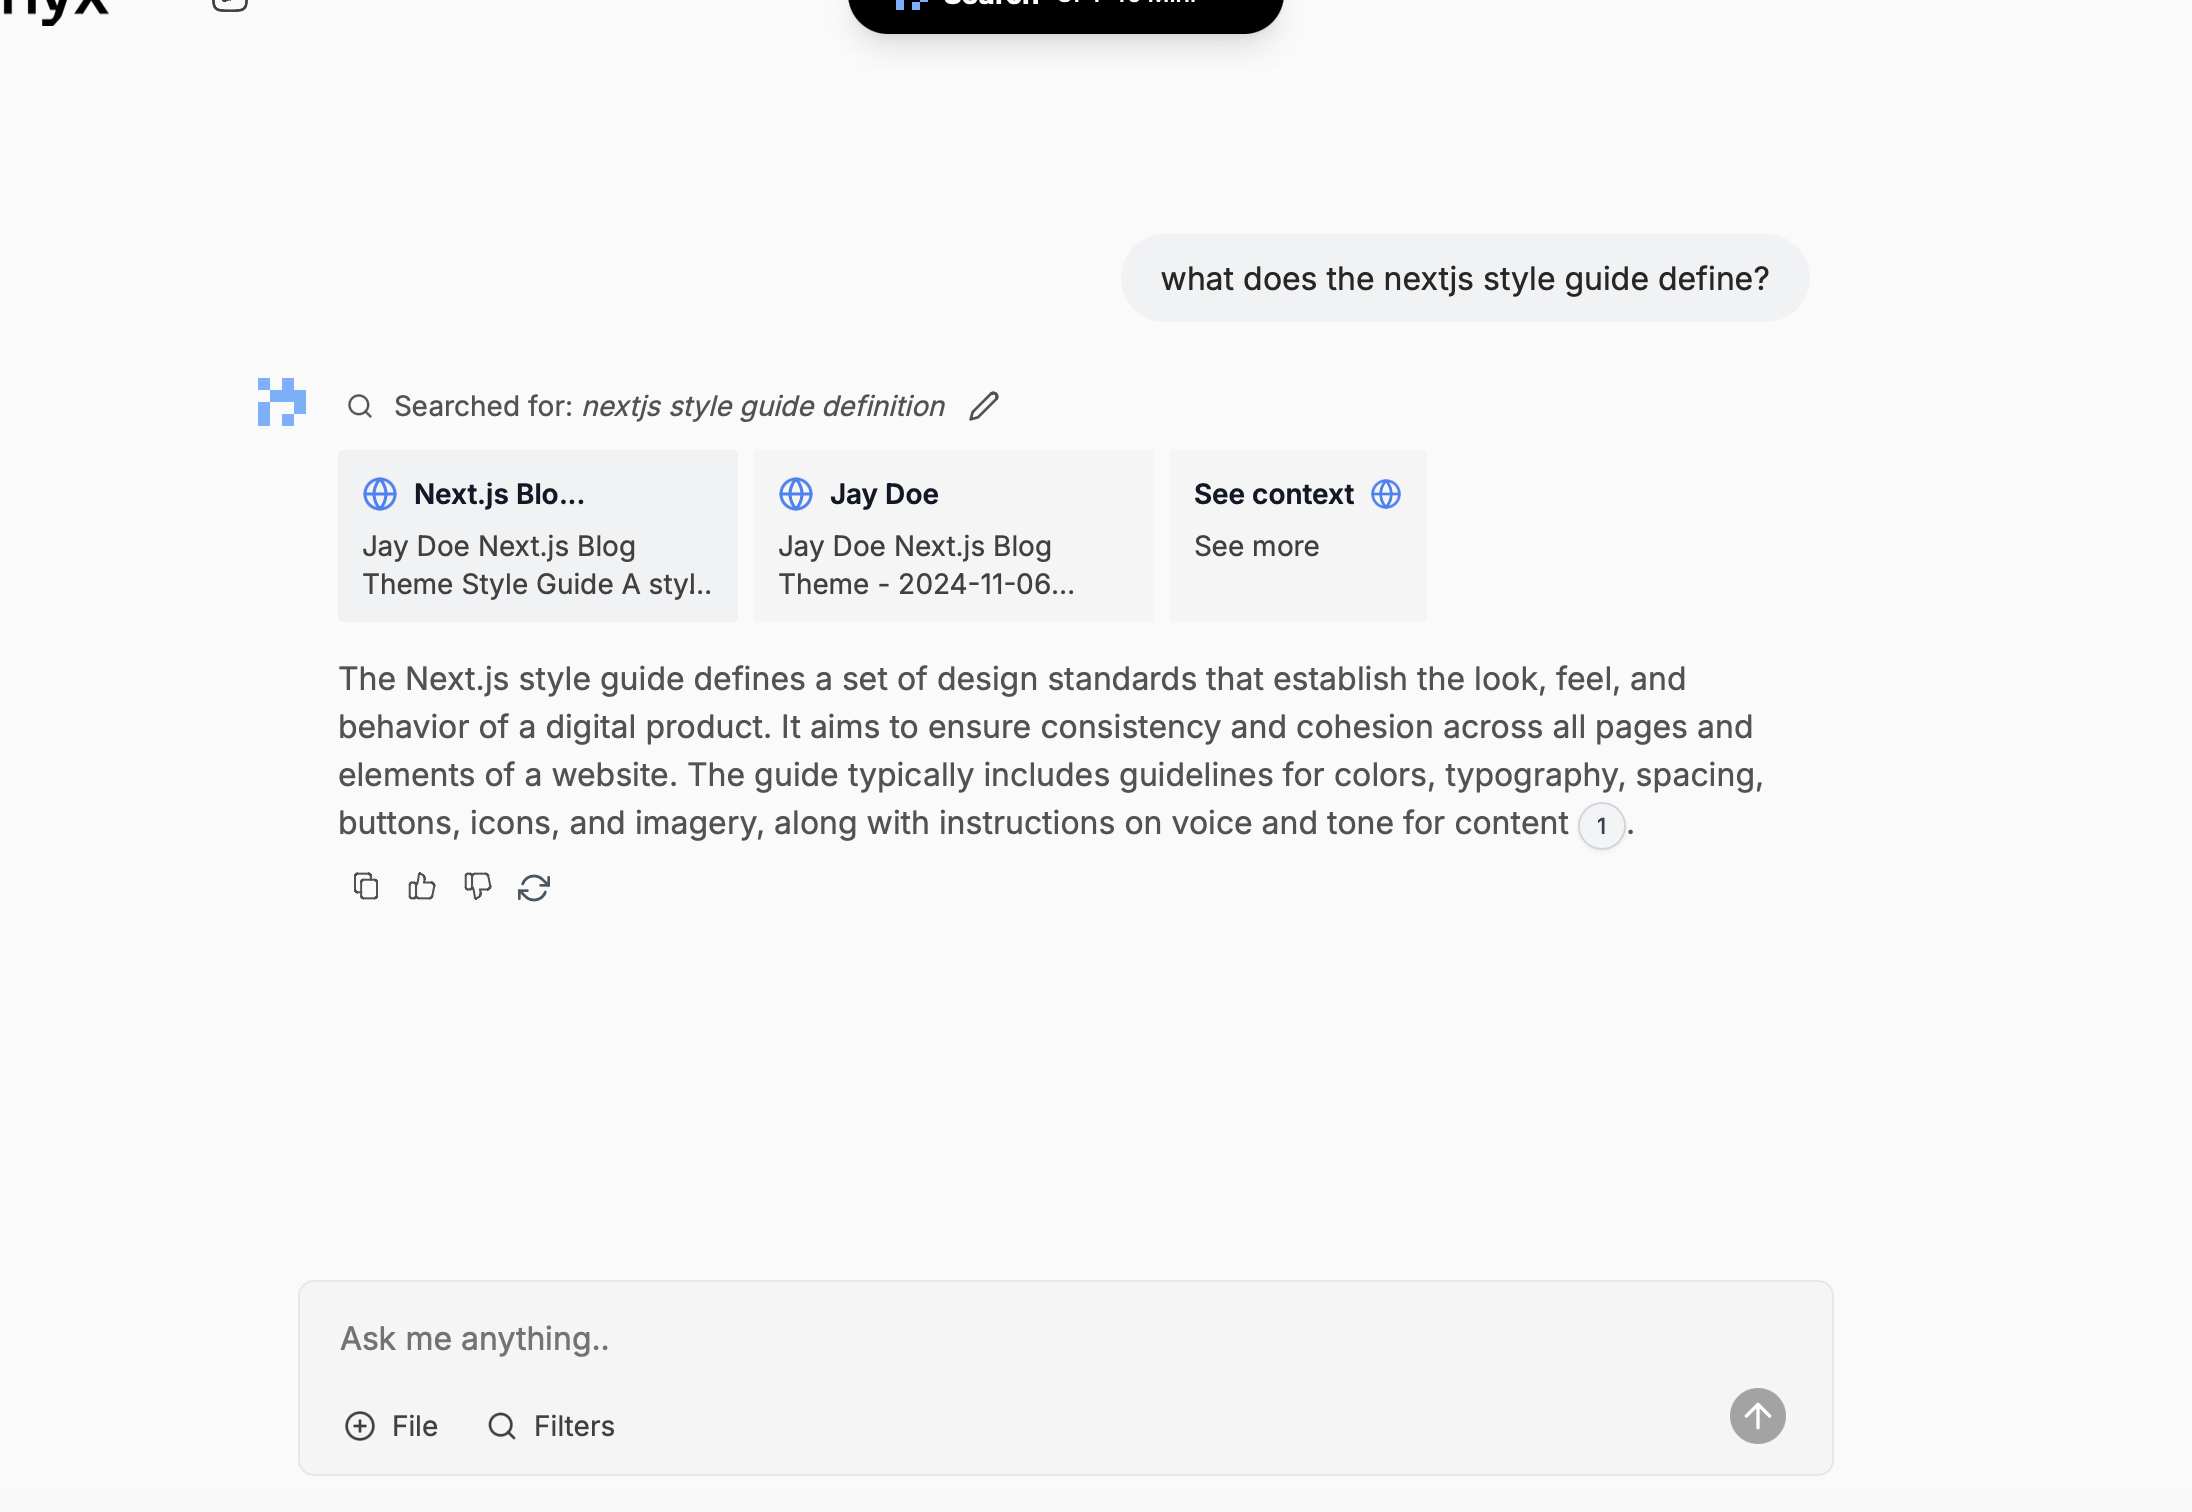
Once the indexing is finished, you should be able to chat with the latest version:
We ask a question related to the first post. The answer is correct and shows a citation from the indexed doc. Great.
---
Adding New Content
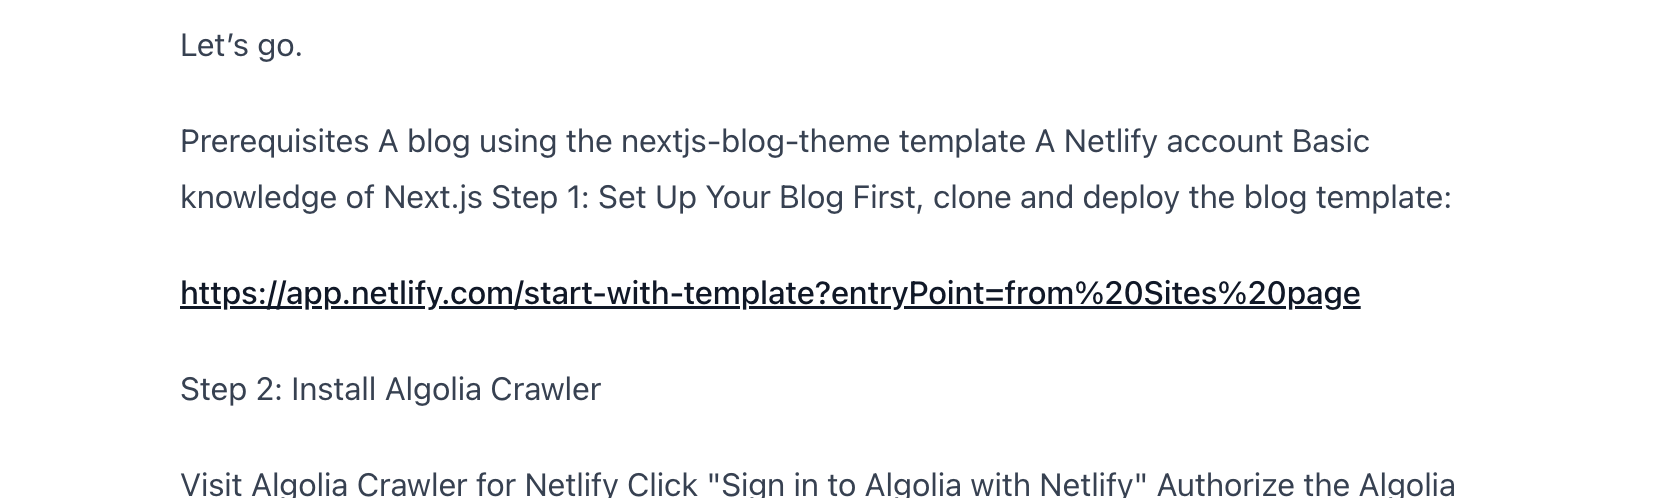
Let’s add a new post—here, an Algolia tutorial:
After a few seconds, the index updates automatically. You can change this schedule anytime, including frequency, etc.
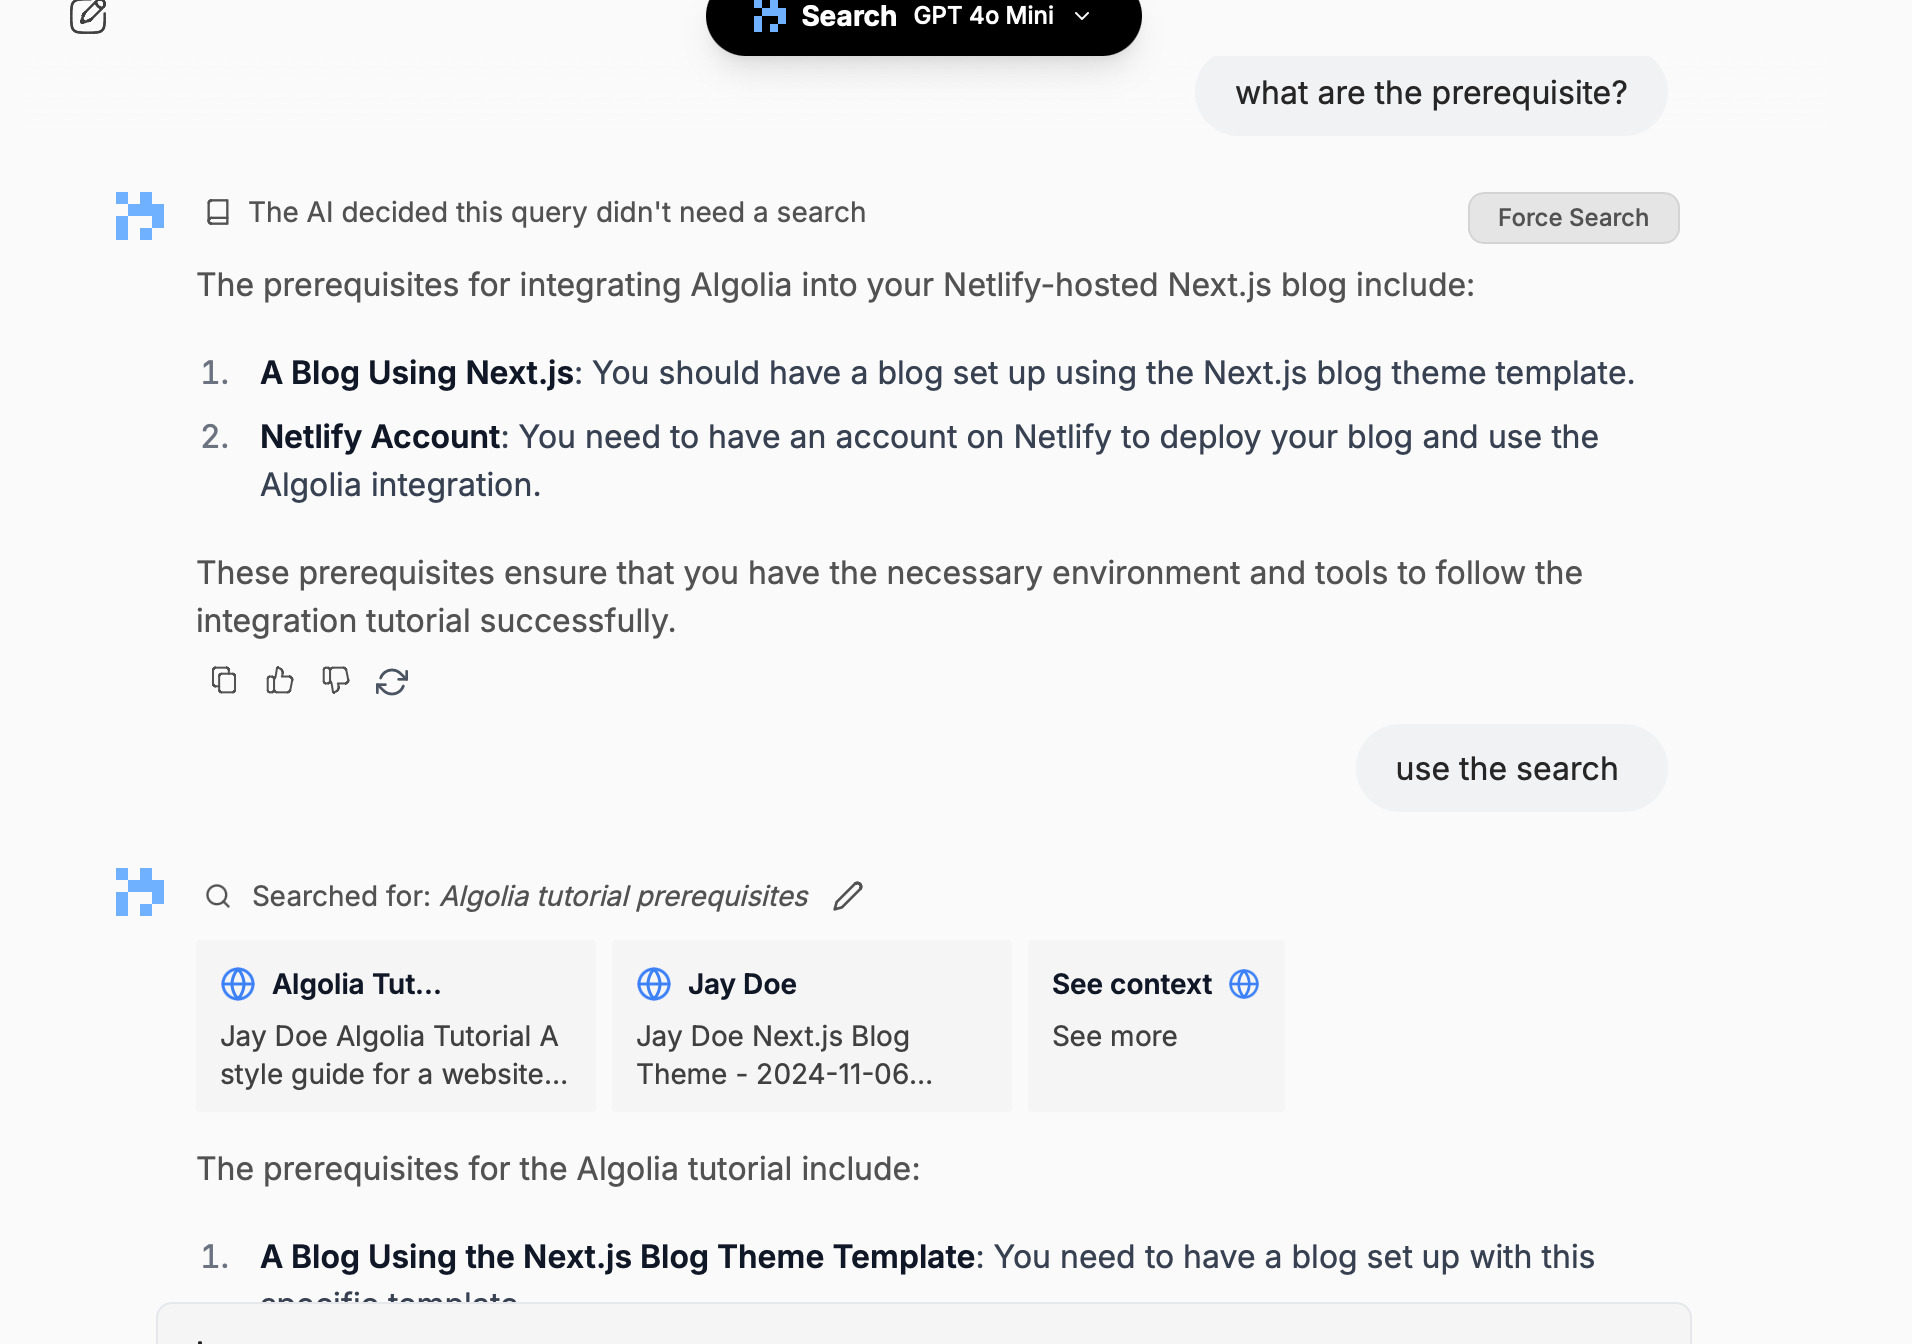
Now, let’s ask about the new blog post: “Algolia, what are the prerequisites for installing?”
And the answer is 100% correct, as in the doc. Well done.
---
Next Steps
You can add more sites and attach other sources, like Slack, Dropbox, etc. Keep in mind that public websites can be limited, and you should adhere to robots.txt and crawling policies.
For private setups, you might also consider using private models. I’ve written many blog posts on how to do that using tools like LLAMA, Ollama, and Open Web UI.
I also recommend taking a look at using the API to integrate Onyx with existing products such as websites, chatbots (such as OpenWeBUI) and much more.
Enjoy exploring Onyx!