Powerful Blogs with Netlify Visual Editor & ContentOps
Discover the power of Netlify’s free Visual Editing feature, perfect for seamlessly managing your static content! This intuitive WYSIWYG interface supports rich text and Markdown, all while leveraging Git for content storage—no database needed. Dive in and simplify your blogging experience today!
Netlify is a great platform for hosting all kinds of websites. I often use it interchangeably with Vercel for deploying dynamic websites, especially Next.js projects. The deployment process has always been smooth and reliable.
Recently, I came across an amazing feature I never knew existed (and it’s free): Visual Editing.
Visual Editing Overview
Here is the official documentation:
https://docs.netlify.com/visual-editor/get-started/
With this feature, you can edit static code such as blog posts with a WYSIWYG interface. Not only does it support rich text, but it also supports Markdown.
One of the paradigms it supports is Content Ops. If you’ve never heard this term before, it basically means using Git as the single source for your content (not just for your code). So, if you have a blog, you don’t use a database or an API like Contentful. Instead, you simply store all posts in Git—usually in Markdown format. It’s a super simple and scalable solution for blogs.
How It Works (In a Nutshell)
- Create a website with a template that supports Content Ops.
- Install the Visual Editor app (it basically just needs access to your repo to edit content).
- Edit the content (blog posts, pages, etc.) in the visual editor with point-and-click.
- Publish. This simply saves the edited files back to Git, where your entire blog is hosted. Remember, no database is required in this setup—just Git.
Convinced? Let’s try it.
https://app.netlify.com/teams//sites
Step-by-Step Setup
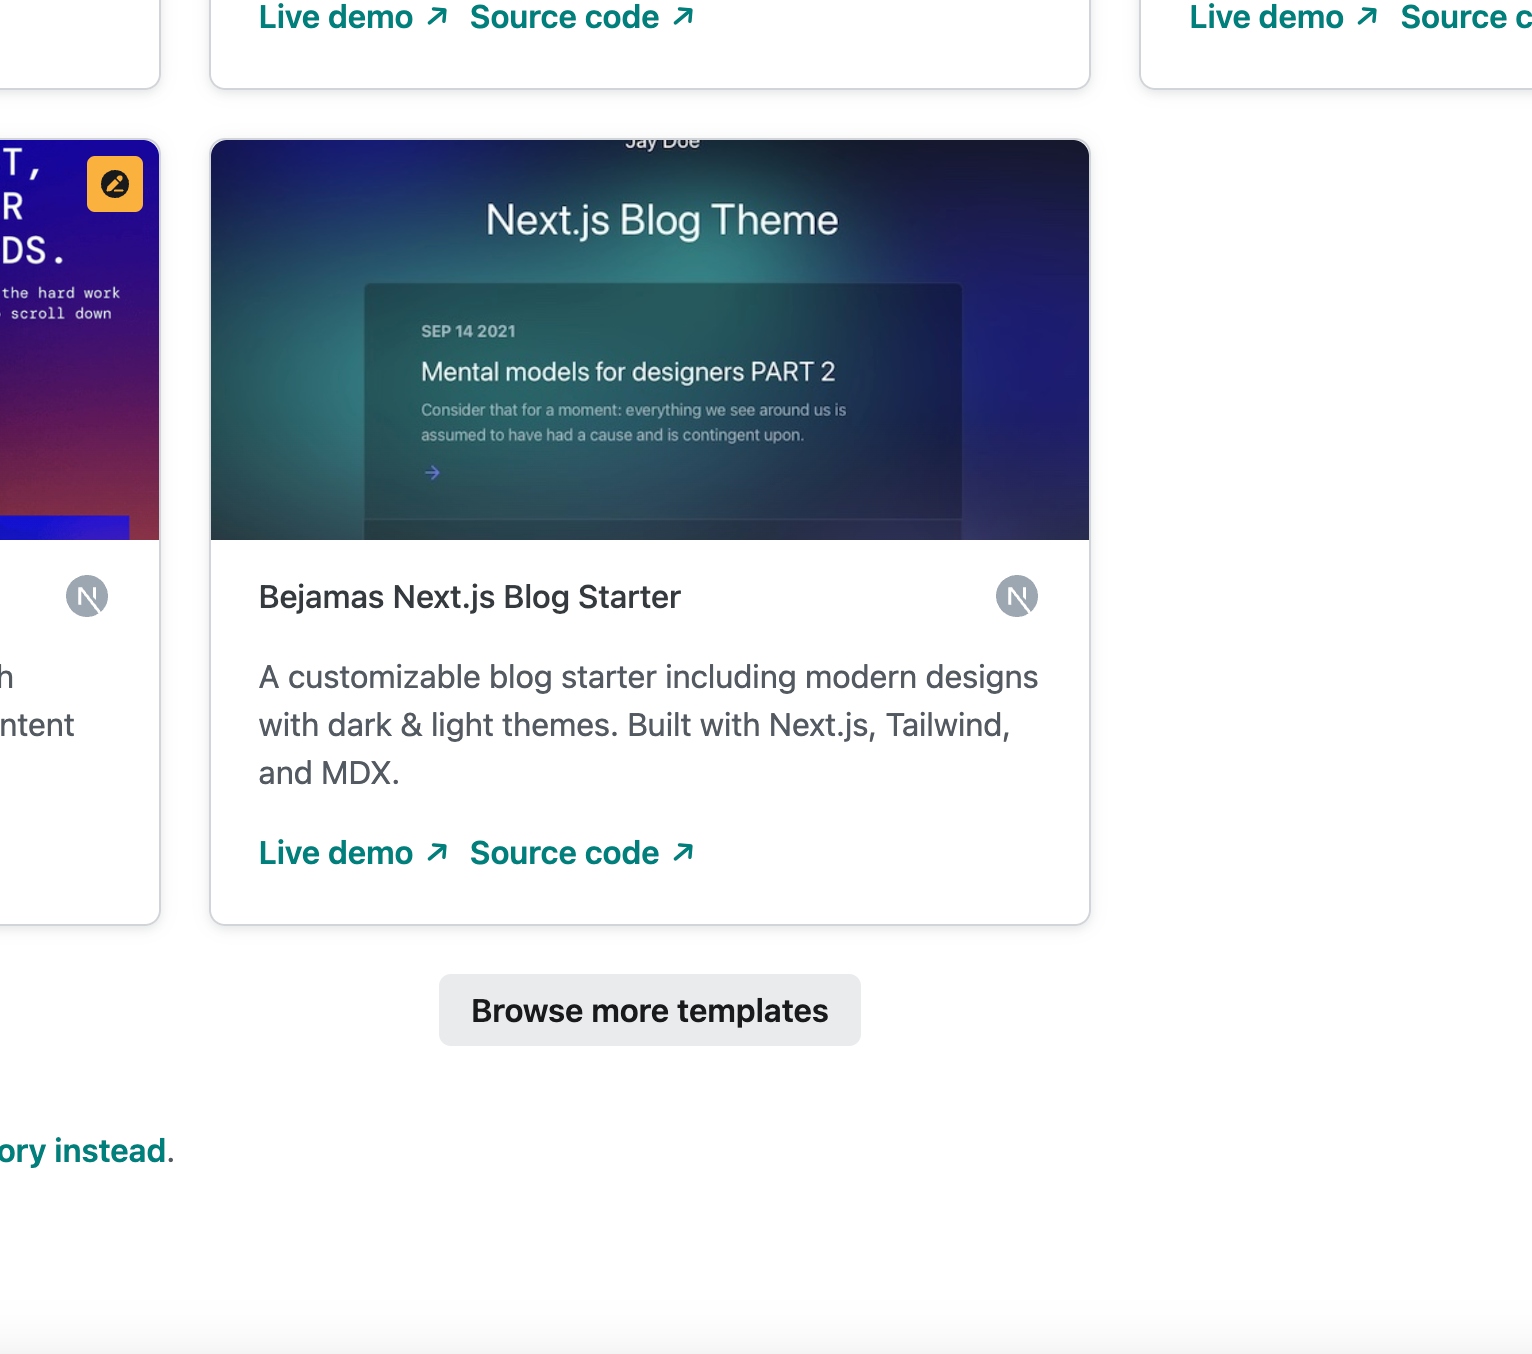
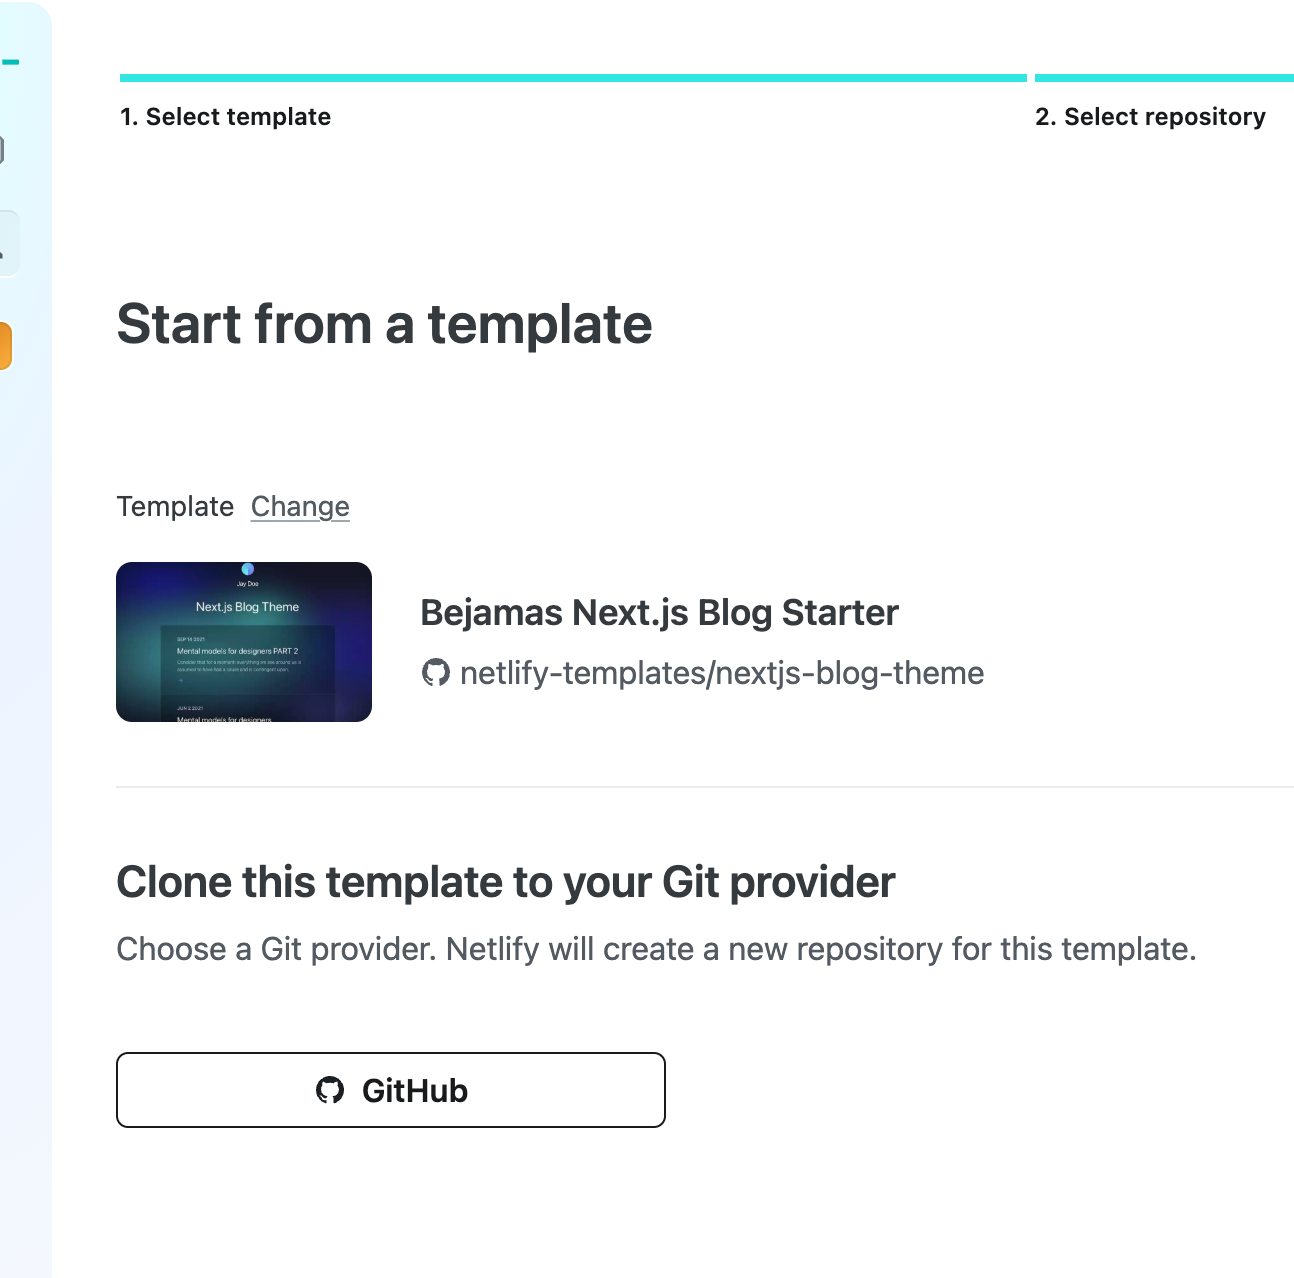
1. Create a New Site
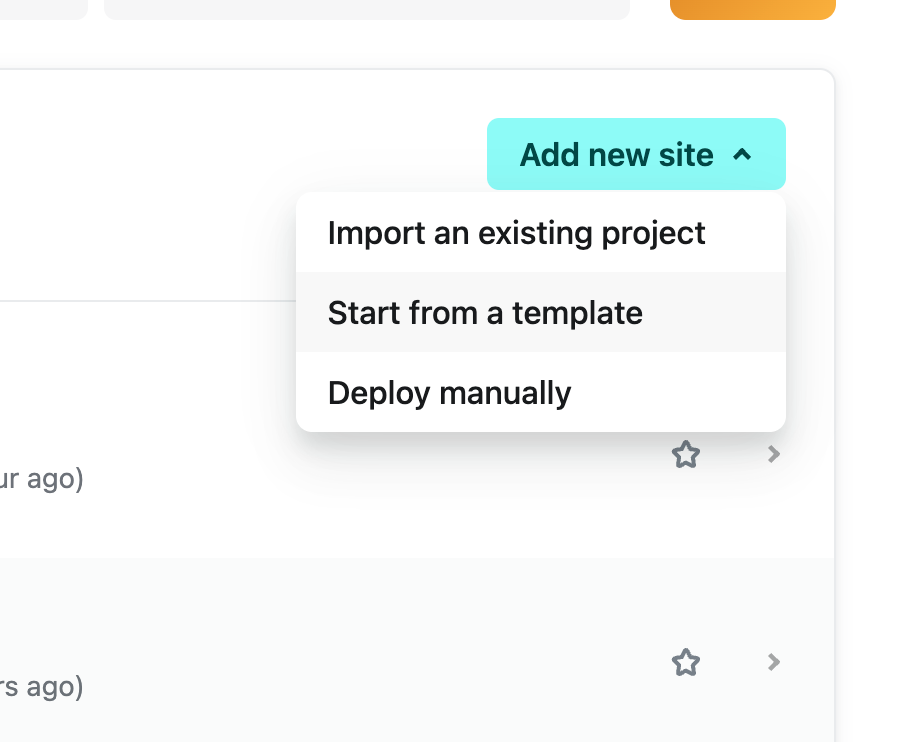
Choose the Next.js blog theme template.
Then connect your Git repo to Netlify:
Wait a few minutes for the deployment to finish.
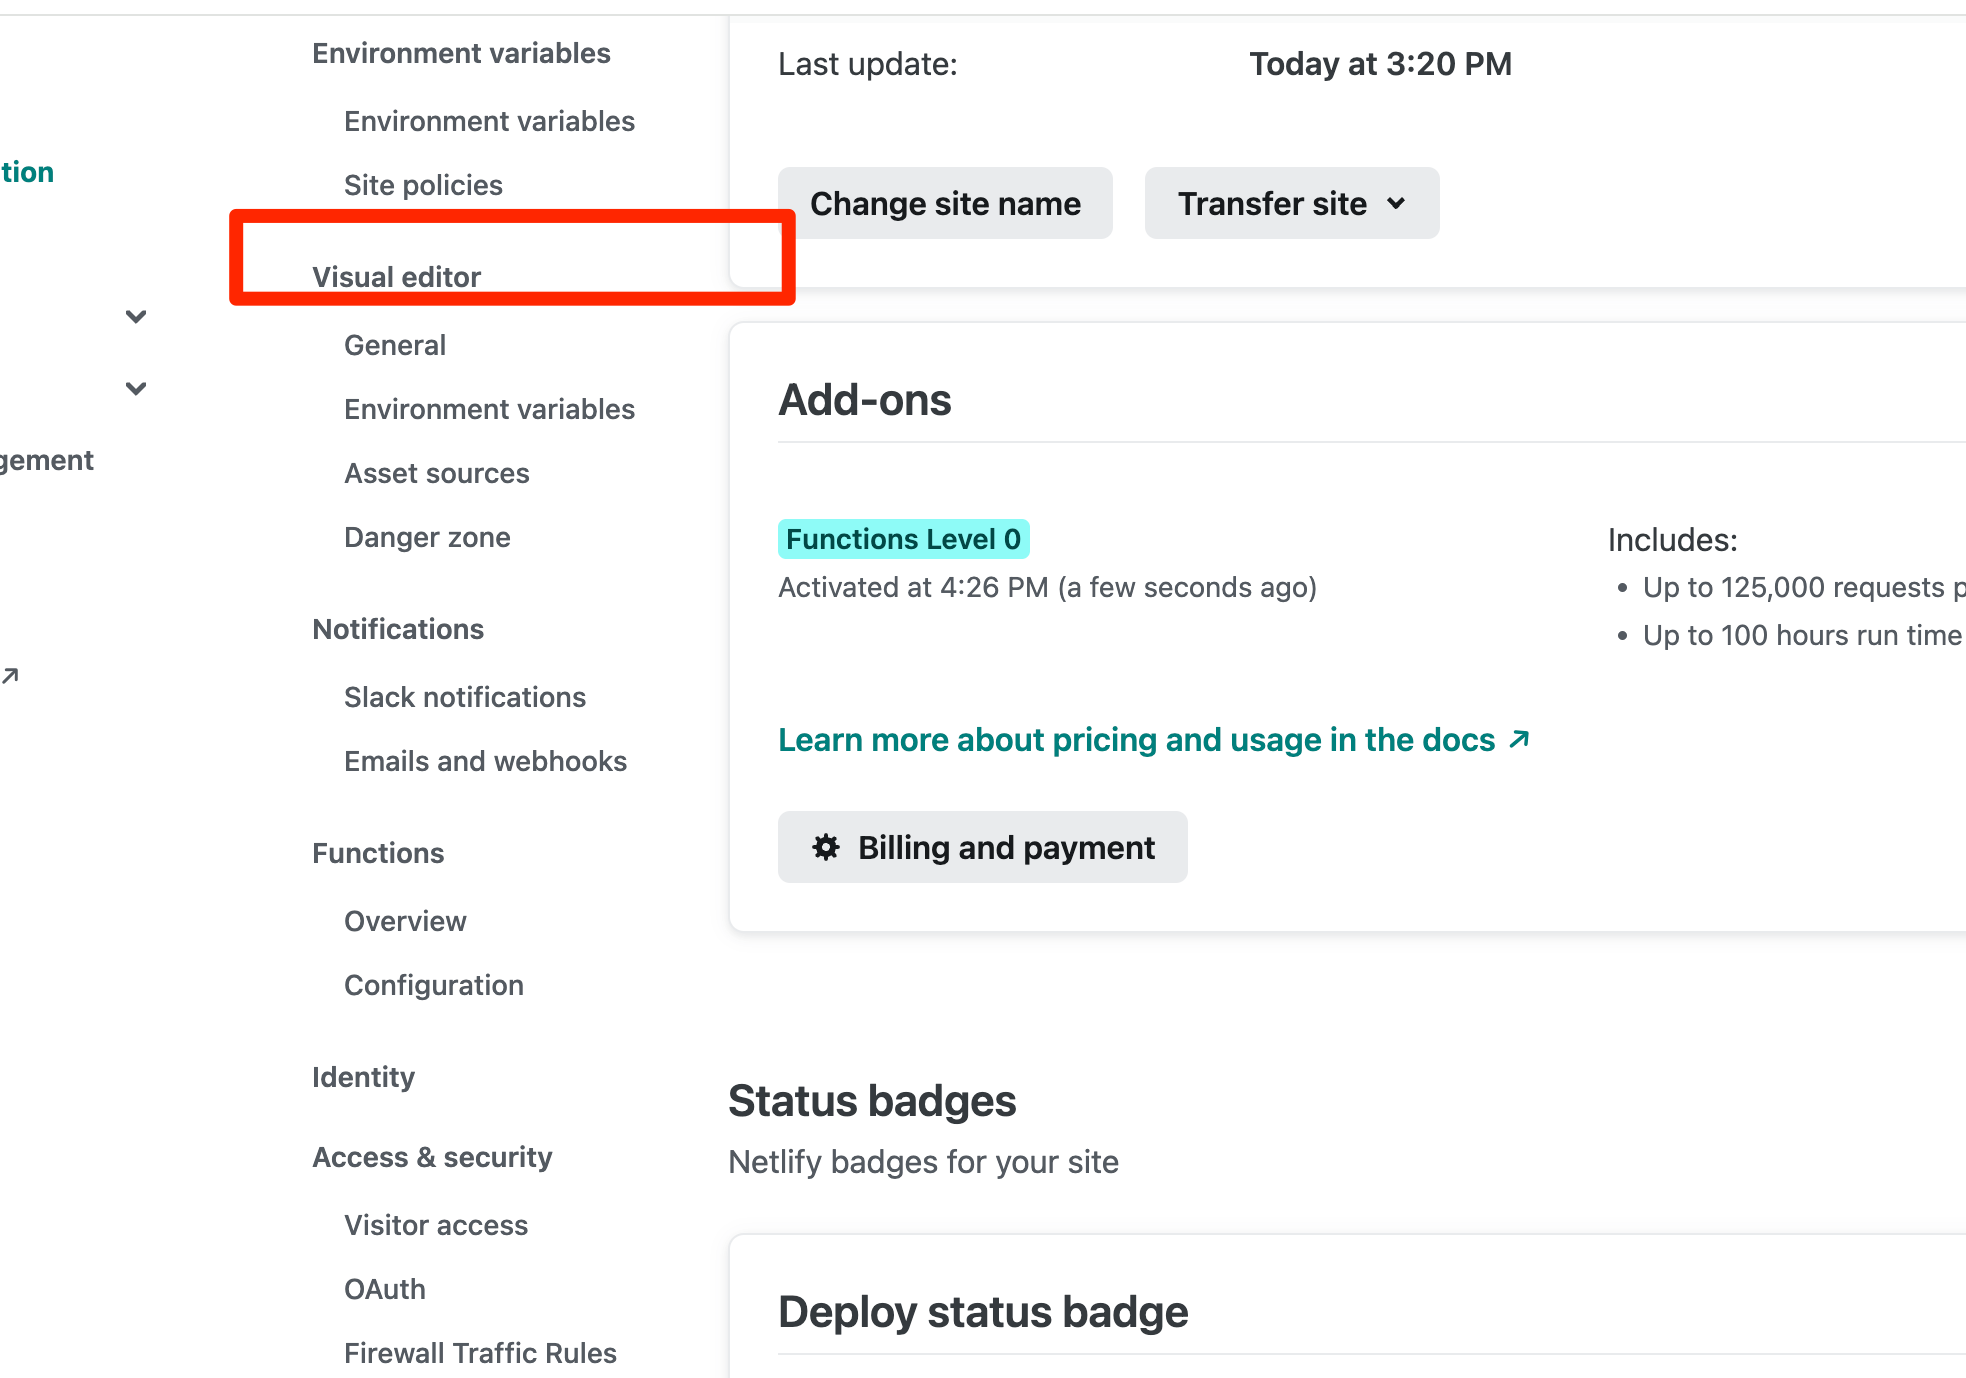
2. Enable the Visual Editor
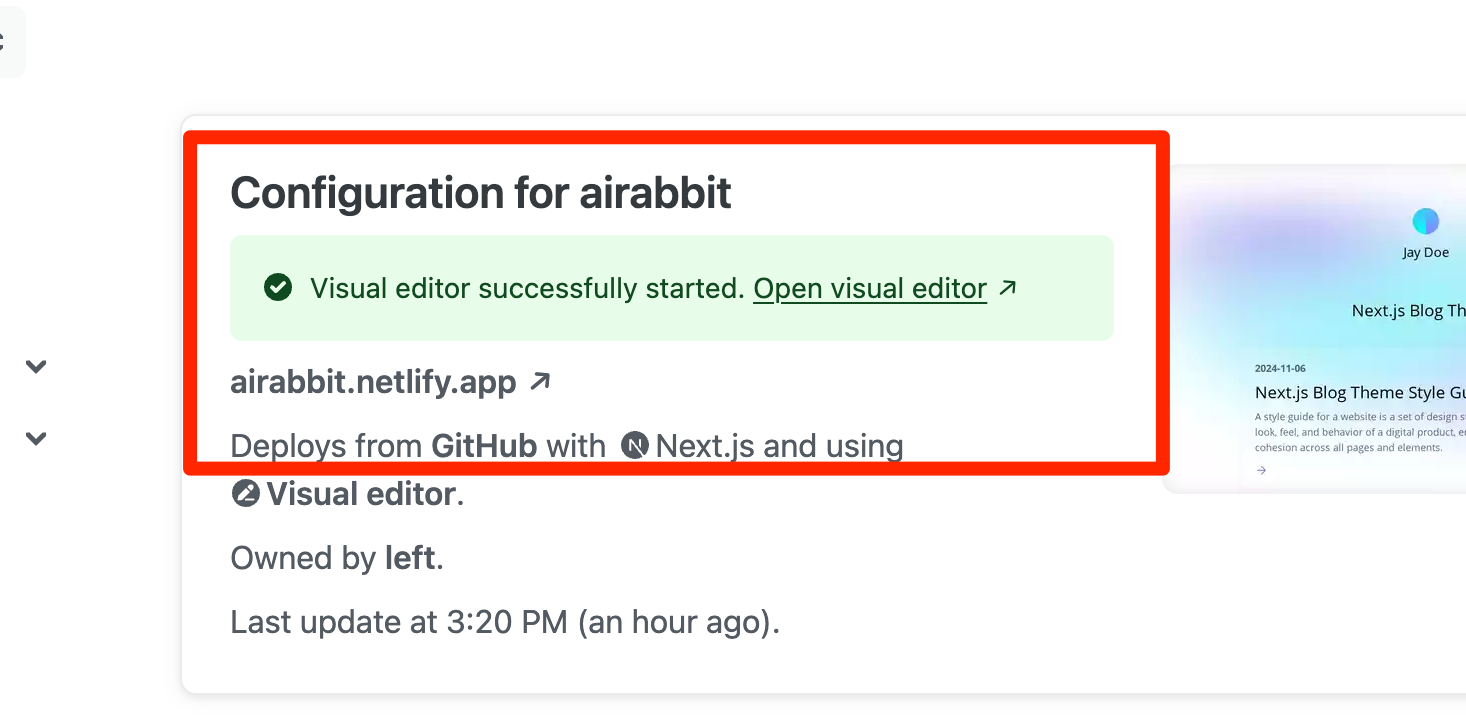
Go to Config > Visual Editor and enable it. It will ask you to confirm the connection to your Git. Approve it and wait for the installation to finish.
When everything is set, you can now head to the visual editor by clicking on the link in the deployment config.
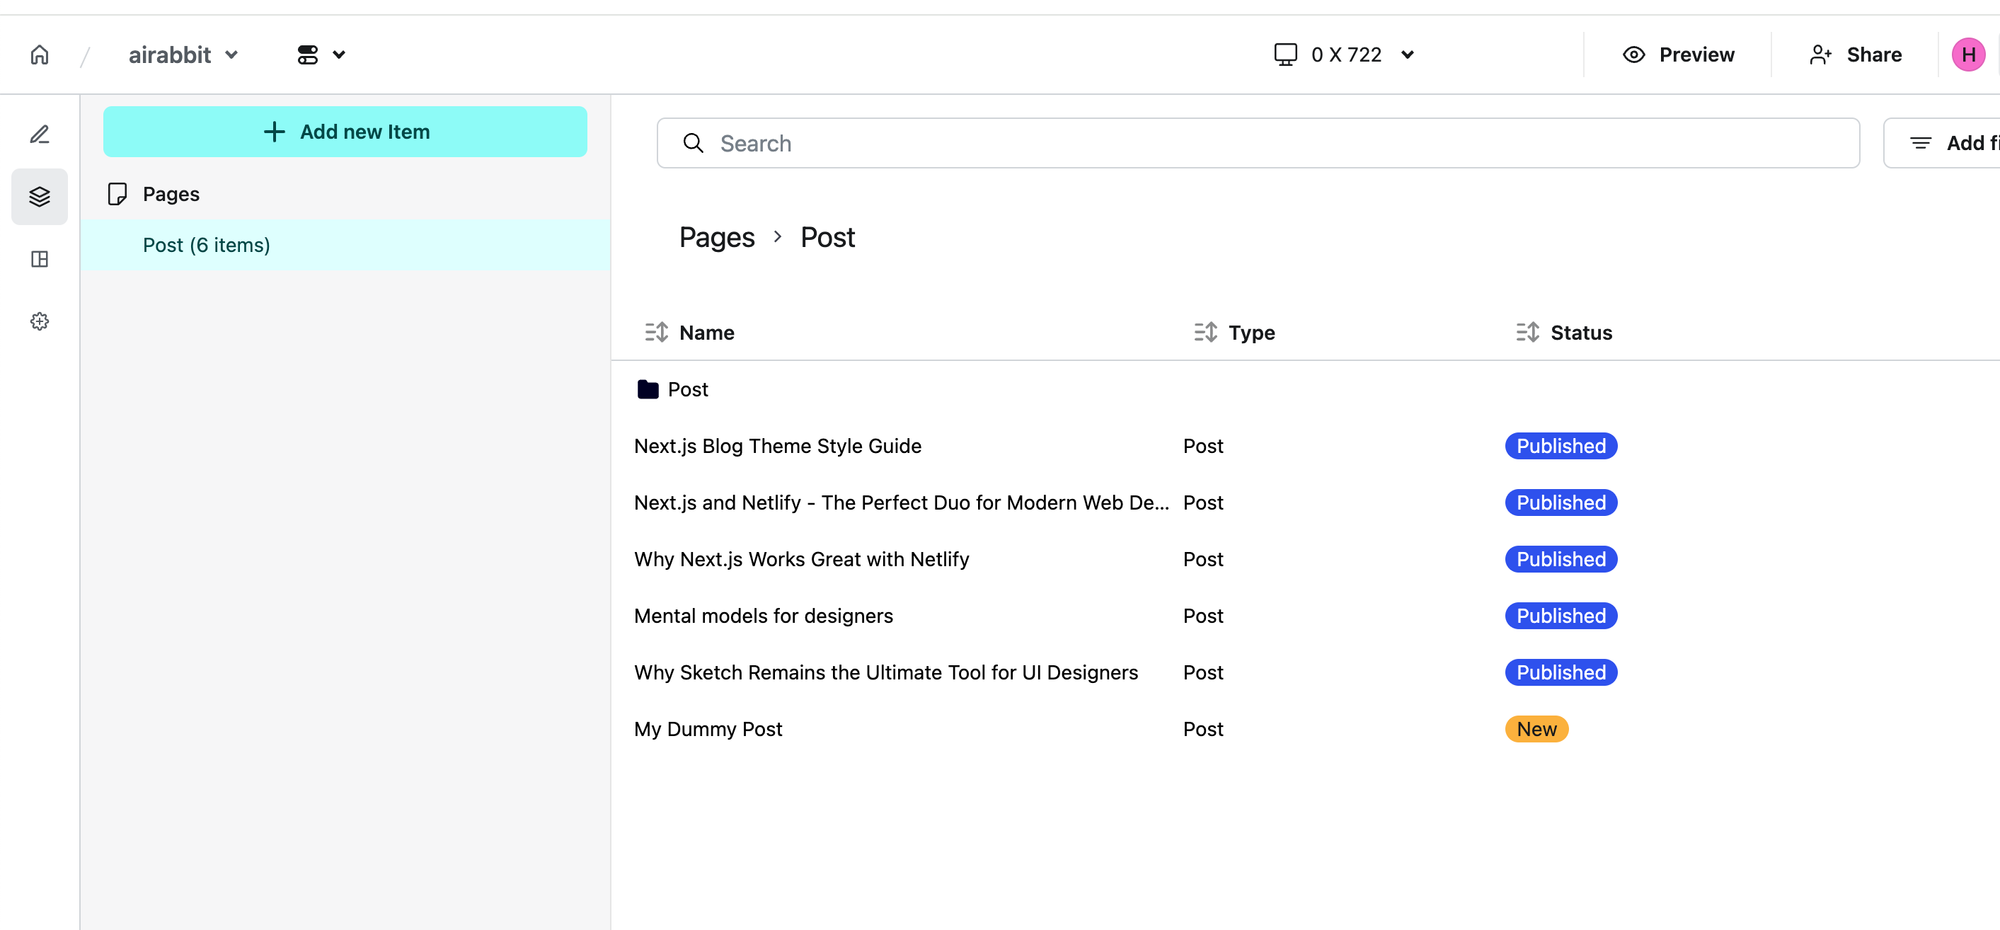
3. Create and Edit Posts
Now you can see all the default posts. We’re going to add one to introduce “onyx.”
Click Create new posts and add all the post data as shown below:
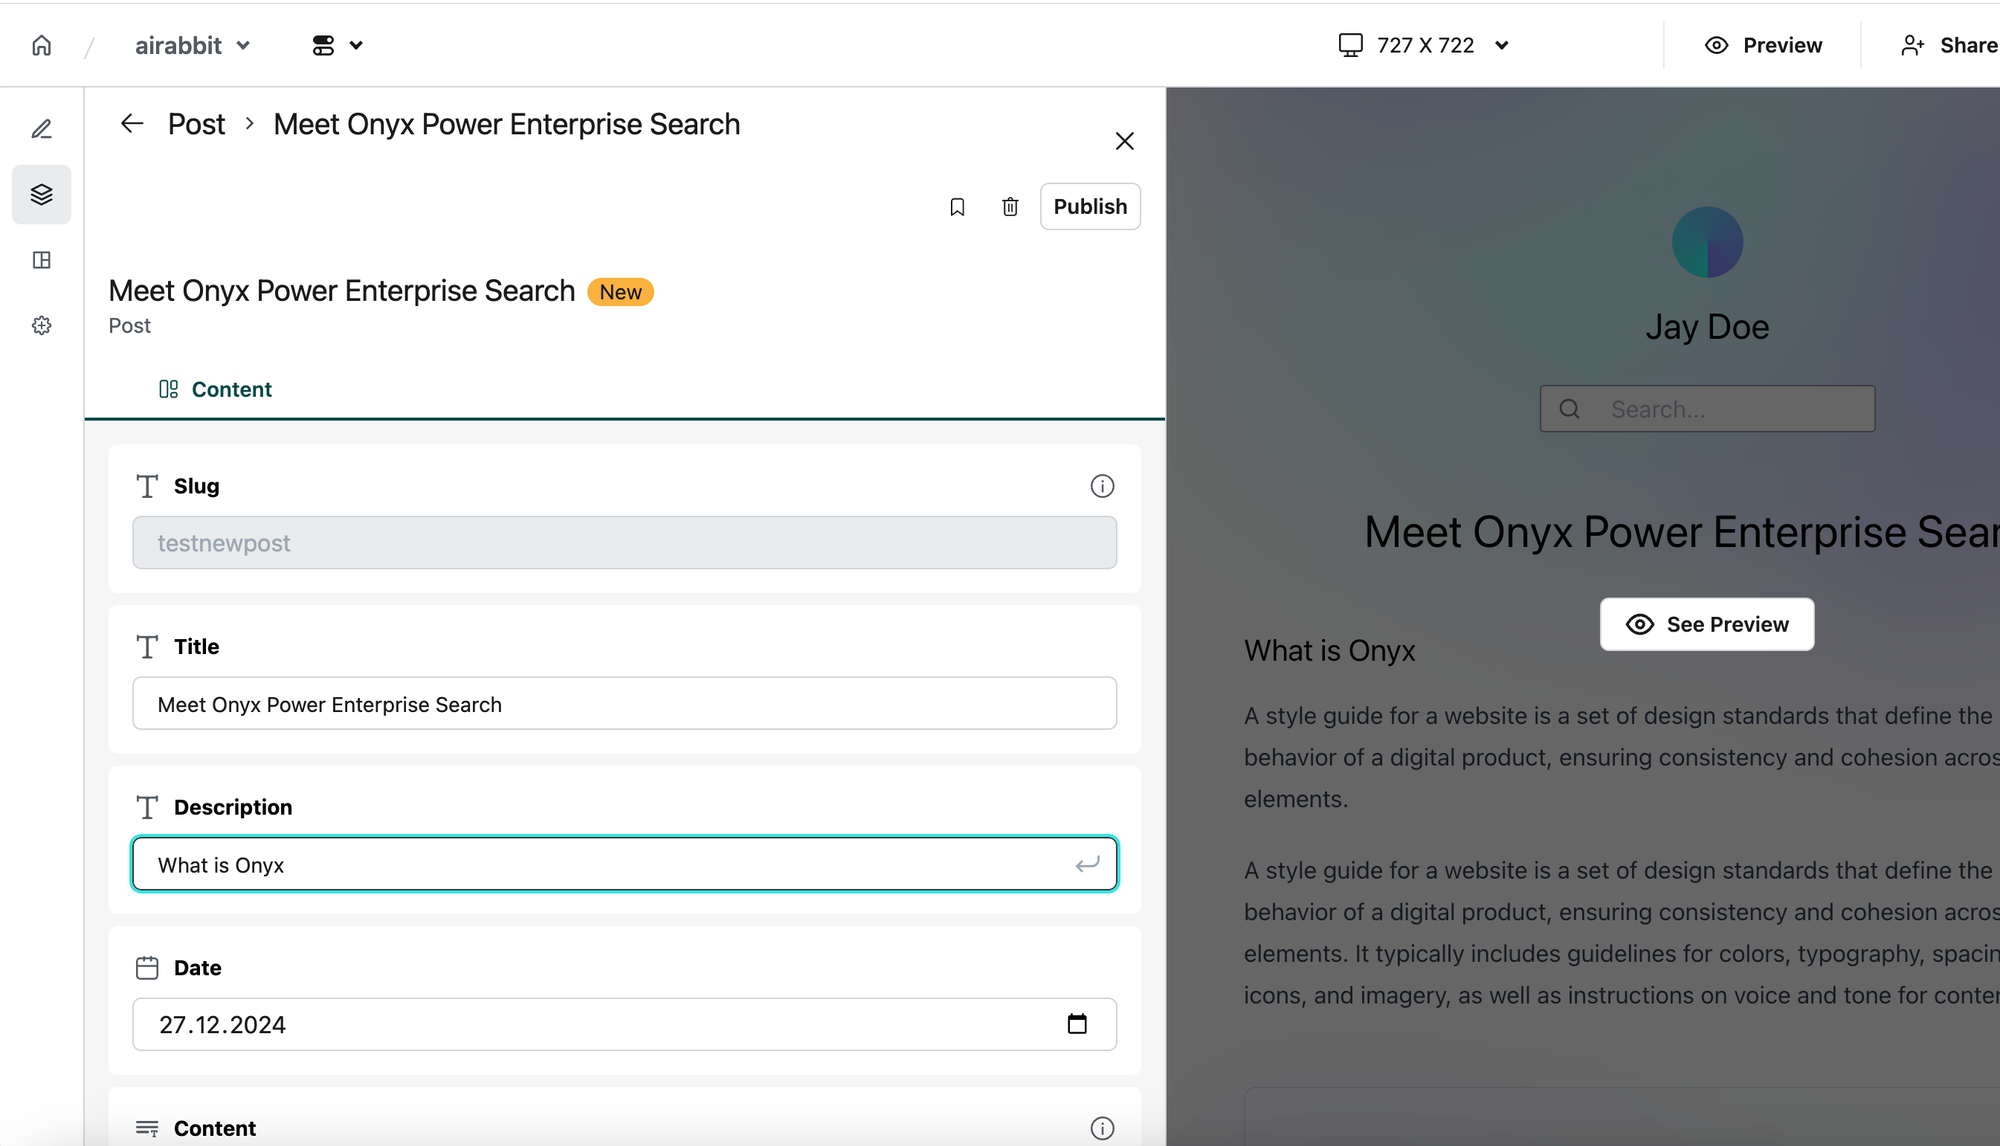
Then add the content in Markdown:
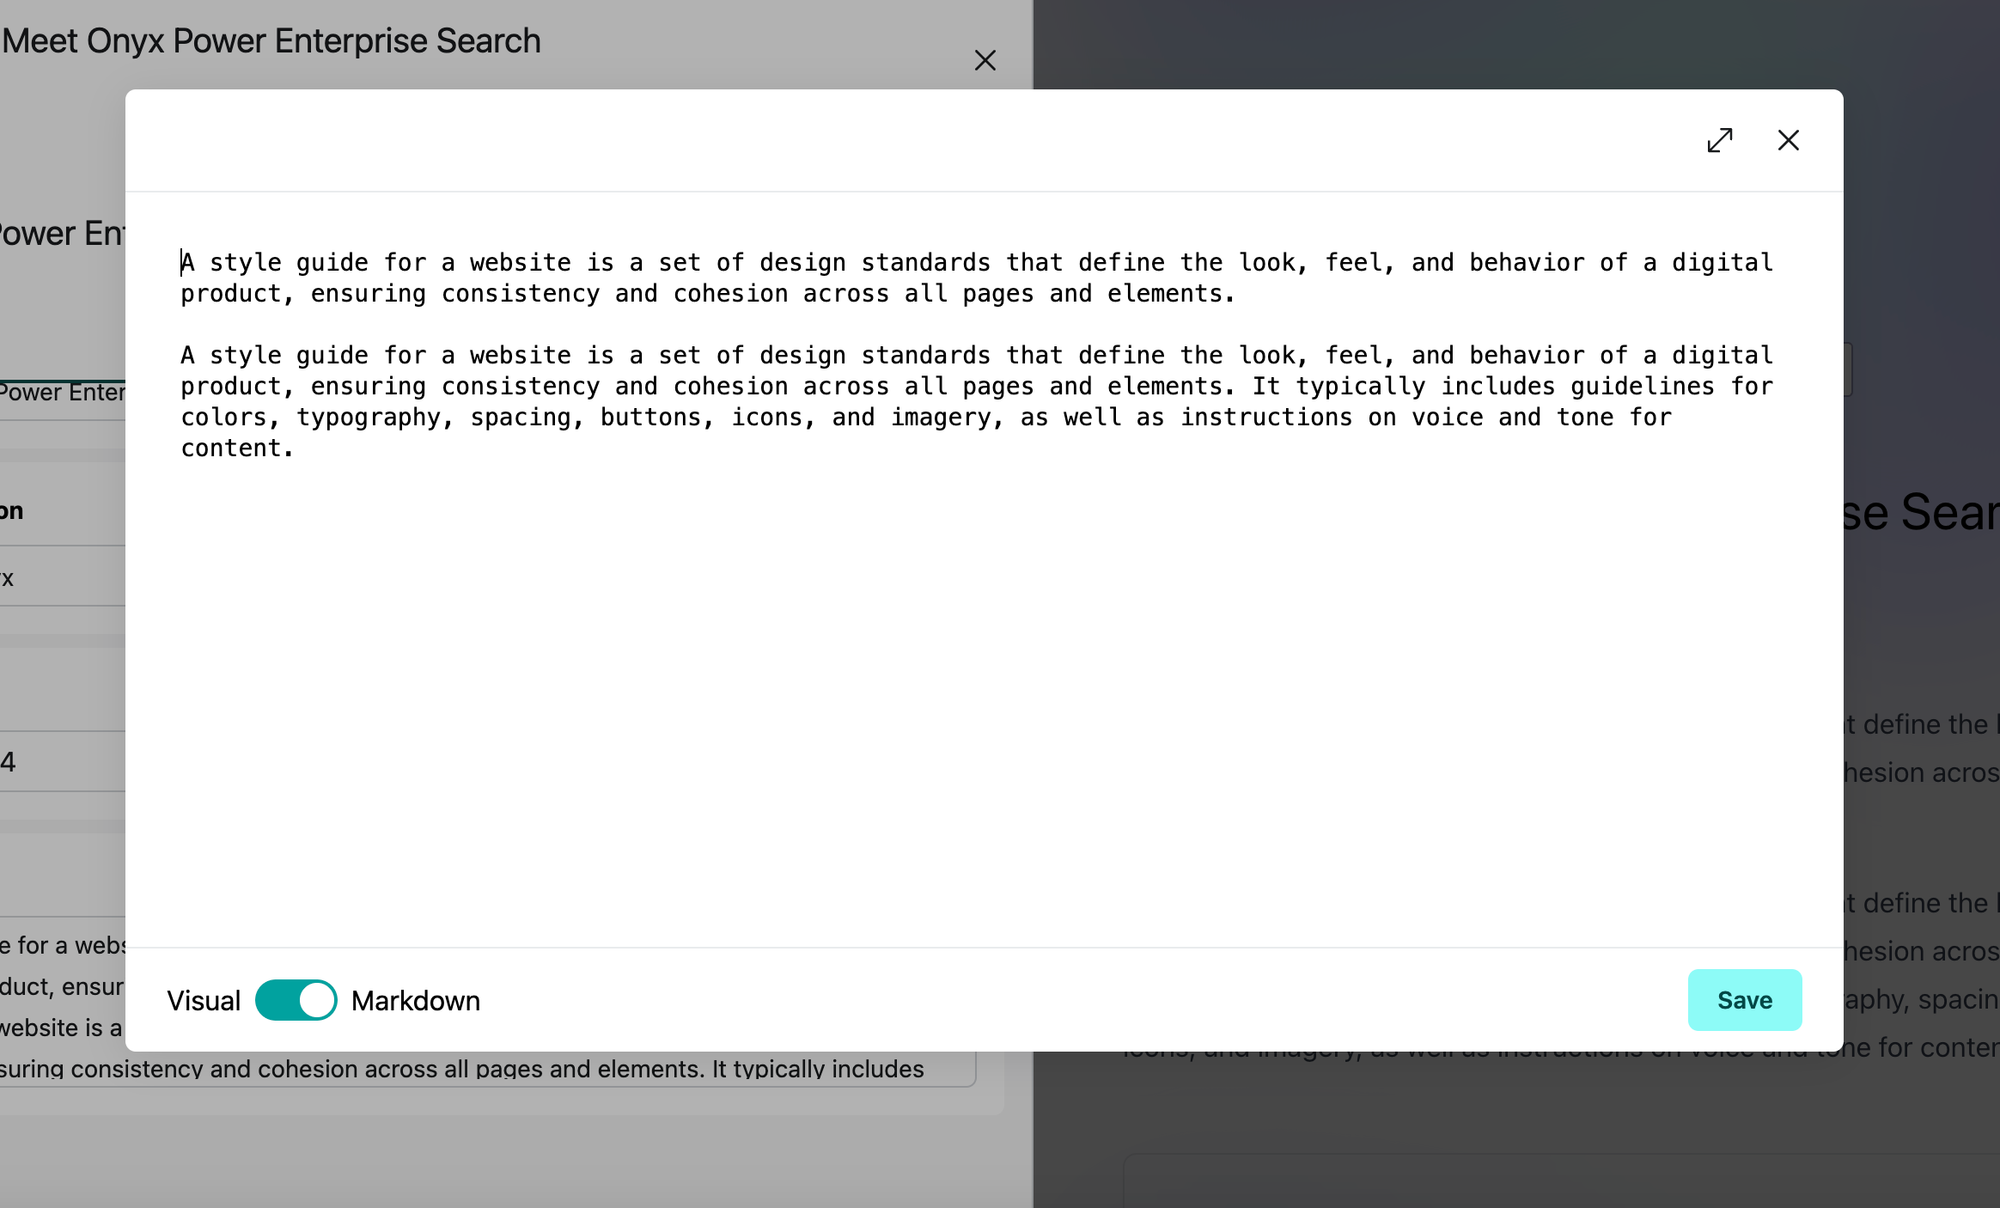
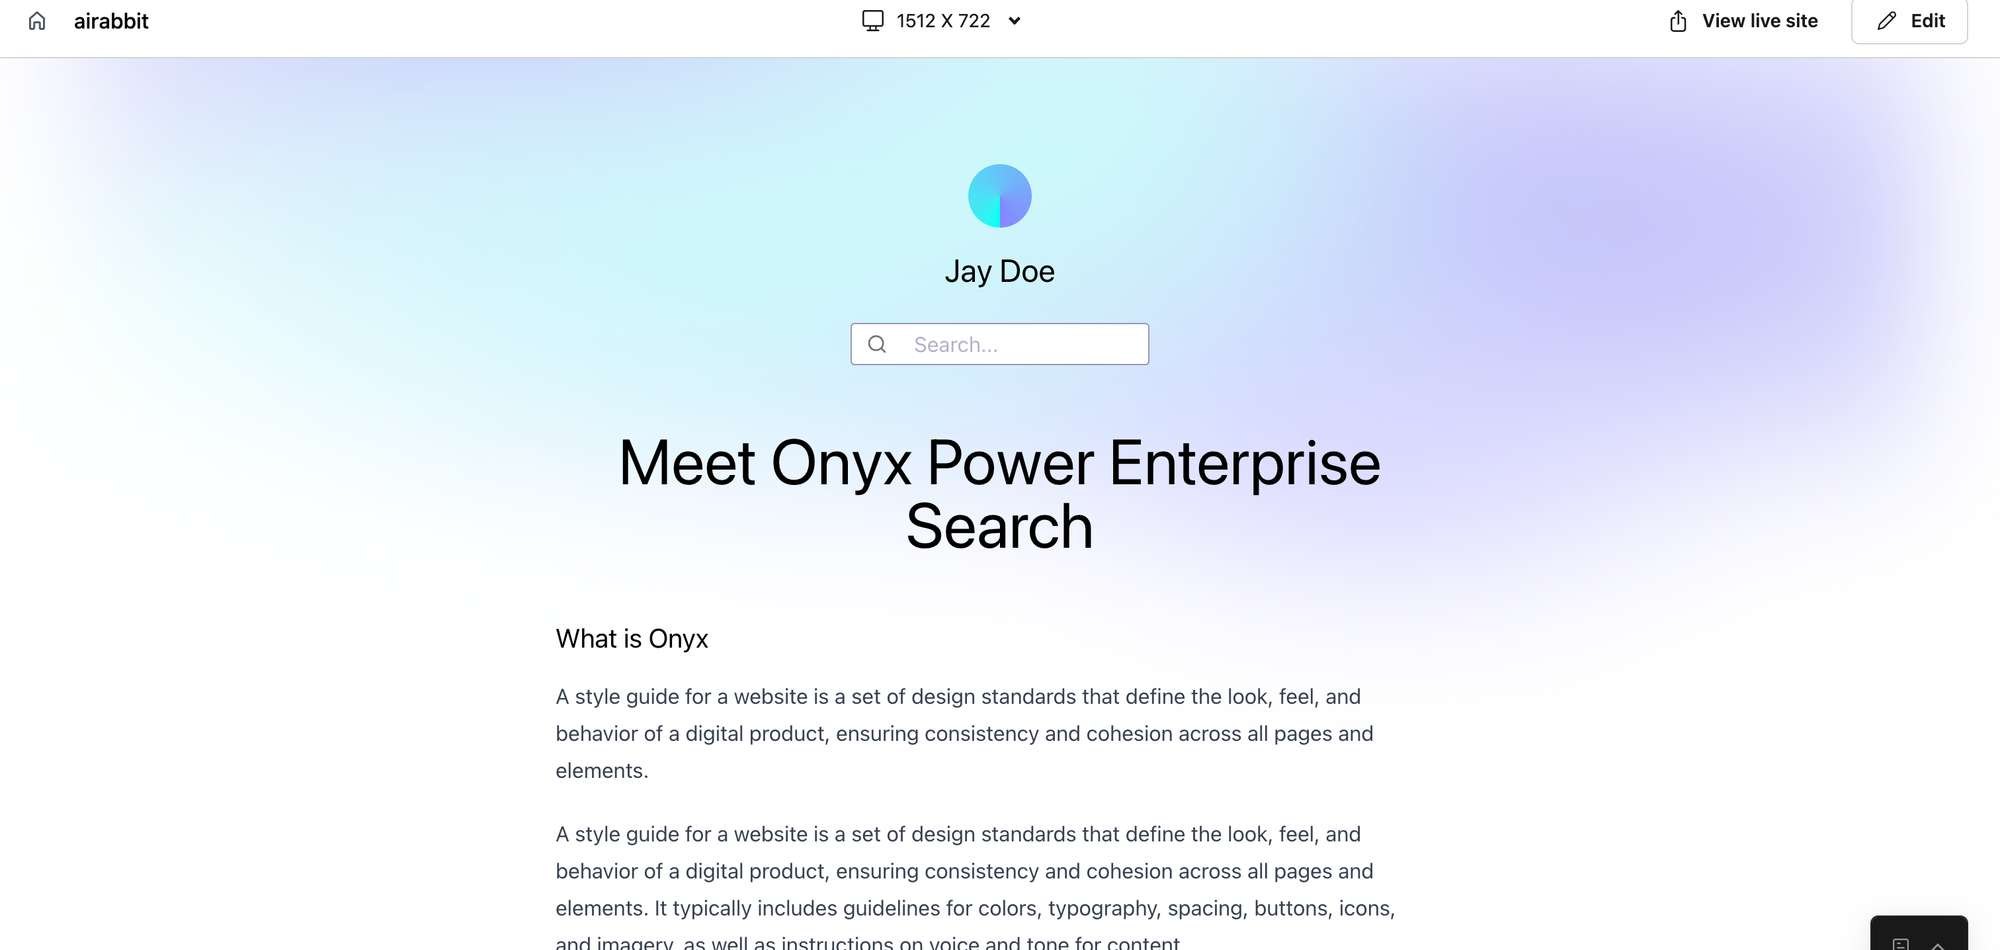
Check the preview:
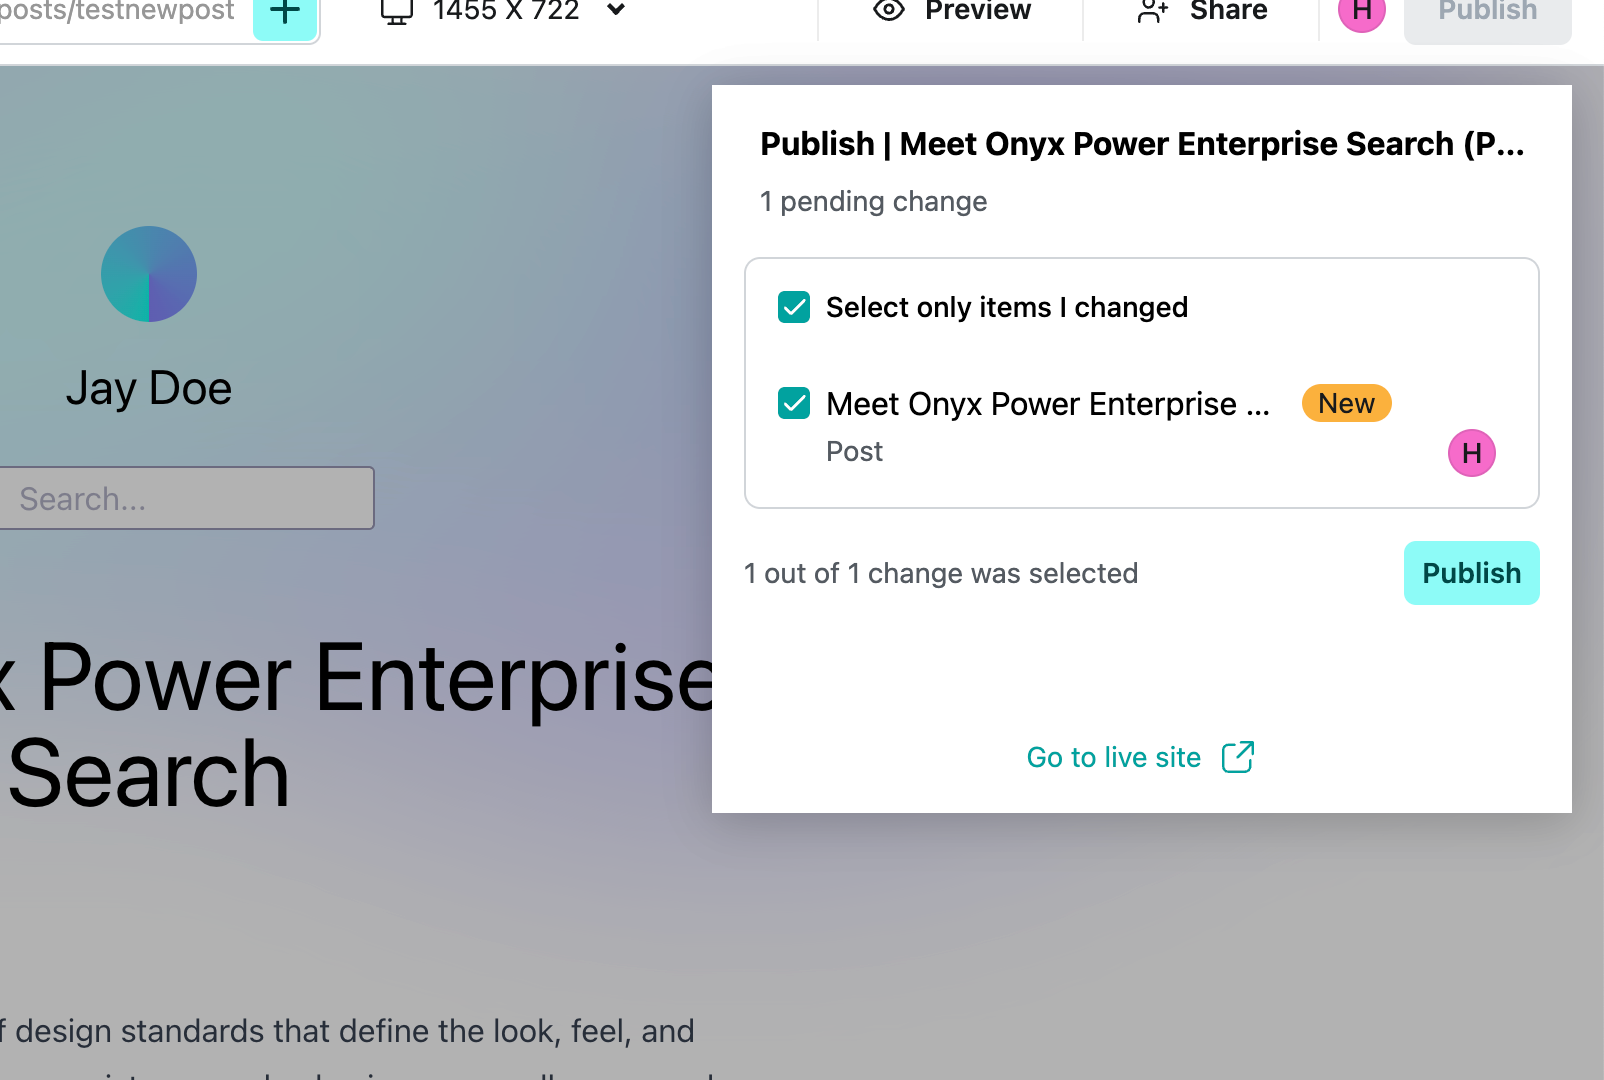
Finally, publish. Note that this basically just adds a new file to your repo. As soon as it’s written to Git, Netlify will redeploy the entire repo. That’s it.
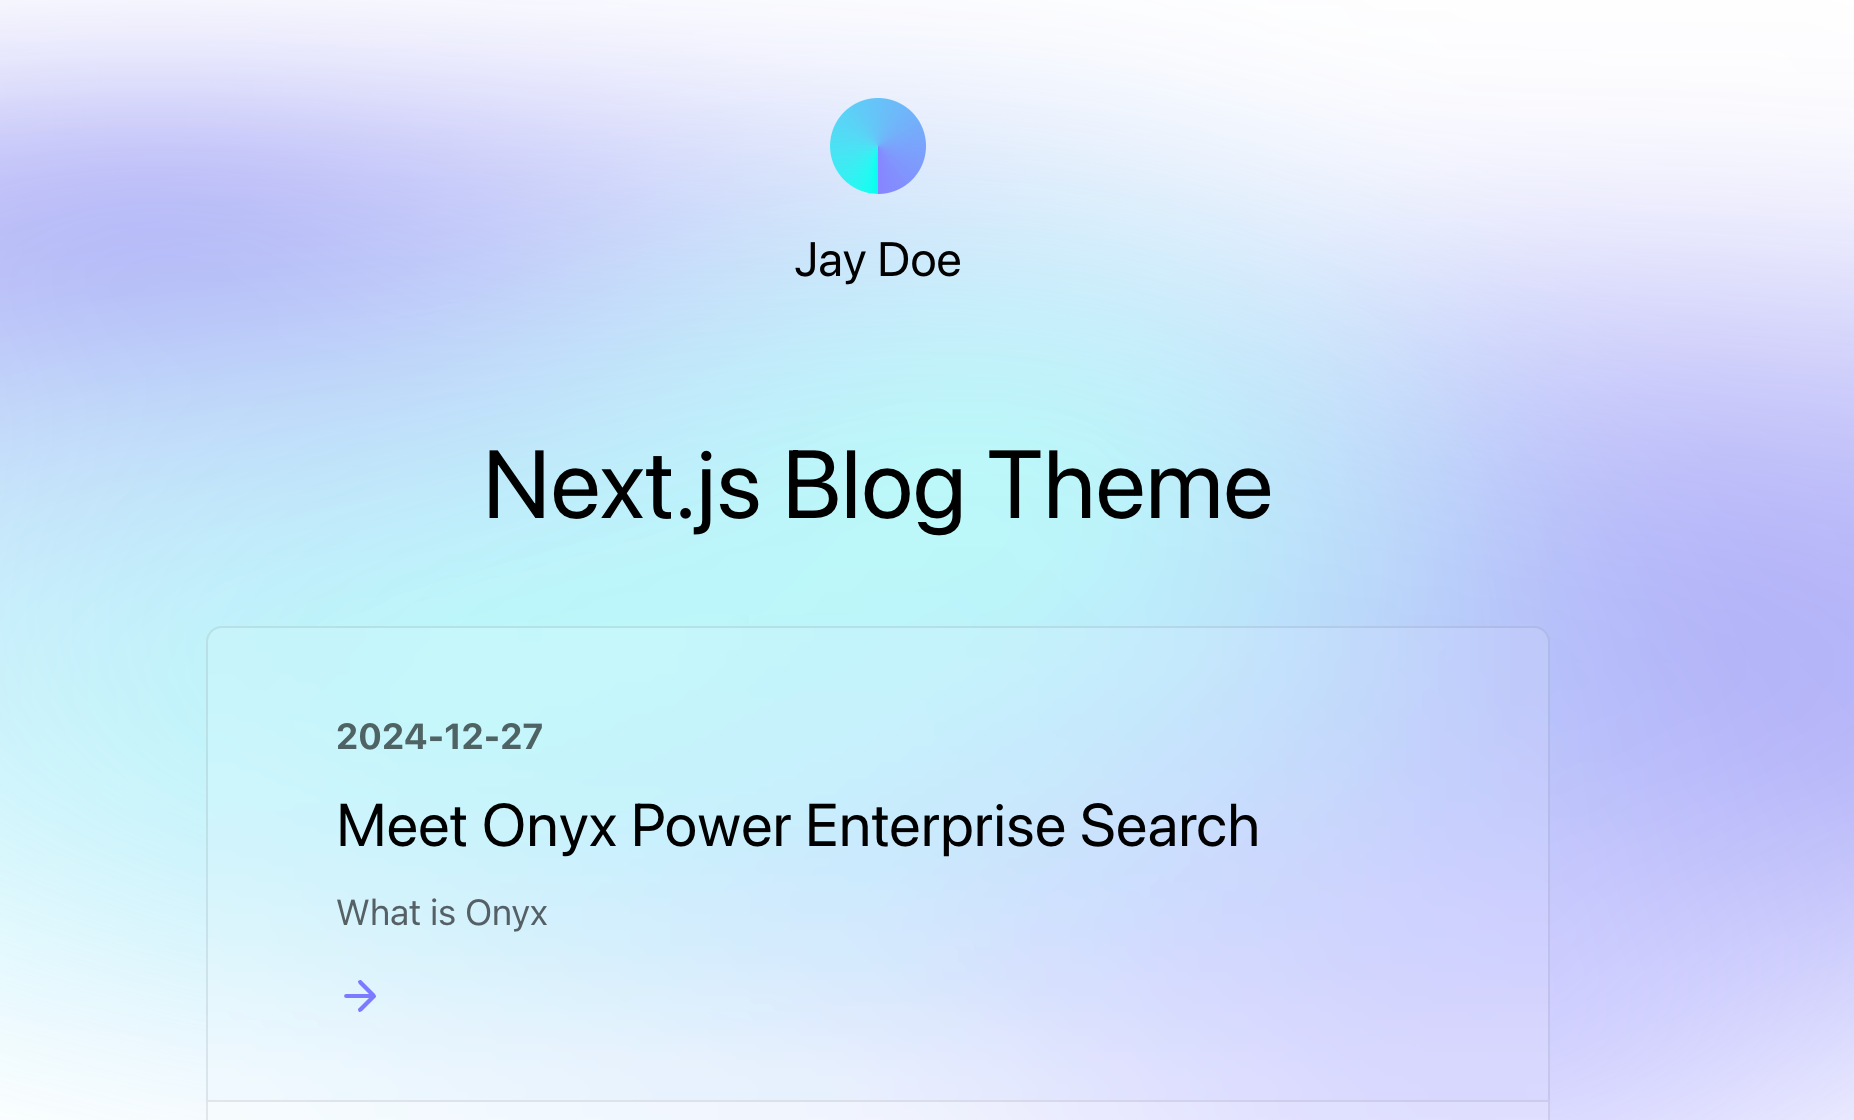
After a few minutes, the new blog post is there. Awesome!
Wrap-Up
If you’re looking for a powerful yet simple solution for publishing content, Netlify’s Visual Editor is definitely worth checking out.