LibreChat - The Open Source Answer to ChatGPT & CustomGPTs
Explore powerful open-source AI chatbots like openwebui and librechat, offering flexibility and more features than ChatGPT. Librechat supports various models and tools, including MCP and custom APIs, enabling you to build versatile AI agents. Learn to set it up using Docker and configure MCP serv...

I have written extensively in the past about many alternatives to commercial AI solutions like ChatGPT and Claude. I’m not just talking about the models themselves, but also about the applications built on top of them (for example, the ChatGPT desktop app).
These applications can perform amazing tasks, but the open source community is not resting. In fact, it has produced chatbots that are much more powerful and flexible than ChatGPT and Claude.
One of the most impressive chatbots is openwebui. It doesn’t only support open source models but also literally every possible use case and model available, including RAG, tools, web search, Ollama, and all commercial models like OpenAI.
Recently, I discovered another AI chatbot that truly blew my mind: librechat.
It is also open source and shares many features with openwebui, though not as many overall.
However, it offers several features that I find incredibly powerful:
- Full Integration of the MCP Model Context Protocol:
If you haven’t heard about MCP, I highly recommend you check it out because it is one of the trends that exploded in the AI space and is becoming the de facto standard in the AI economy. - Integrated Agent Builder UI:
It lets you build AI agents with prompts, MCP, tools, and files—similar to what you might be used to with custom GPTs—but with much more control and the ability to use any model and tool you prefer (e.g., web search, Hugging Face, Supabase, etc.). - Integration of Any API Using API Key or OAuth:
The MCP integration is pretty powerful, but if you have an API that doesn’t have an MCP server yet, you can add it simply by attaching its OpenAPI scheme, and the LLM will figure out how to use it. You might recognize this feature from custom GPTs—only this solution is open source and far more flexible.
With that said, let’s jump in and implement these great features.
librechat has much more to offer, but this tutorial will focus on the features I find extremely helpful, especially when it comes to agents. I will also show you the basic setup so you can explore additional features on your own.
One thing to note: the initial setup may require some configuration here and there, but once it’s complete, you will have a powerful tool for building incredibly capable agents and AI applications.
Remark:
This tutorial requires a basic understanding of Docker and configuration files. At the very least, it will help you understand what you are doing.
---
What We’ll Learn
- Basic Setup with Docker (on Mac)
- Adding Ollama
- Integrating and using MCP (file server)
- Adding APIs (Tavily for web search) using actions
---
What You Need
- Docker
- (Optional) Ollama, Groq, or any other LLM you want to use
Main Files to Customize:
docker-compose.override.ymllibrechat.yaml.env
In this tutorial, we will configure librechat with MCP servers and custom LLMs like Groq and Ollama. To do that, we need to modify the Docker configuration to use our config file, librechat.yaml.
---
1. Installation
Clone the repository:
git clone https://github.com/danny-avila/LibreChat.git
Start the Docker container:
docker compose up -d
If everything goes well, you should now see the chatbot in your browser as shown below:
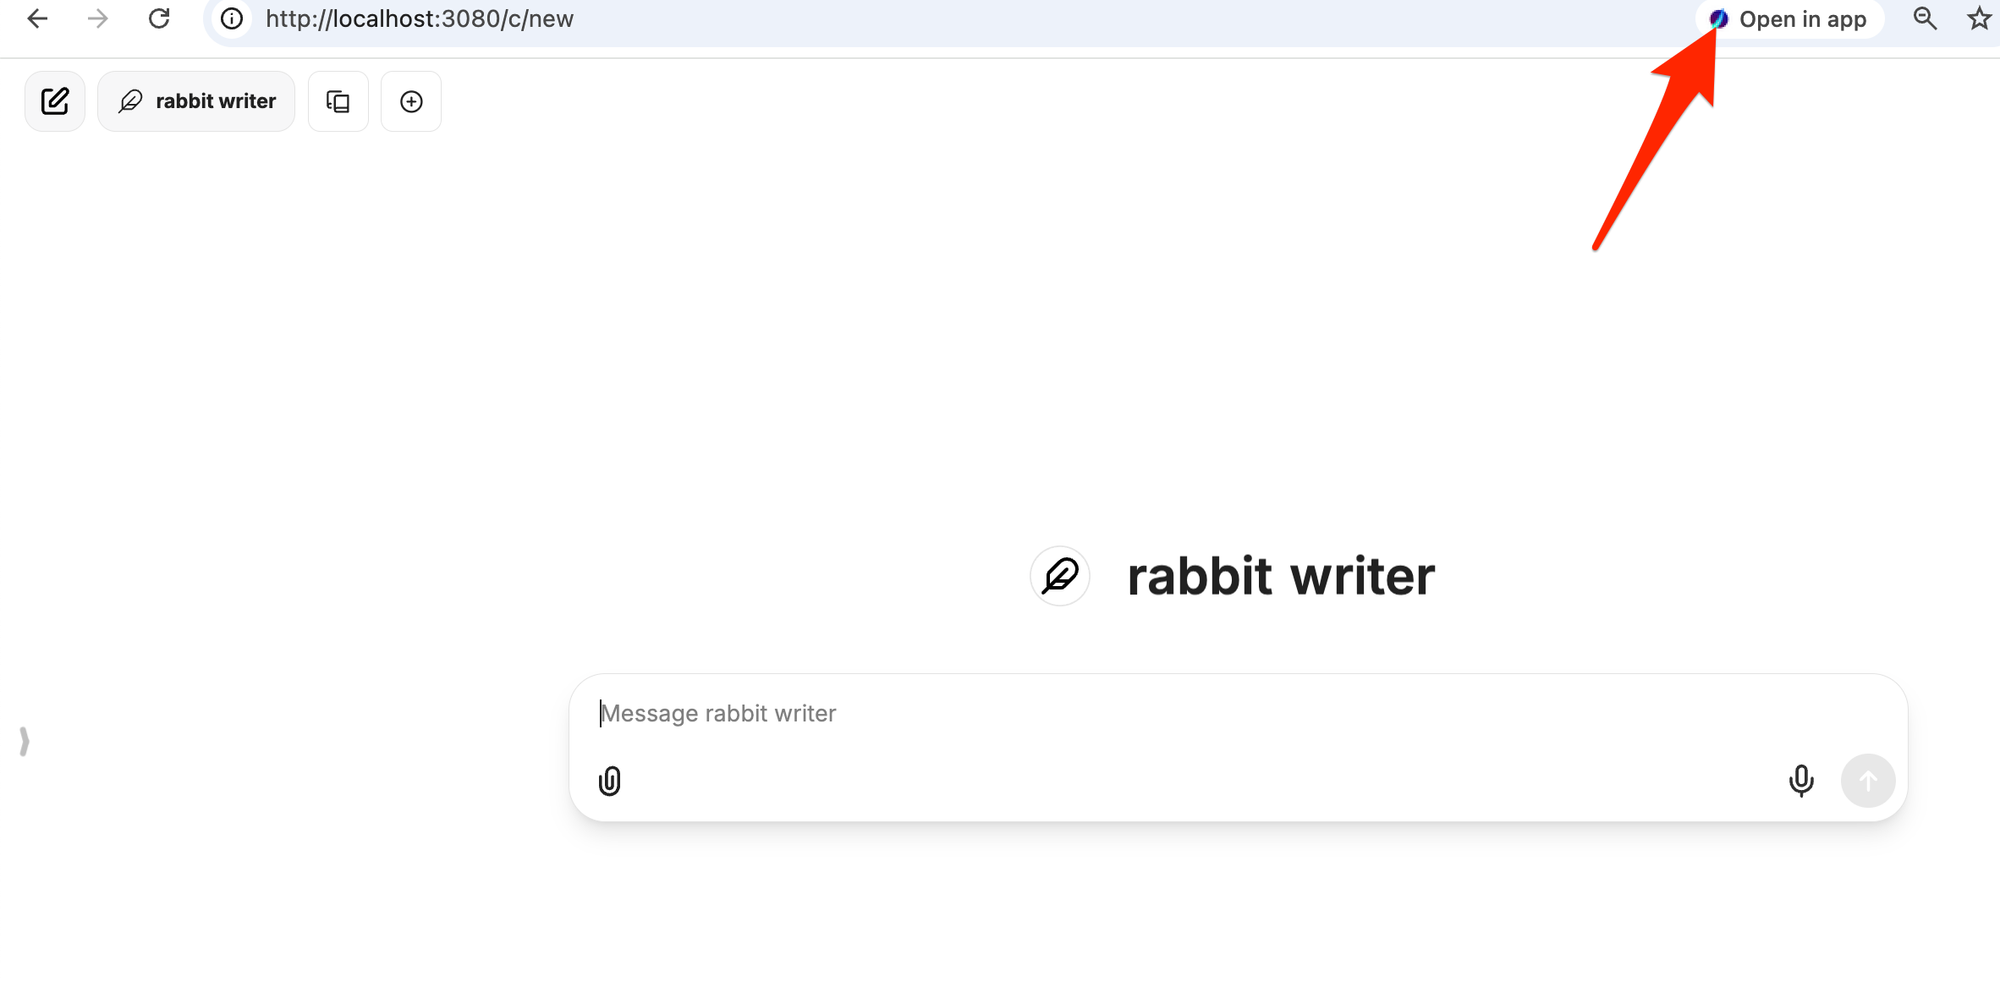
If you use Chrome, I also recommend that you save it as an app by pressing this magic button (Install App).
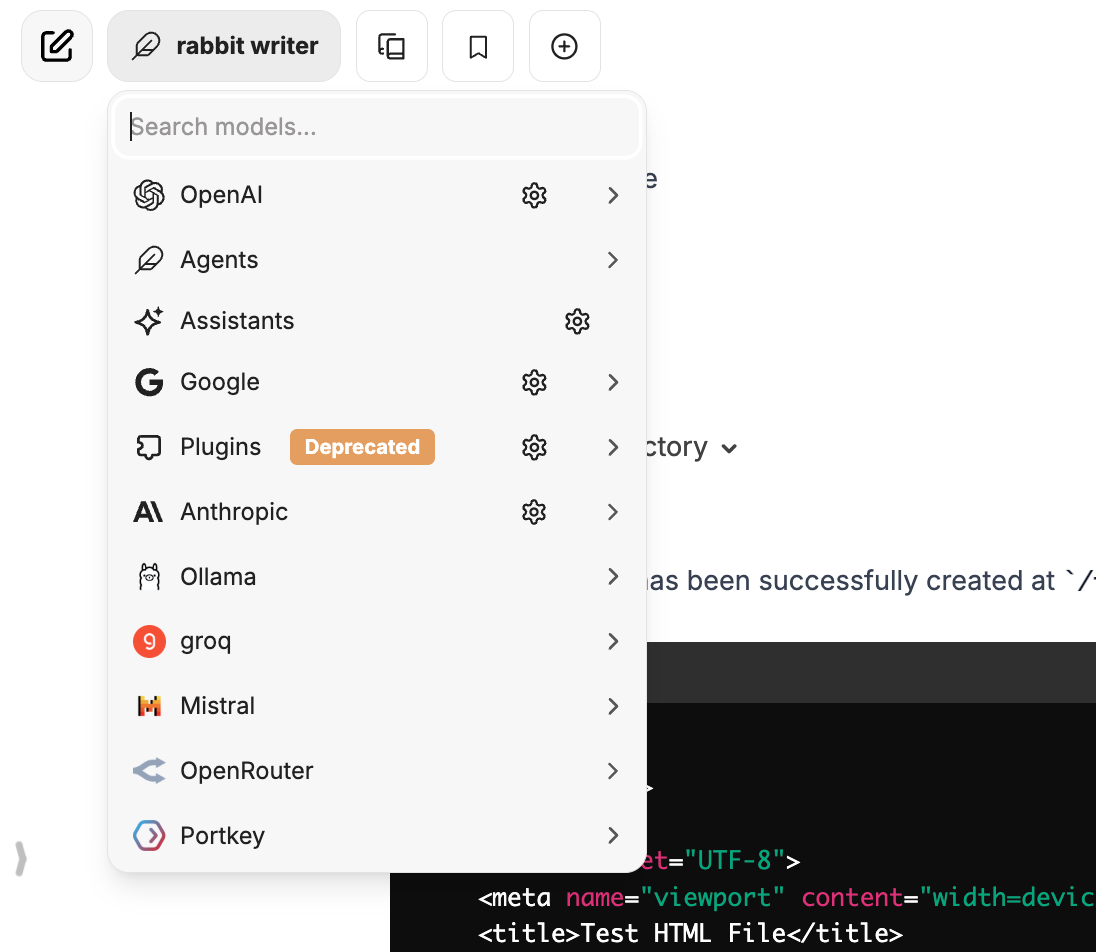
You can select the models and agents from the menu. For OpenAI, you will need to provide an API key.
Now that the app is running, let’s configure it to utilize the full power of the AI ecosystem—including MCP, Ollama, and more.
---
2. Customizing Librechat
To modify the settings, we need to update our Docker configuration so that it mounts our customized configuration file into the container. This is done by changing the docker-compose.override.yml as shown below: