Debug any Webhook with Ngrok
Streamline your development workflow with ngrok! This tunneling service allows you to expose local services for testing without the hassle of frequent deployments. Our guide explains how to set up ngrok for real-time debugging, enhancing efficiency and reducing frustration. Say goodbye to deploym...
Let's paint a common scenario: You're building a service that needs to be publicly accessible for testing. Perhaps it's a webhook endpoint for another service, or an API that needs to be called remotely.
- Code Changes: Make necessary adjustments to your service.
- Deployment: Deploy the updated code to a remote server.
- Testing: Trigger the webhook or API call to test the new functionality.
- Debugging: If issues arise, debug the deployed code remotely.
This cycle can be incredibly time-consuming and frustrating. Every deployment introduces potential risks and delays.
With tunneling services like Ngrok, you can avoid this burden by opening a tunnel just for the service you want to expose and make it accessible to the third party.
This guide explains how to use ngrok to enable local development and testing for services that require a public endpoint, using a real-world example of debugging a custom Chatgpt action.
Note that you can use the same approach with other solutions as well . For example, I know of Telepresence in the Kubernetes world. The concept is the same.
And ChatGPT actions are just one example. Other use cases are mentioned below like:
- Payment webhooks
- OAuth callbacks
- API integrations
- Mobile app backends
... And many more.
That said, let's see how it works.
Traditional Workflow
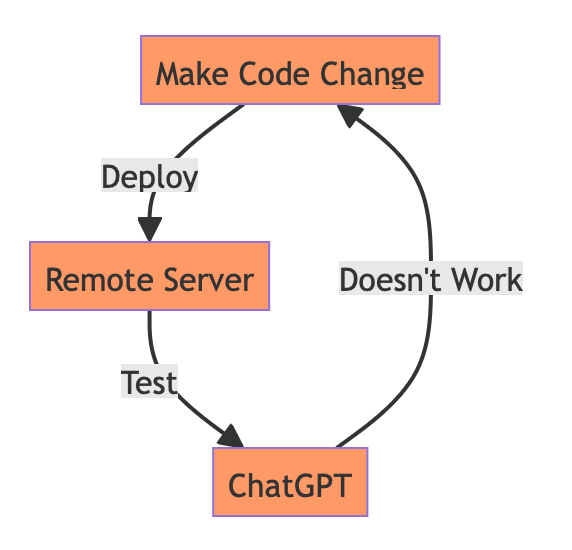
The typical steps involved:
- Make code changes.
- Deploy to the server (takes time).
- Test the changes remotely.
- Identify issues.
- Repeat the process.
This cycle can lead to significant delays in development.
With tunneling, we can significantly improve this workflow by eliminating the deployment steps in the development/debugging phases.
What is ngrok?
ngrok is a tunneling service that creates a secure tunnel from a public endpoint to a locally running web service. It allows you to expose your local development environment to the internet securely.
- Sign up at ngrok.com if you haven't already done so (free tier).
- Open the Dashboard (here you will find all the information you need to get it up and running quickly)
https://dashboard.ngrok.com/
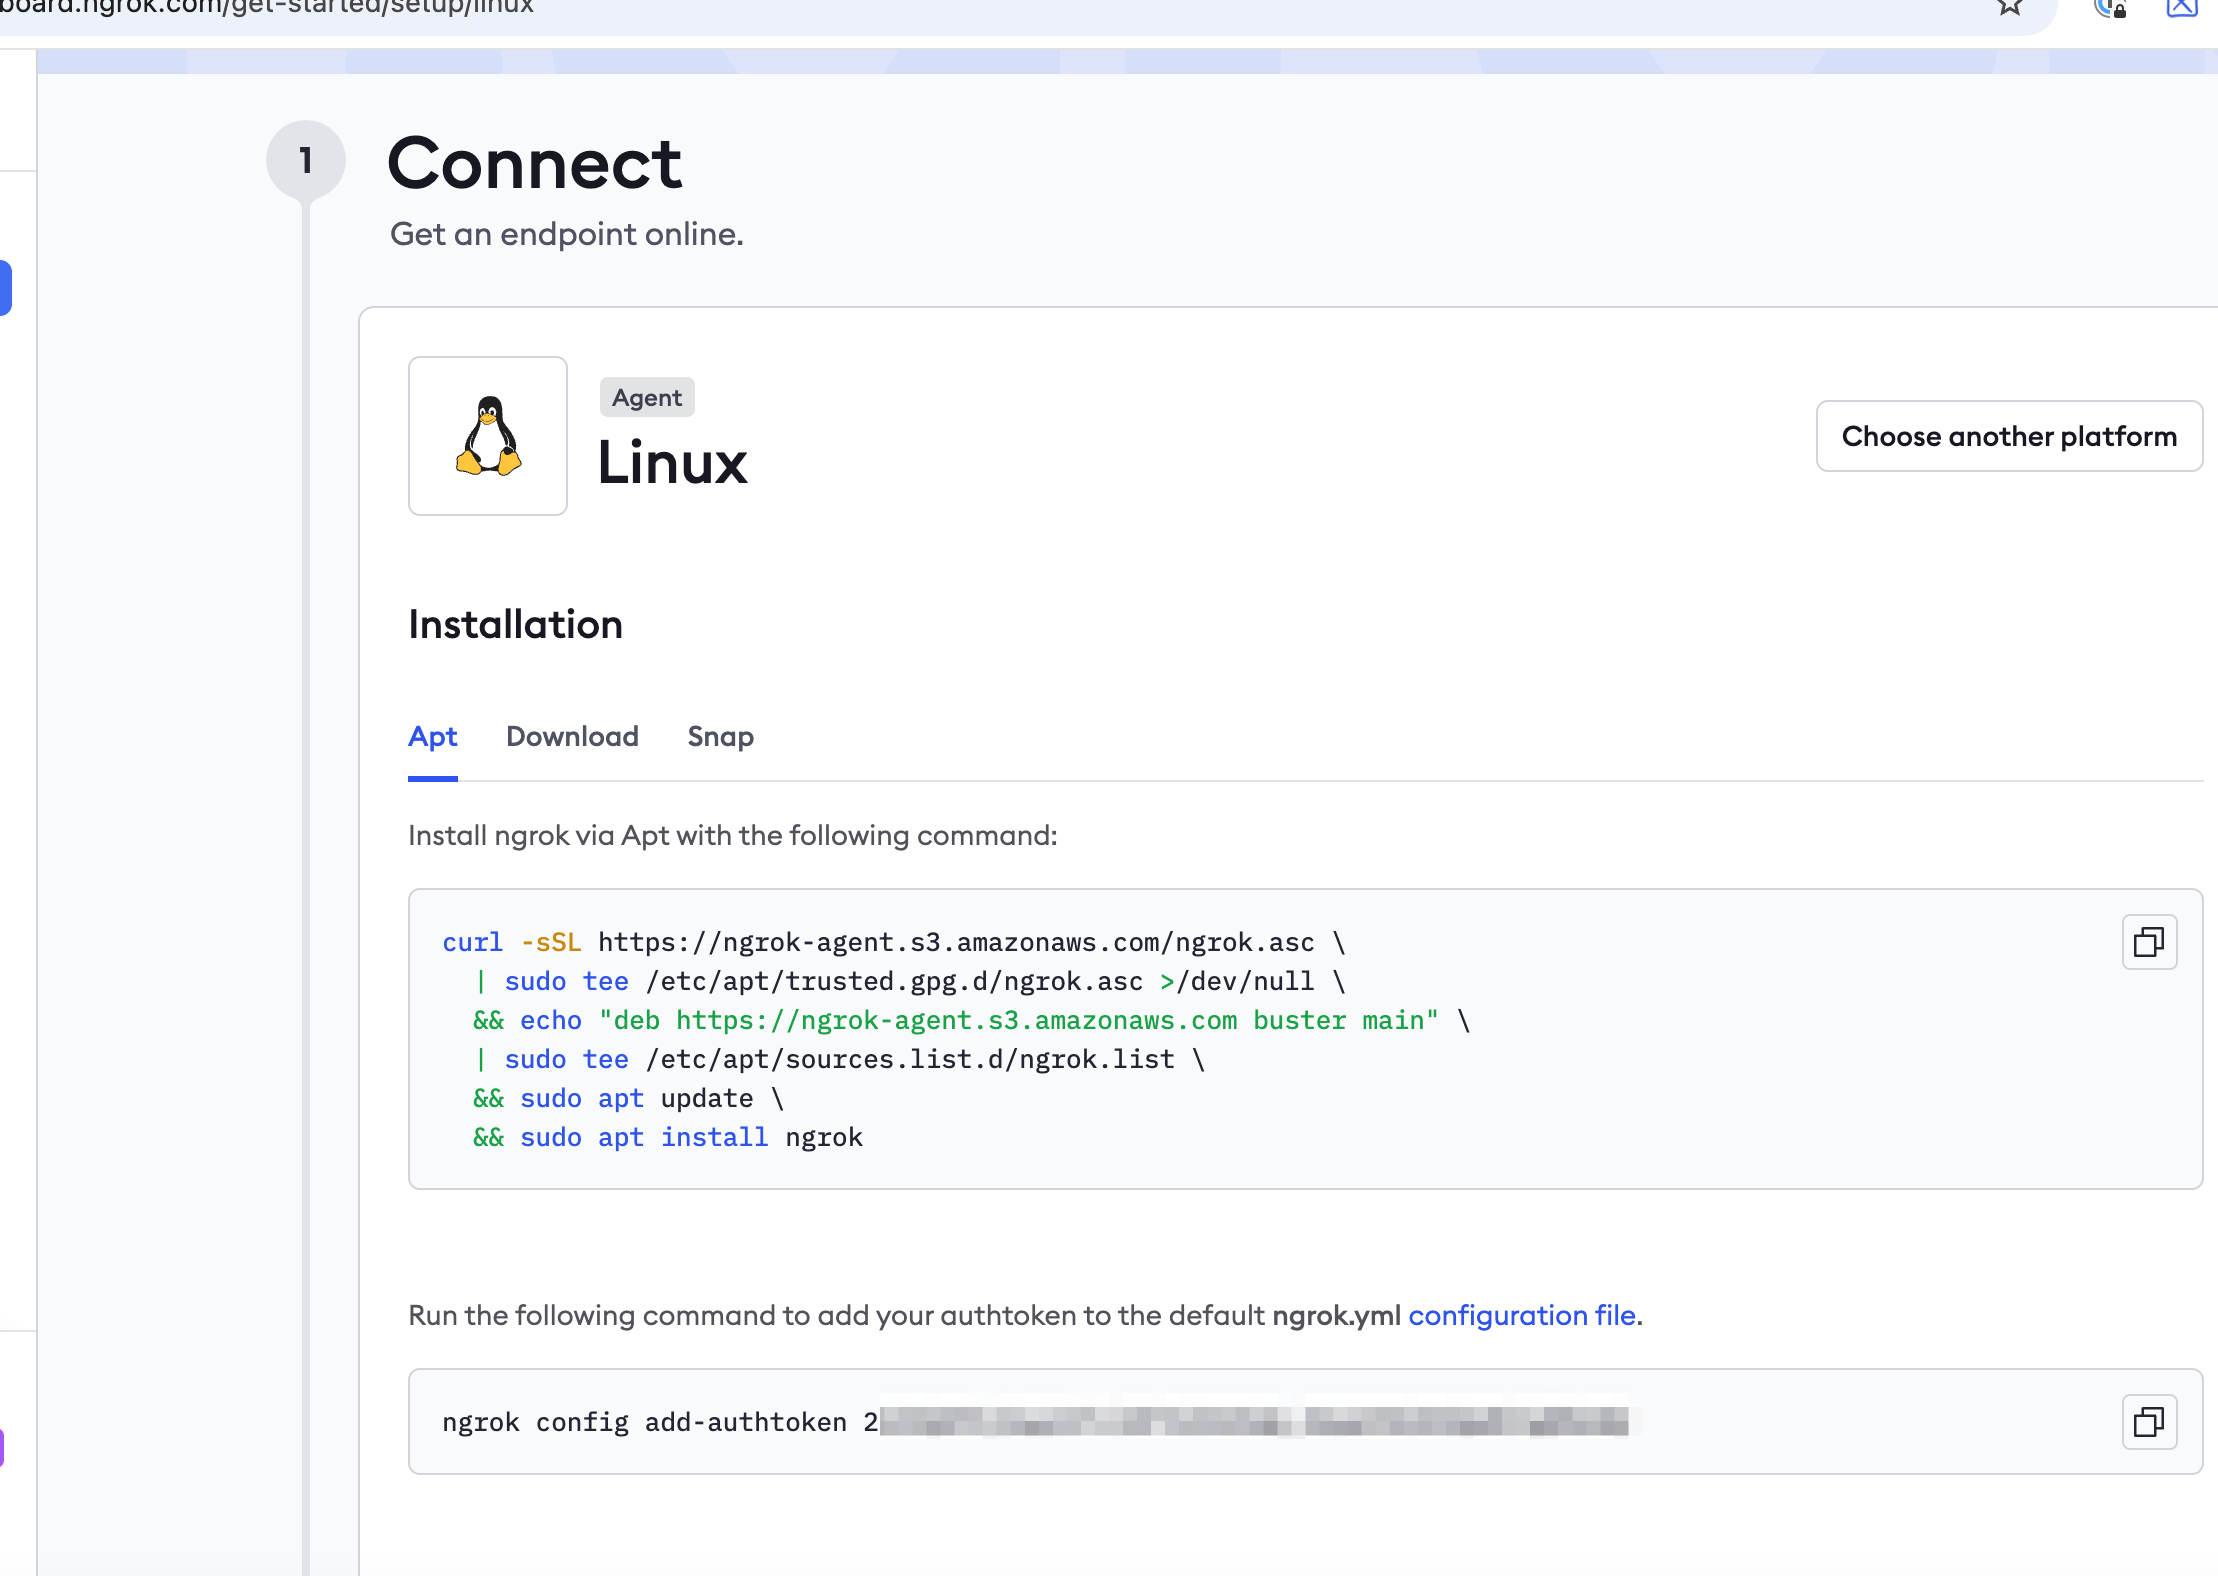
Install ngrok:
npm install -g ngrok
# or
brew install ngrok
Configure your authentication token:
ngrok config add-authtoken your_auth_token_here
Start your local service and create an ngrok tunnel:
# Start your service locally
npm run dev  # Assuming your server runs on localhost:3000

# Create a tunnel to your local server
ngrok http 3000
Your local service is now accessible via a public URL provided by ngrok.
That's it. Now you can start debugging.
Local Debugging with ngrok

With ngrok the workflow becomes much easier:
- Change code locally.
- Test changes immediately through the ngrok tunnel.
- Fix issues on the spot.
- Deploy only when the code is ready.
This is where tunelling comes in handy:
- Immediate visibility into incoming requests.
- Real-time debugging without deploying.
- Faster development cycles.
Considerations
- Please note that this approach is for debugging purposes only. Once you have finished debugging and your service is doing what it is supposed to do, it is time to do a normal deployment and make your service available to the consumer (in my case, chagtpt) via the production endpoint (not grok).
- Note also that the endpoint of ngrok changes each time you reconnect to ngrok, so it is best to leave the connection open in ngrok until you are finished, to avoid having to reconfigure your consumer each time.
Wrap-Up
Using ngrok for local development streamlines the development process by eliminating the need for frequent deployments. It allows for immediate testing and debugging, saving time and improving efficiency.