How I streamlined the creation of Tech Tutorials
In this tutorial, I share how to streamline the tutorial-making process—especially when creating step-by-step guides like finding freelancers using OpenAI O1-mini. Discover my simple method: capture screenshots first, then edit them all at once with a free app. Say goodbye to flow interruptions a...

In this tutorial I want to talk about how I have streamlined the tutorial making process, something I have been doing quite a lot of lately.
The ingredients for a tutorial are pretty simple once I have the idea.
Here is an example:
The idea: A tutorial on how to get OpenAI O1-mini to find the perfect freelancer in a zoo of freelancers on freelancer platforms.
Now that I have the script in my head, I need to do the following
- Go through all the steps
- Crop images to focus on the interesting part of the screen
- Make annotations and highlight areas of interest to draw attention to them
- Blur things if there are private things I don't want to share (like email addresses, API keys, etc.)
- And finally... explain the steps.
Sounds pretty simple and straightforward?
Well, yes. And I did this for a long time and it worked well.
But one thing bothered me the most:
The image processing (blurring, cropping, etc.) takes me out of the flow. Every time I go off on a tangent (for image processing) and then come back, I have to remember the next step and start the step-by-step tutorial again.
To streamline this process, I started just taking the screenshot and doing the editing at the end.This was much smoother and there were fewer interruptions during the tutorial.
To make this even easier, I developed an application that can do the post-processing of all the images in bulk and export the processed image so that I can simply copy and paste it into my blog post. It can make life a lot easier if the tutorial contains lots of screenshots.
Here is how it works:
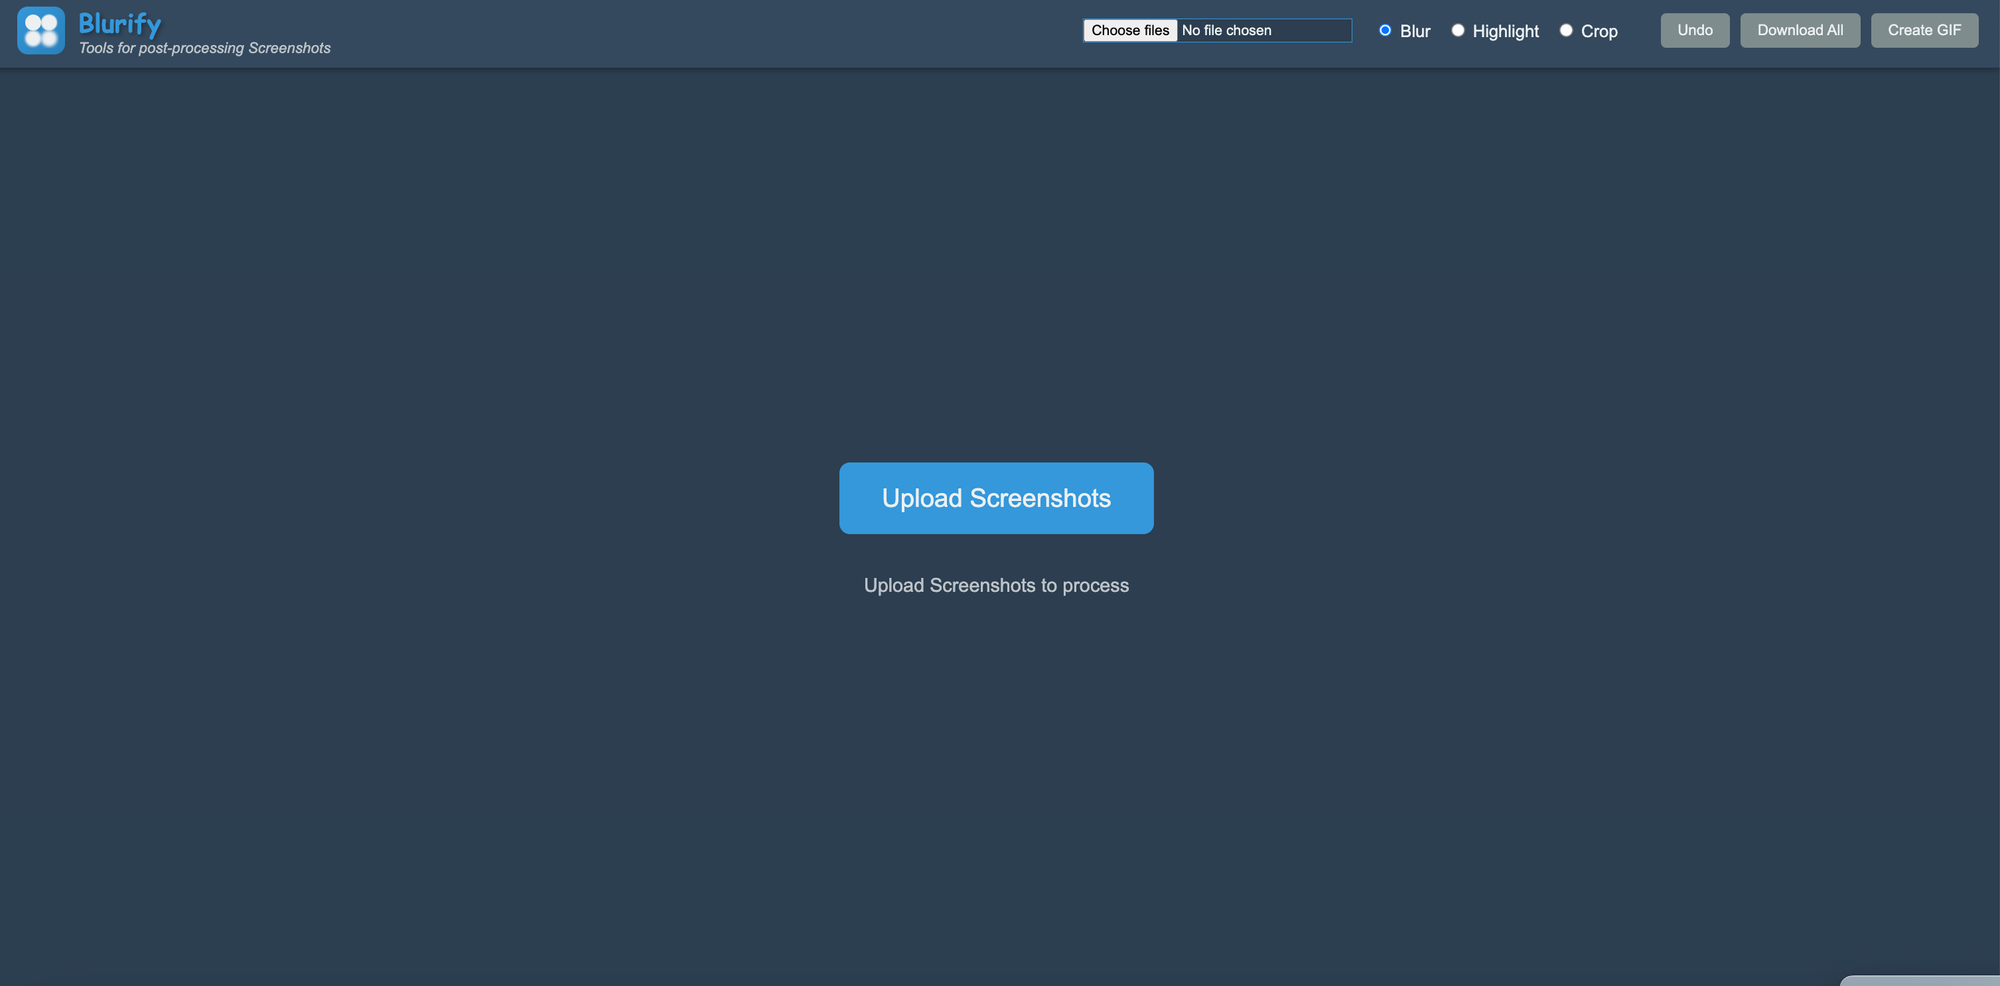
Navigate to https://blurify.up.railway.app/ (it's free).
- Upload the screenshots


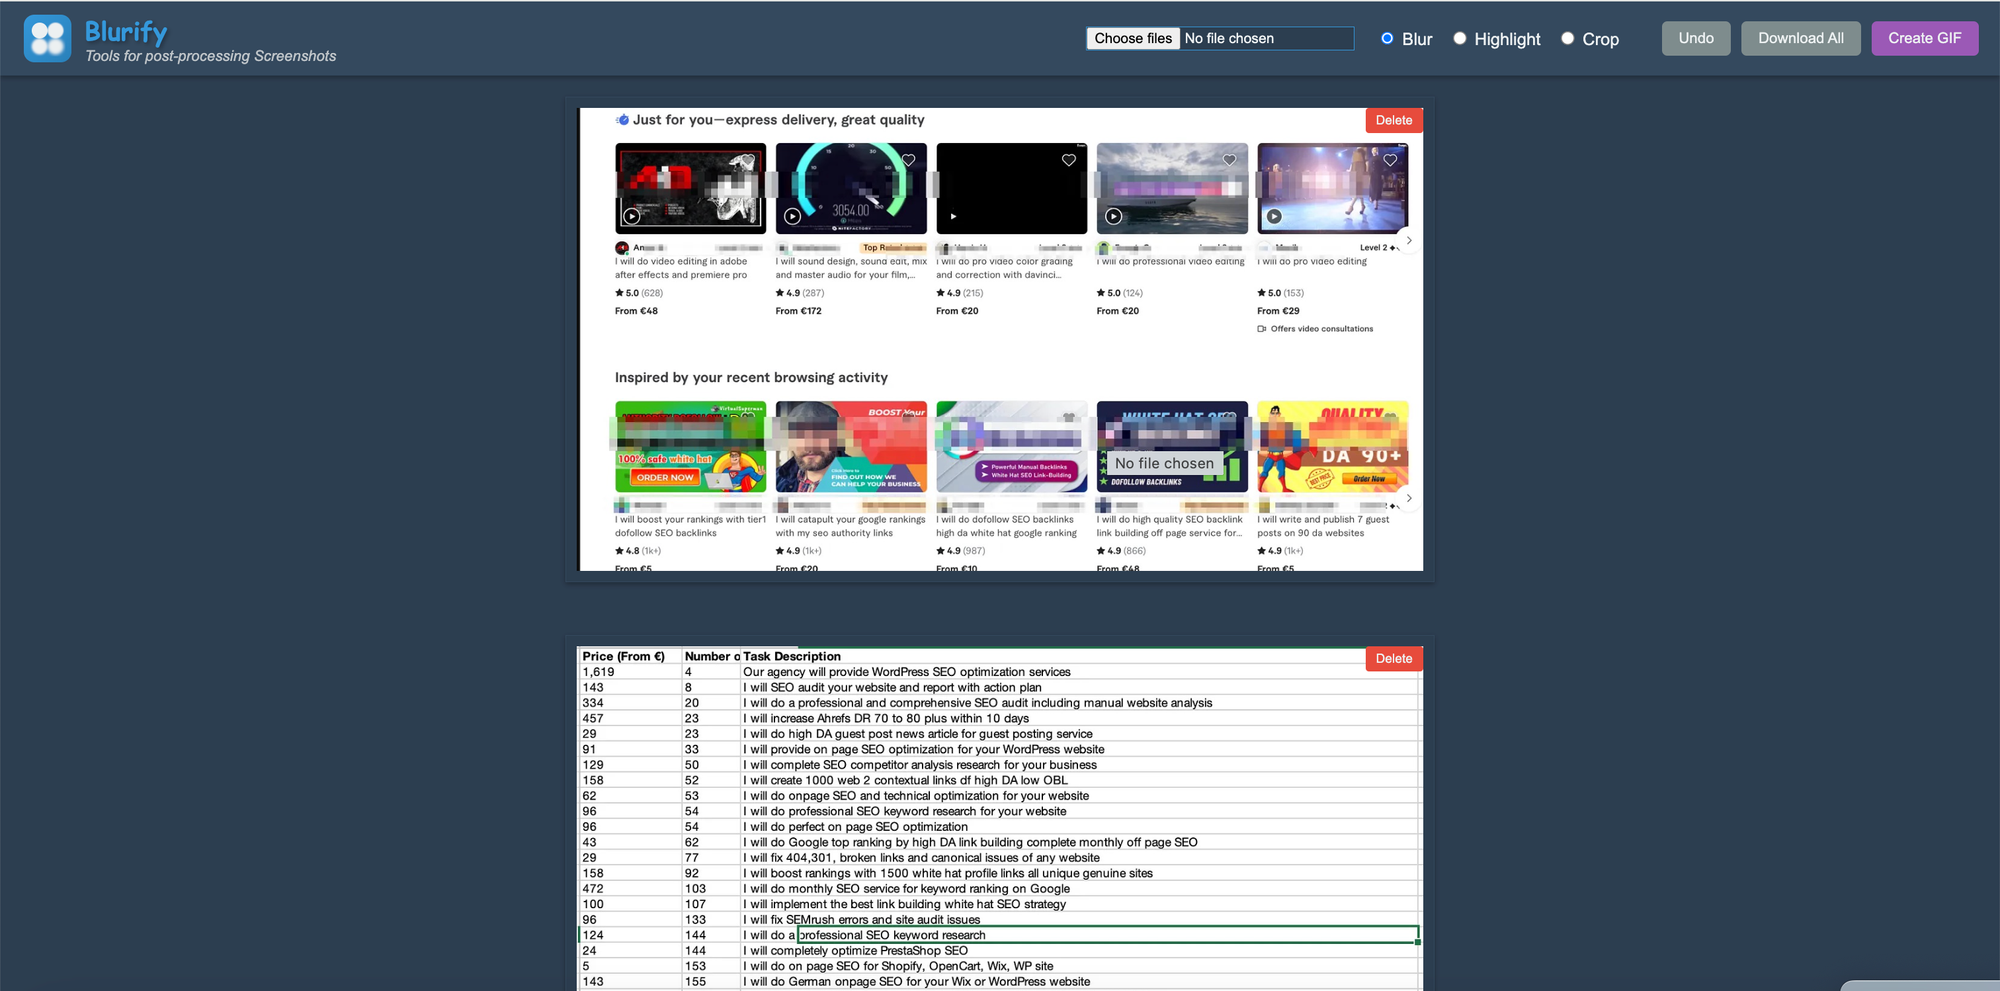
Then perform the necessary operations (crop, blur, highlight) image by image.

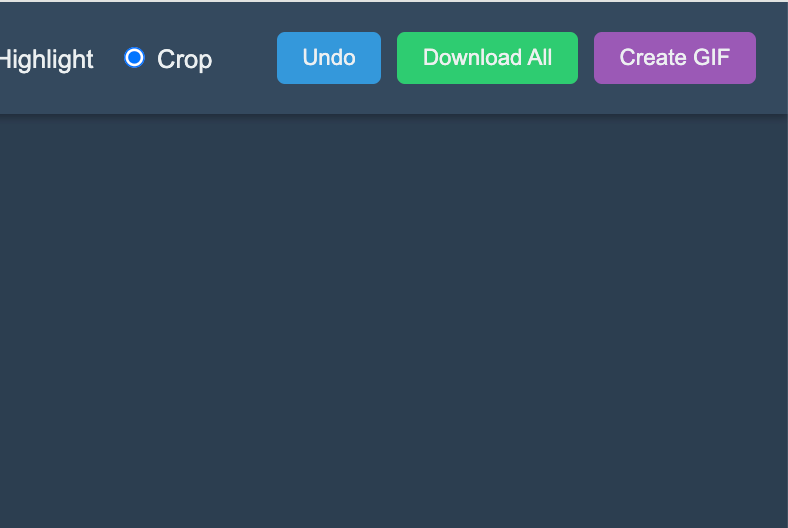
And when you are done, just click Download All or if you want an animated version, click Create Gif.
And that's it.
Now you can open your blog post and just drag the process images and start writing the description of each step.
Happy blogging :)
In this tutorial i want to talk about how i have streamlined the tutiroal m aking proccess, somethign I do quite often recently.
The ingredients for a tutorial are pretty simple whn I have the idea. I recnetly made a tutoiral on how to let openai o1-mini spot the perfect freelancer in a zoo of freelancers on freelancers Plattforms.
having the script in my head, I now need to
1. go through the steps
2. crop images, to focus only on the intesteing part of the screen
2. make annotations and hlight the areas of interest to set the attention
3. blur stuff if there is any private things I dont' necesarily want to share (liek Email adresses, api keys etc.)
4. And finally.. explain the steps.
Sounds pretty simpel and streight forward?
Well, yes. And I did this for quite some time and it worked well.
But one thing annoyed me most:
The image procuessing (bluring, croppting etc.) throws me out of the flow. Each time I go this side road (for image processing) and then get back, I Have to remmeober the next step and resume the step-by-step tutorial.
IN order to streamline this process, I started to only take the screenshot and do the processing at the end. This was much smoother with less interruptiong during the tutorial.
In order to make this even easier, I developed an app that helps do the postporcessing of all iamges in bulk and export th eprocesses image so I can just ocpy paste into my blog post. It can make life much easier if the tutorial includes many screenshots.
And here is how it works:
Navigate to https://blurify.up.railway.app/ (it's free)
- Uplad the screenshots


THen do the necessary operations (crop, blur , highlight) image by image.

And when you are finished, simply hit Download all or if you like an animated version hit Create Gif.
That's it.
Now , you can open your blog post, and just drag the processes images and start wrtiign the descirption of each step.
Happy blogging:)
