AI-Powered UI Simulation: Visualize Your App Before You Even Build It
I've been exploring AI tools to "reverse-engineer" UIs, generating HTML-based "virtual screenshots" just by reading code. Using Gemini AI, I replicated app views without running them, opening avenues for tutorials, product previews, and UI animations. This innovative approach showcases AI's poten...

Recently, I’ve been exploring various trending GitHub tools focused on AI and developer productivity. The standard procedure for trying them out is always the same: clone, install, and run. Some are even simpler, runnable with a single Docker command. While many of these tools feature a user interface (UI), their documentation often doesn’t reveal much about how the UI actually looks.
So, the usual simple answer would be to just clone and run the application, right?
This time, I decided to try something different. Instead of running the code, I wanted to see if AI could reverse-engineer the UI solely by reading the code. The goal was to have the AI “calculate” what the UI for a specific view of the application might look like when it runs. I call this concept “virtual screenshots .” It’s not just Screenthost; AI could even generate a full simulation of the workflow without the app even being started.
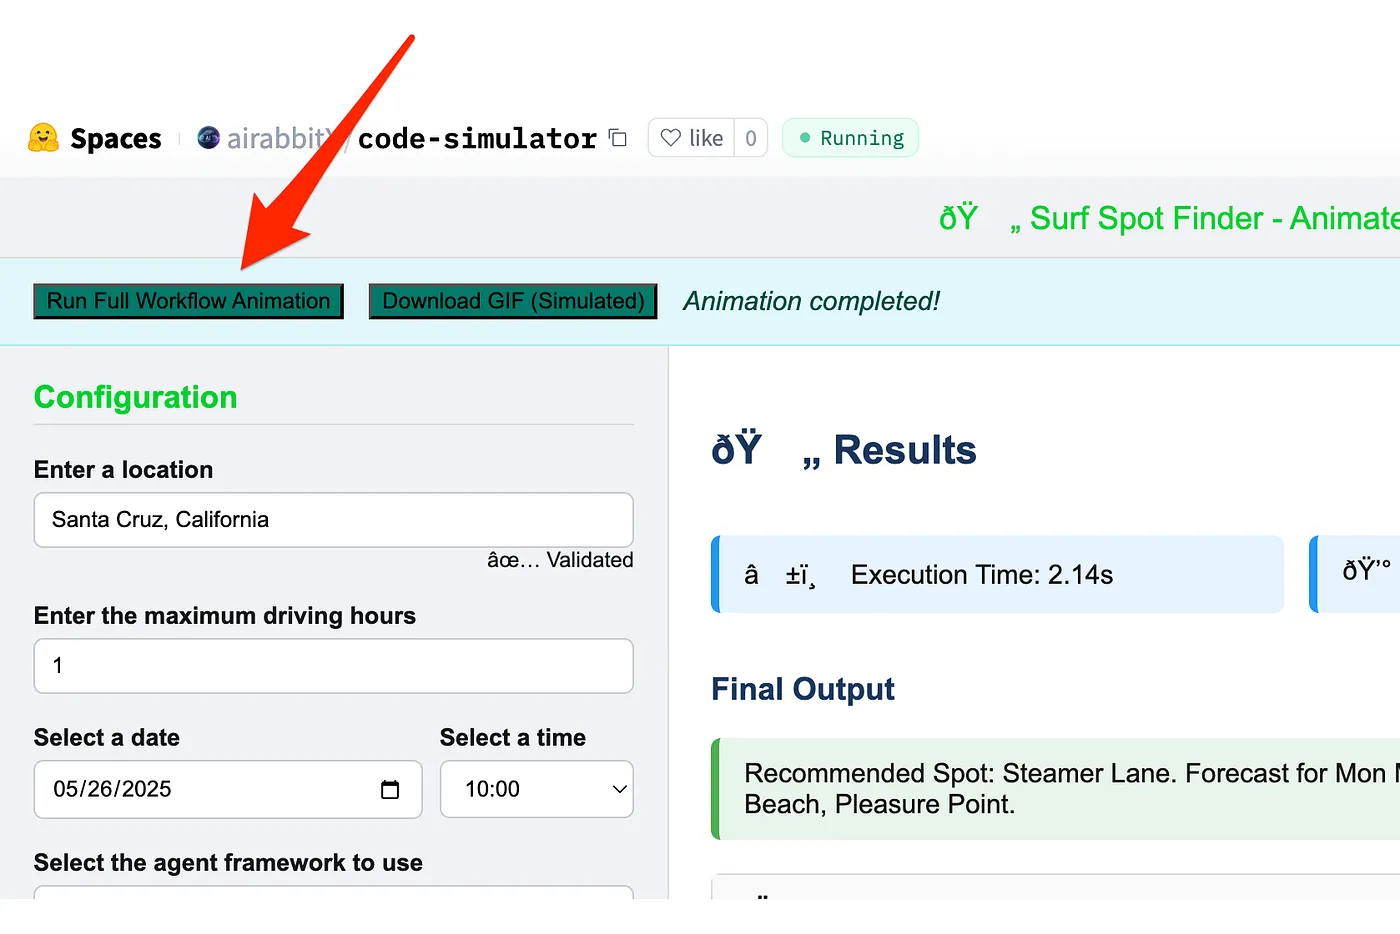
If you would like to see what this could look like, here is an example of a simulation generated by Gemini simply by entering the code — no code execution whatsoever. It knows the steps and UI in each step pretty well. Just hit the start simulation button to watch the magic happen.
Why Would You Do This?
Admittedly, my initial motivation was pure curiosity. However, upon giving it more thought, I realized there are several exciting applications that could serve various purposes:
- Generating Tutorials: Easily create visual guides without needing to run the actual application.
- Product Variations & Previews: Generate virtual screenshots or landing pages for different use cases of your product, offering a sneak peek. Imagine generating different finance app UIs based on code!
- Creating Animations: Use the generated UI structures to animate user interactions.
I experimented with a few applications, and I'll share one example using a simple Gradio app found on Hugging Face. Here’s what I aimed to achieve:
- Provide the AI with the codebase and ask it to generate a "virtual screenshot" as HTML code, which we could then render in a browser.
- Generate virtual screenshots of parts of the screen.
- Generate simple UI animations.
Why HTML?
One might consider generating images, but HTML (or even SVG) offers significantly more flexibility. You can easily fine-tune details by editing the text directly, rather than regenerating the entire thing. Plus, HTML allows for animation using JavaScript, highlighting specific elements, and much more.
Let’s dive into the process:
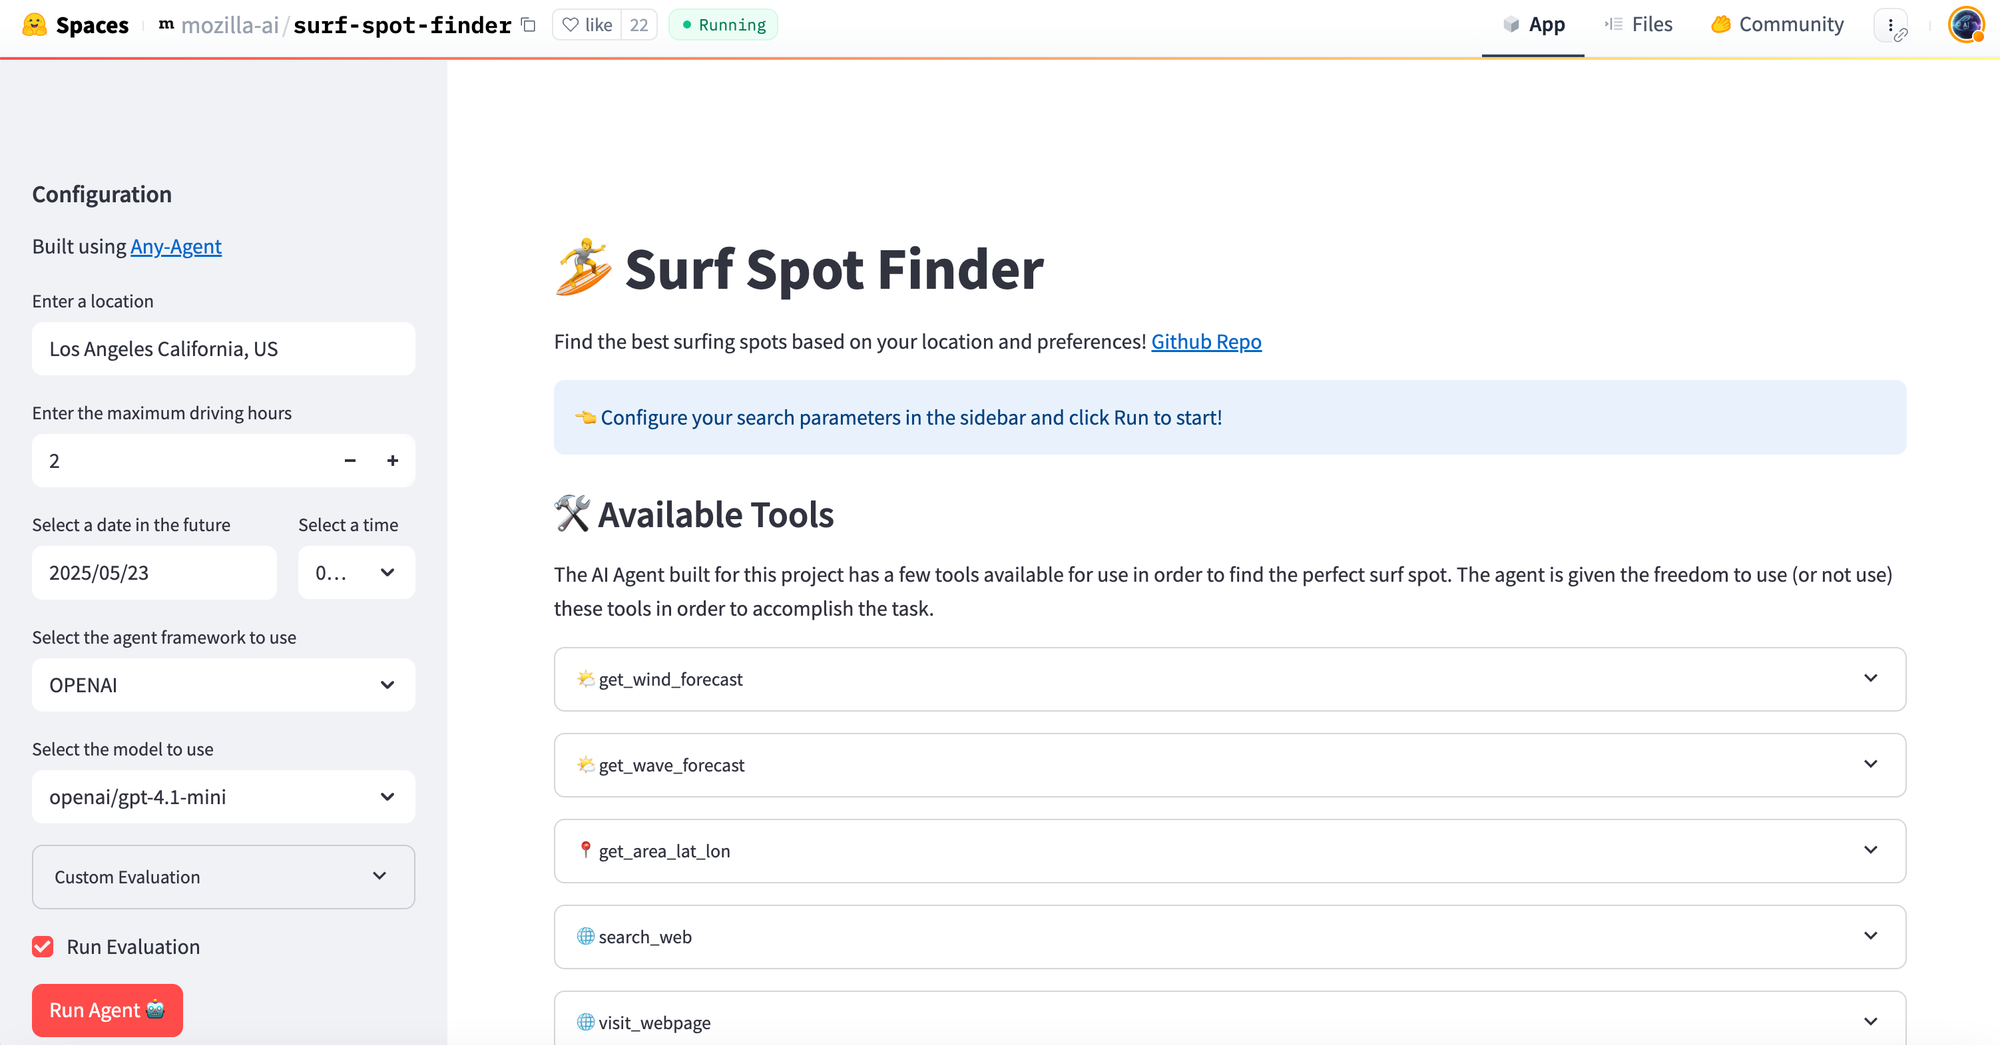
I chose this fantastic Hugging Face Space for my experiment:
https://huggingface.co/spaces/mozilla-ai/surf-spot-finder
Step-by-Step Guide
Step 1: Clone the Code
First, you need to get the application's source code.
$ git clone https://huggingface.co/spaces/mozilla-ai/surf-spot-finder
If you're cloning from GitHub, you could try the same approach with Deepwiki. I haven’t tried it yet and would be curious to know if it works in the same way as Gemini, as described below.
Step 2: Combine the Codebase
This step involves consolidating all the application's code into a single file. To achieve this, I use an open-source tool called Repomix, which you can also try online.
This makes it easy to copy-paste the entire codebase into the AI model.
ai rabbit /tmp/surf-spot-finder $ npx repomix .
....

🔎 Security Check:
──────────────────
✔ No suspicious files detected.

📊 Pack Summary:
────────────────
  Total Files: 26 files
  Total Chars: 51,959 chars
 Total Tokens: 11,783 tokens
       Output: repomix-output.xml
     Security: ✔ No suspicious files detected

🎉 All Done!
Your repository has been successfully packed.
Step 3: Generate Virtual Screenshots
As mentioned, the goal is to generate a virtual screenshot in the form of HTML code, which you can then view in any browser or an online HTML viewer like html.onlineviewer.net.
Now, with the combined code ready, open Gemini AI Studio: https://aistudio.google.com/prompts/new_chat.