From GPT Image to 3D Print: Turning a Digital Idea into a Physical Object
The article outlines a process for using AI tools to generate a 2D design of an object, convert it to a 3D model, and print it, exemplified by creating a phone holder.
The release of tools like the new GPT image generator has created a lot of excitement. Suddenly we can create images and adjust existing ones with unprecedented precision.
This opens doors to possibilities we hadn't considered before. One of these - which has now become much easier - is to turn these stunning digital images into physical, real-world 3D objects.
I wanted to try this some time ago, but the results weren't what I expected, and the effort involved in going from idea to design to print was just too much (especially since I don't do 3D printing for a living, so I was hesitant).
But this time it felt different. With advances in GPT and other AI models becoming incredibly powerful, the line between the digital and physical worlds seems thinner than ever.
In this blog post, I will share my latest experiment: creating a 2D image of a mobile phone holder in ChatGPT, converting it into a 3D model, and then sending it off to be printed.
The beauty of this process? The design was completely AI-generated, and I didn't have to buy any 3D printing hardware.
Curious about how it worked? Let's get started.
The Core Idea
The basic idea is straightforward:
- Ask ChatGPT to generate an image of the object you want (in my case, a phone holder designed for 3D printing).
- Use an AI tool to convert that 2D image into a 3D object file.
- Send the 3D object file (.obj format) to a 3D printing service.
That’s it.
What You'll Need
- ChatGPT
- A free account with CSM (for converting the 2D image to a 3D model)
- A 3D printing service like Sculpteo
I picked these after trying others that didn't work as well for me. Feel free to use different services that fit your needs; the general process and file formats are usually quite similar.
Step 1: Generating the Design with ChatGPT
1.1 Generate the Object Image
I used the following prompt:
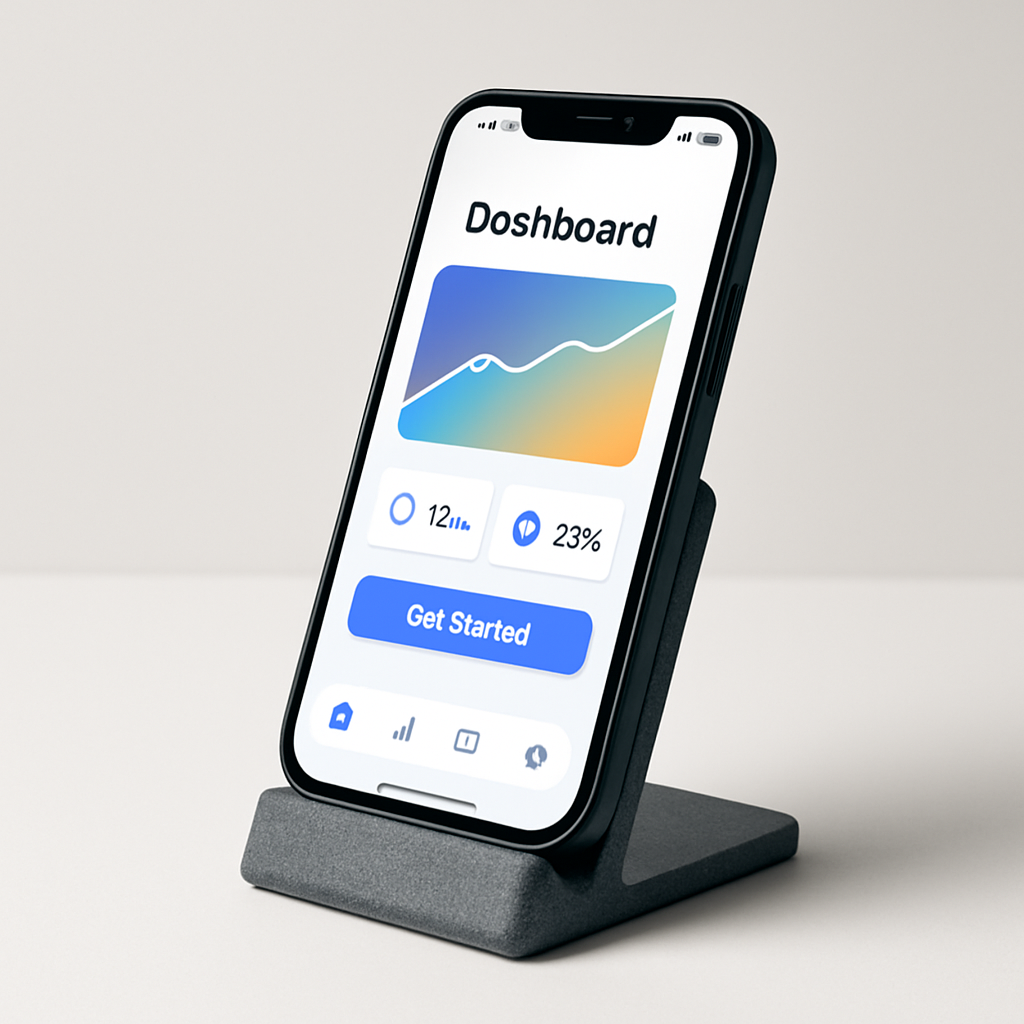
Make a simple, functional phone holder, designed as a single-piece for 3D printing, no extra parts, no assembly, ready to print and use.
It took a couple of tries, but here’s the image I ended up with:
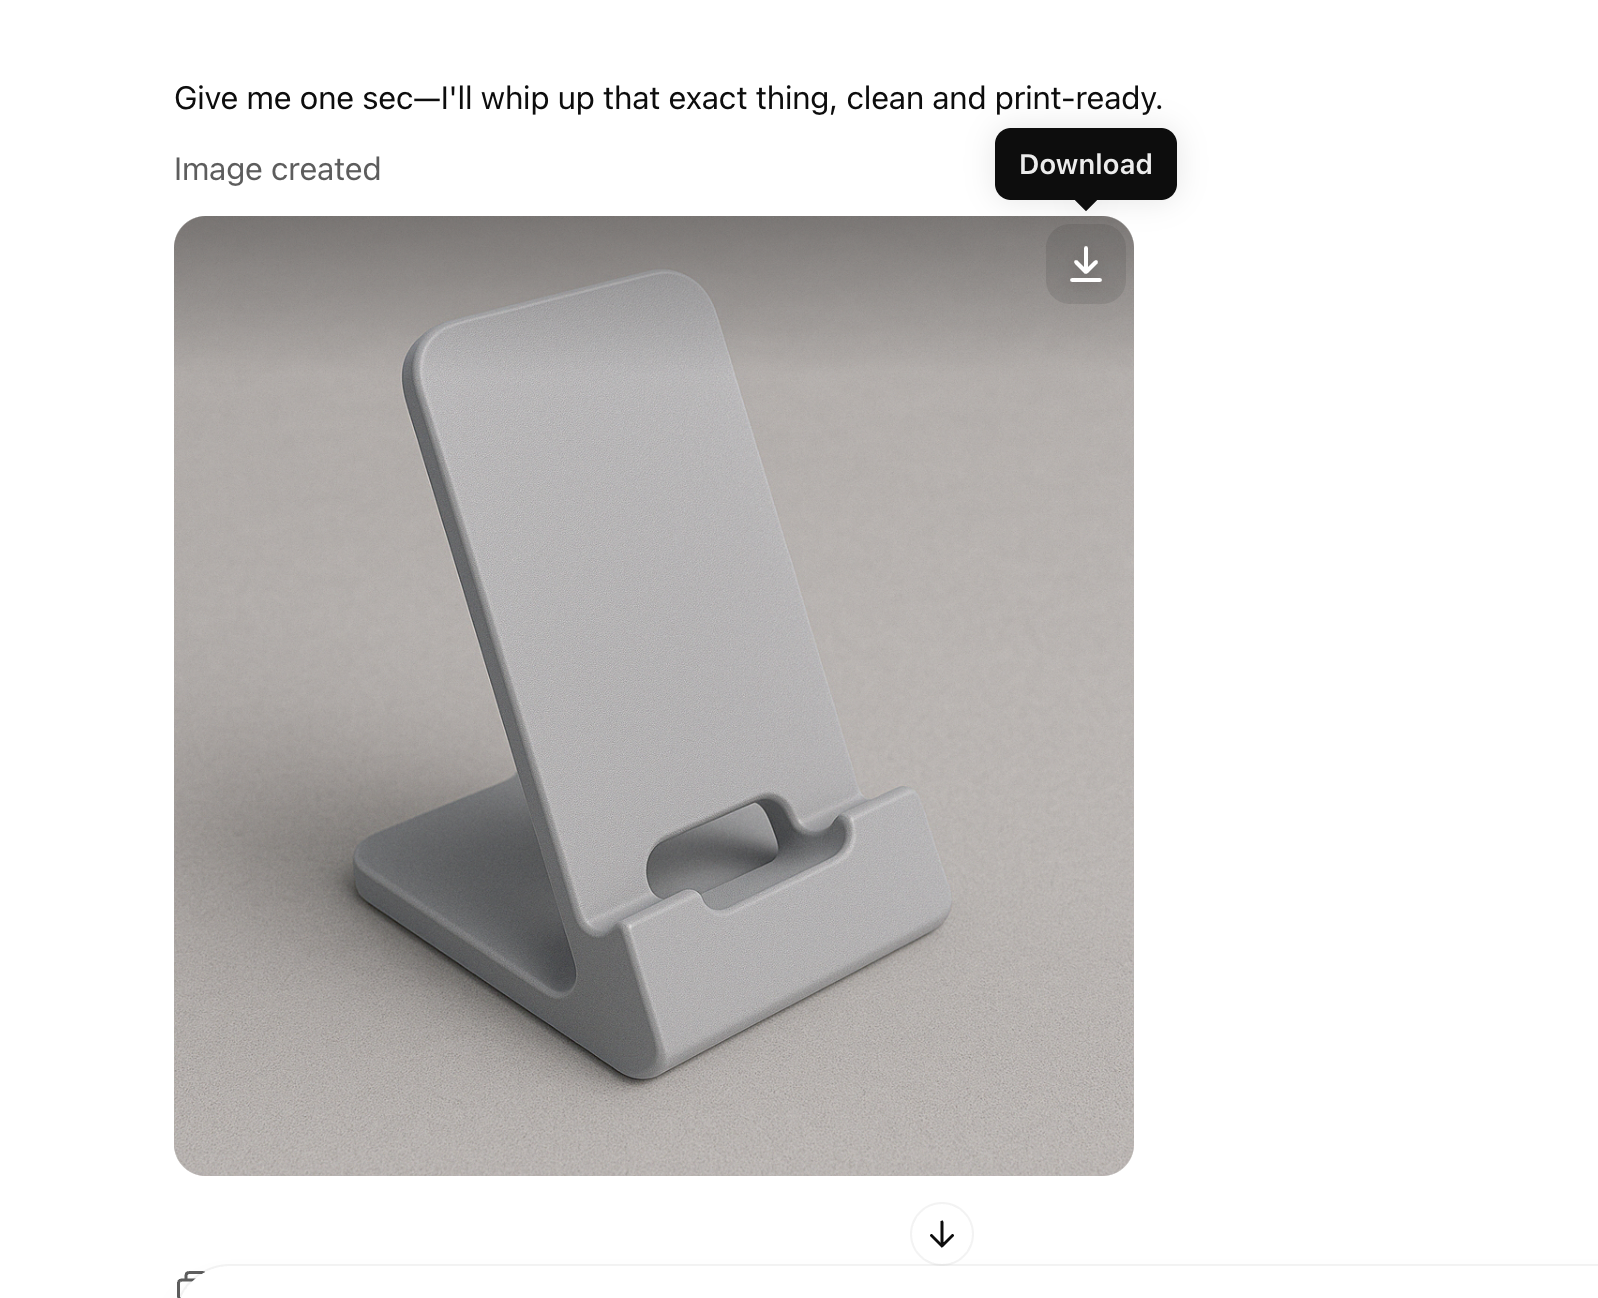
Important: Try to ensure your design is a single, solid piece. Handling multiple parts can get tricky, especially if they aren't designed with the precision needed for assembly (like in industrial design).
Color Note: For simplicity here, I didn't focus on color. However, you can specify colors in your prompt and potentially match them later during the 3D conversion or by choosing an appropriate print material.
1.2 Determine the Right Size
Next, I needed to figure out the appropriate dimensions for the holder. I asked:
what are the proper dimensions of this object?
1.3 Visualize the Size
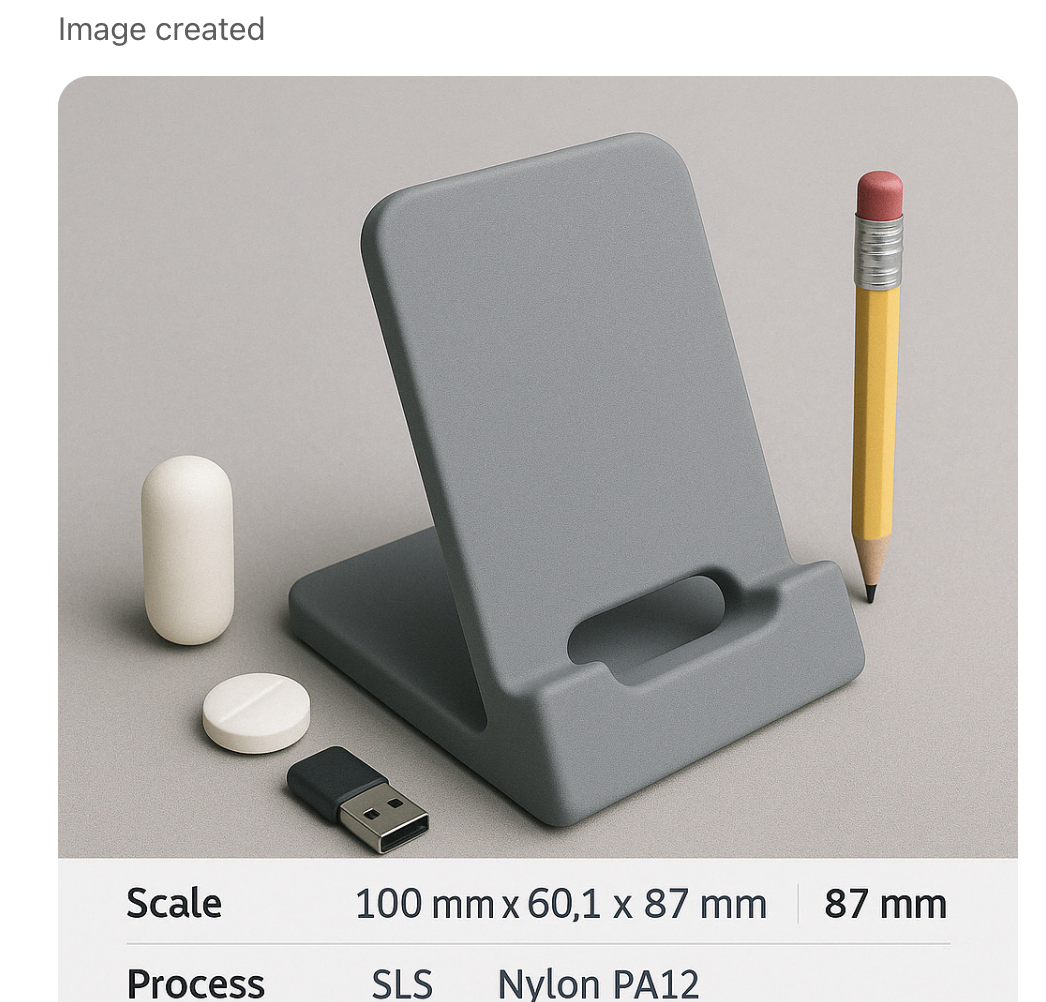
To get a better sense of scale, I asked ChatGPT to show it next to everyday objects:
Show me a dimensional comparison with objects for the dimensions you proposed.
Step 2: Converting the Image to a 3D Model
Now that we have the 2D image, we need to turn it into a 3D model file that can be printed, a .obj file.