Connect Claude Desktop to 7000+ APIs with 5 lines of Code
MCP is revolutionizing AI by seamlessly connecting it to any API, including Gmail, cloud storage, and more. However, challenges like API configuration and security arise. Zapier's new MCP server tackles this by offering a single adapter for API access, enabling easy interaction and automation fro...

If you've been following the news and reading my blog, you probably know that MCP is one of the technologies disrupting the AI economy. It has become the de facto standard for connecting any AI to any API - whether it's Gmail, cloud storage, CMS, databases, or even your local file system and browser. With this technology, the possibilities are endless.
But a growing ecosystem brings its own challenges:
- finding the API
- authenticating to an API using API keys or OAuth
- configuring (each and every) API
- securing access
- and much more.
While there are many different solutions for these problems, Zapier recently introduced an ingenious idea: a single adapter (a so-called MCP server) for the entire Zapier platform.
This is huge.
What does this mean?
This means that by adding a single connection to this Zapier adapter, you'll get access to any API you've already set up and connected to in Zapier.
For example, if you've already connected your Gmail account and, say, OneDrive, you can now open you claude chat and say fetch the last 3 emails s, summarize them and save them in a file in my OneDrive folder /emails.
In this tutorial, I'll show you how to connect your Claude to Zapier in three steps, so that you can then interact with all the connected APIs directly from Claude and mix and match as you like.
What you need:
- claude desktop app (I tested it on Mac, but it should work on any OS)
- a Zapier account (a free account is fine)
- Python and uvx installed.
How it works in a nutshell
You don’t really need to know every detail, but for the tech enthusiast, here’s a quick overview:
Zapier generates a URL for each account that becomes the SSE MCP server for that account. The tools of this MCP server are essentially the configured actions—e.g., Gmail read, Gmail write, etc.—one tool per action.
Note that each mcp-action has to be explicitly enabled for MCP.
However, you can reuse any existing connections (Oauth, API keys, etc.) that you have already set up in your account.
Let’s dive in.
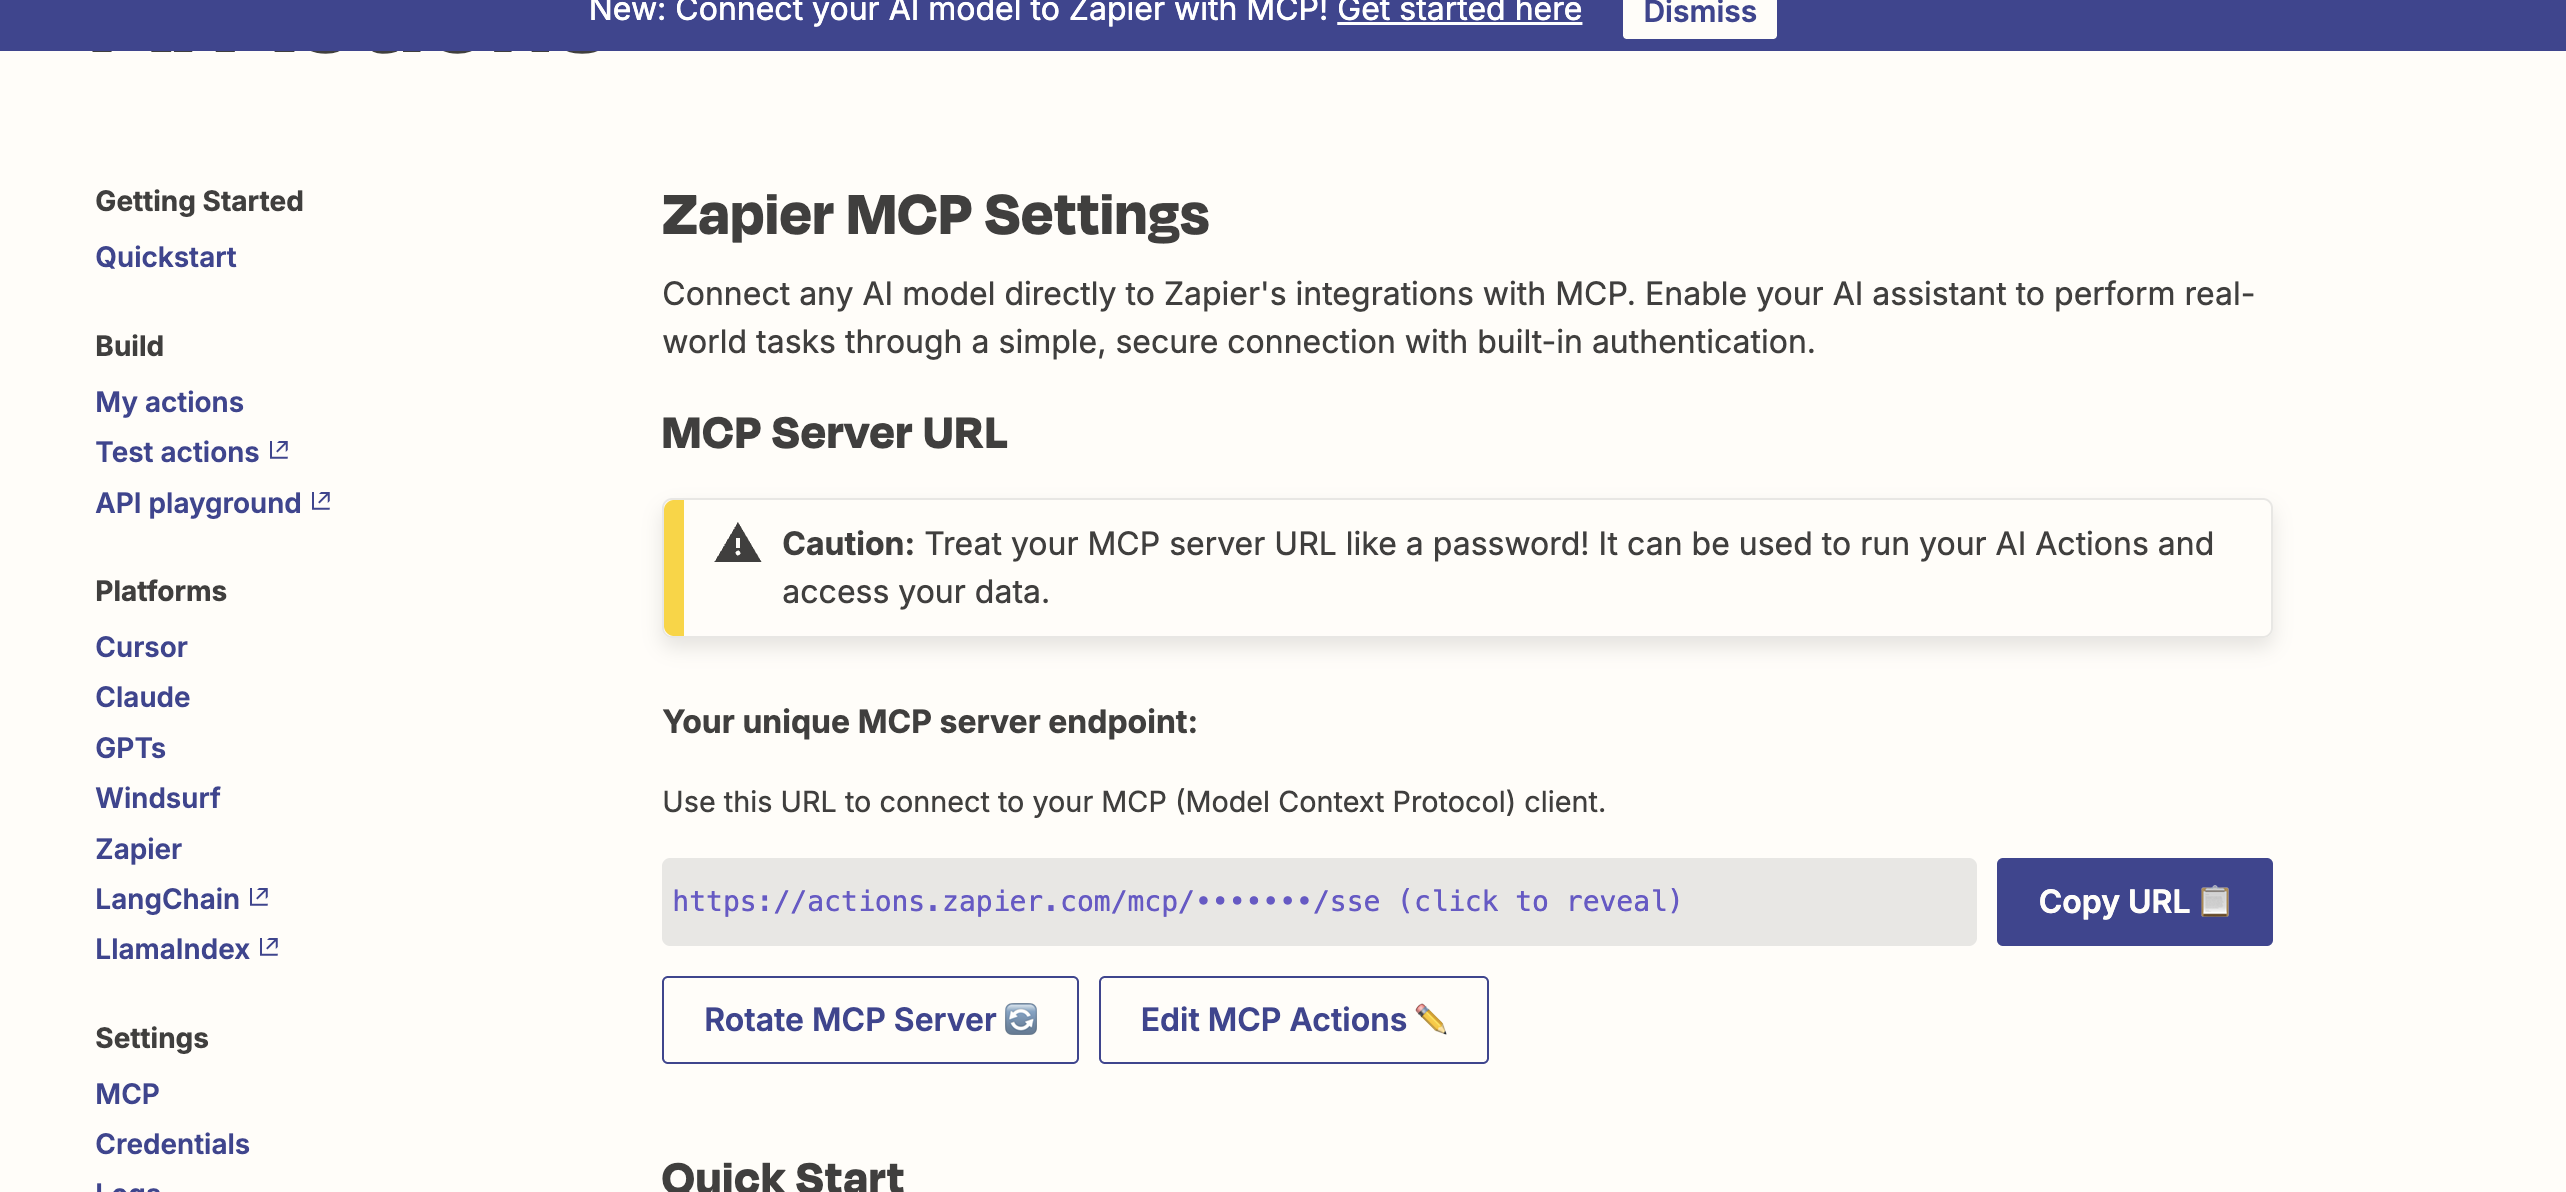
#Step 1: Get the MCP URL
Generate an MCP URL as shown below and be sure to save it somewhere safe. Note that anyone with access to this URL will be able to use all MCP-enabled actions in your Zapier account.
https://actions.zapier.com/settings/mcp/
#Step 1: Add actions
Now add the actions you want to be available in Claude.
In this example, I’ll add a single action for searching my Gmail account.
https://actions.zapier.com/mcp/actions/
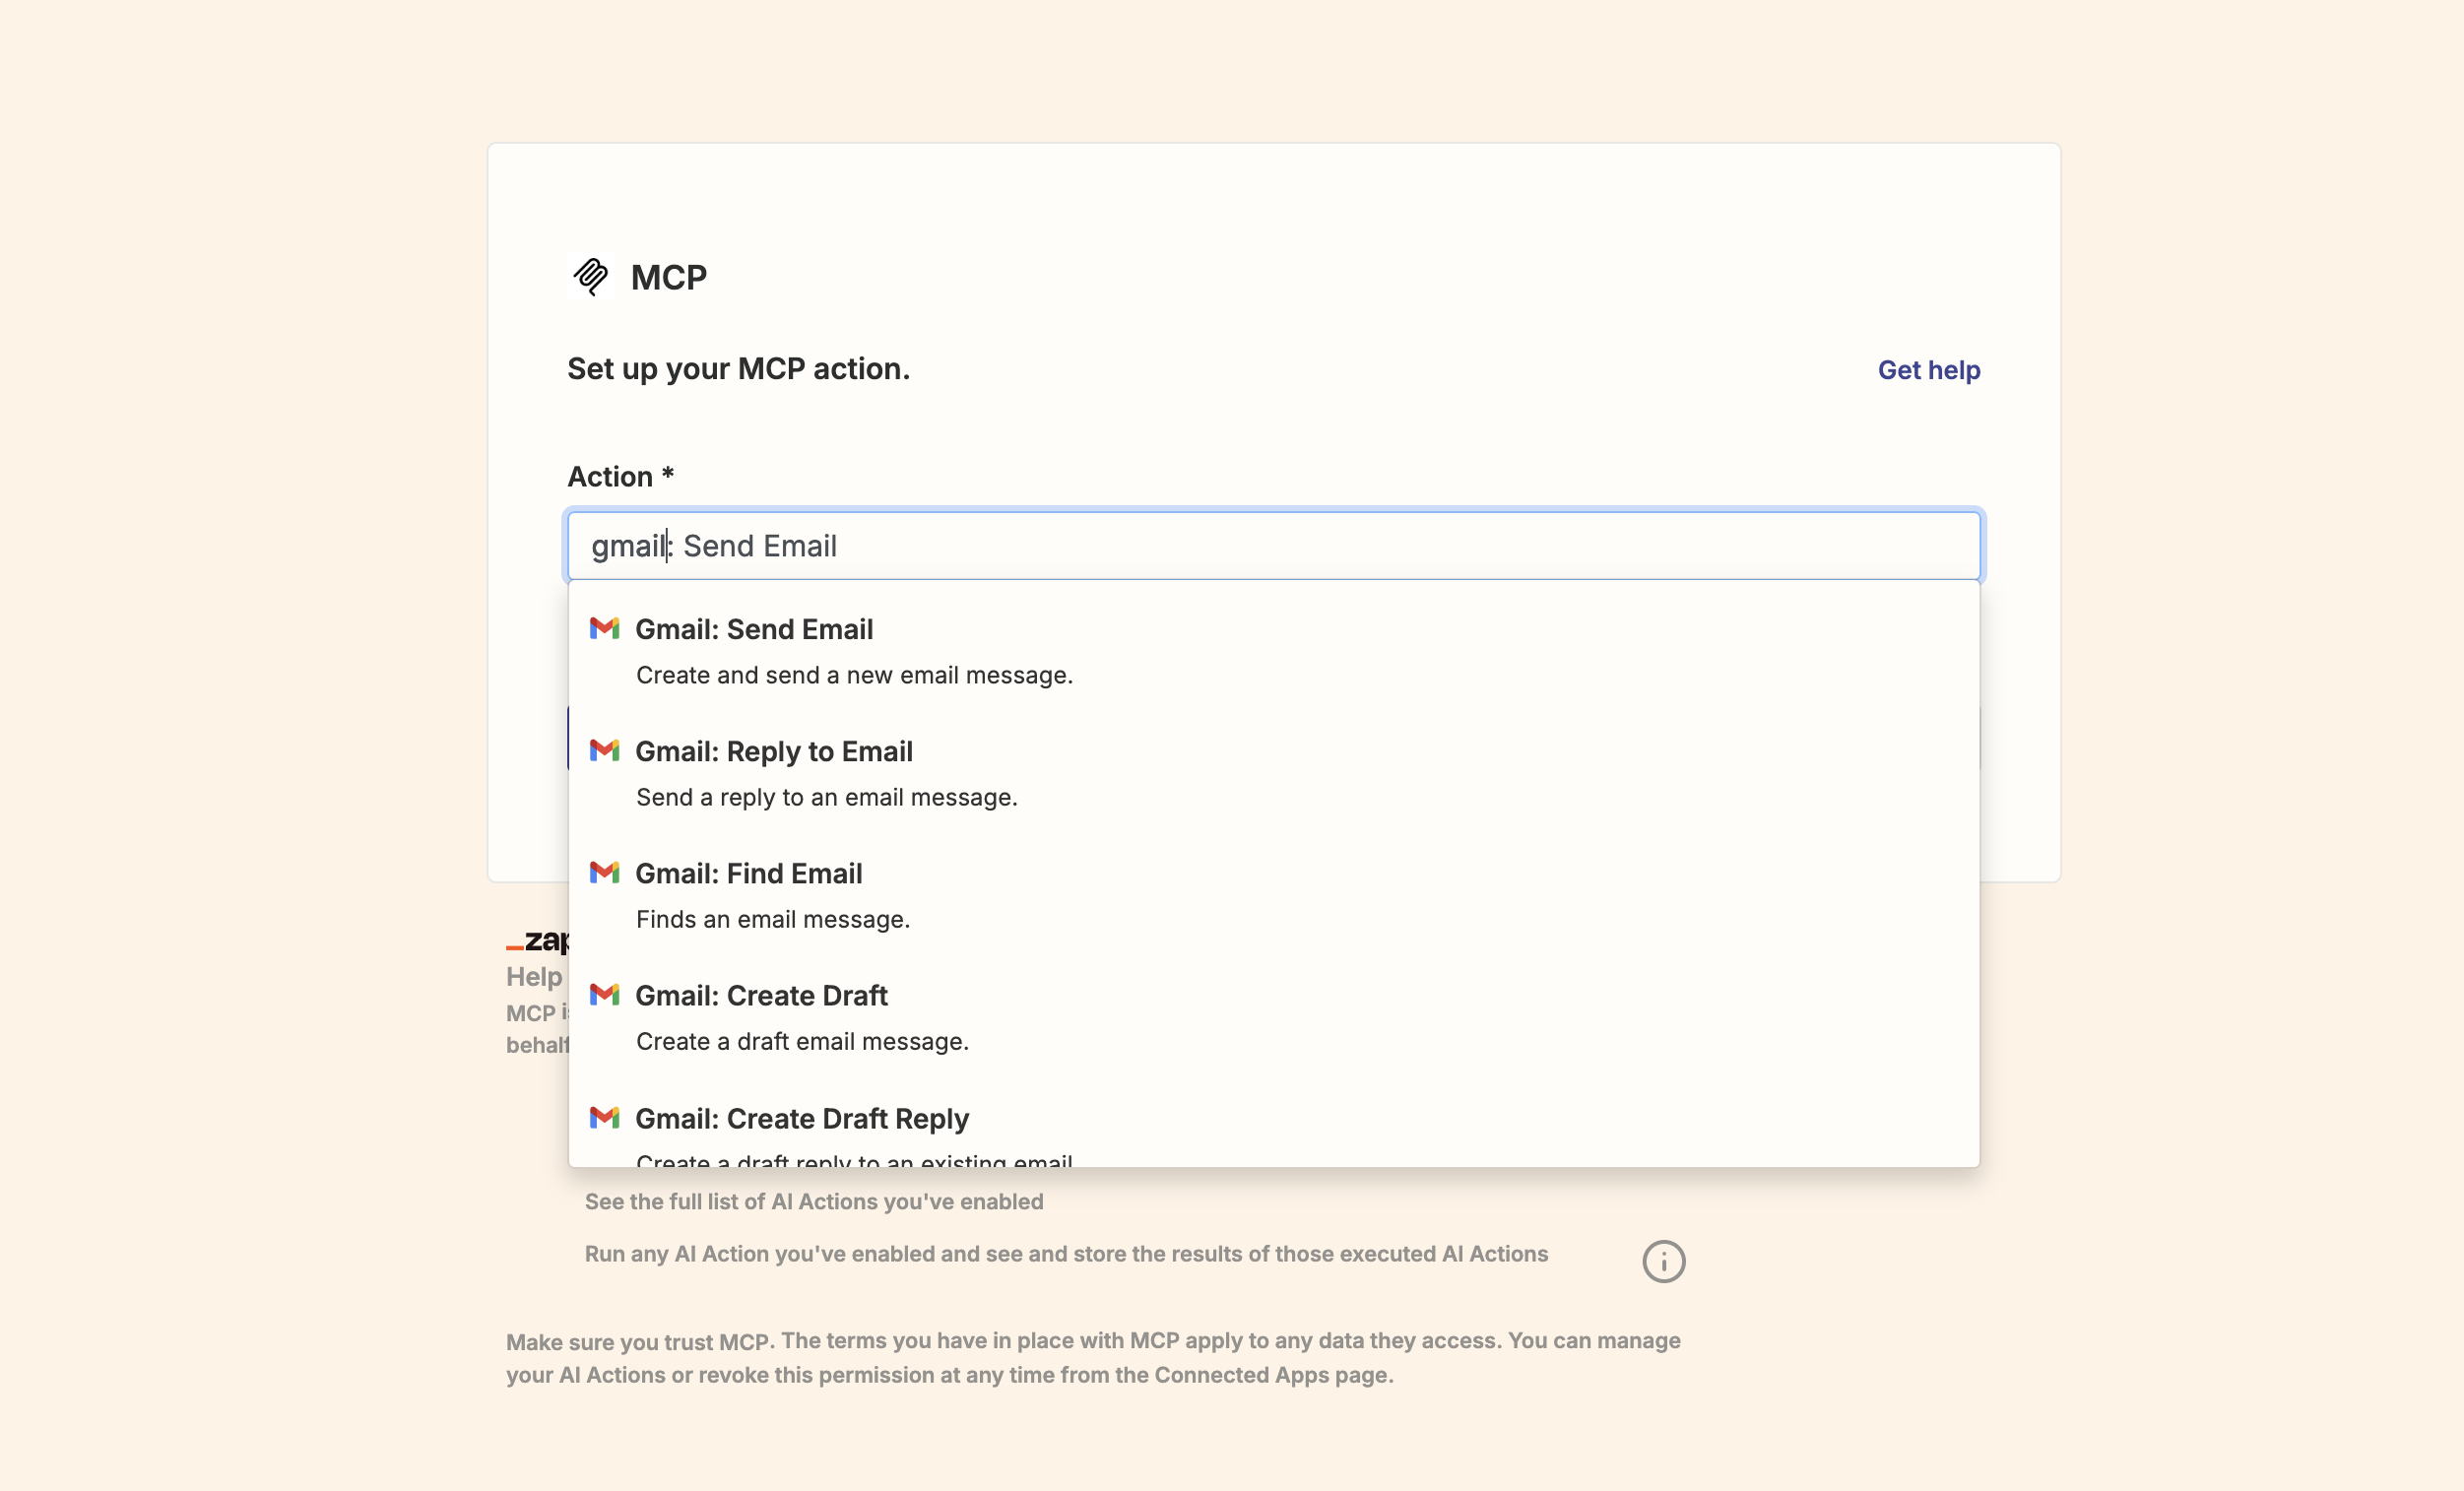
Note that, as mentioned earlier, you don't have to set up the connections again - you simply choose from the existing actions and activate them.
Since the connection to Gmail was already configured, I just had to choose and enable this action.

Feel free to add as many actions as you like.
Note that if you make changes here, you will need to restart the MCP client (Claude), as it will probably only fetch the list of tools when it starts.
That’s all for Zapier.
Now let’s configure Claude to use our new Zapier MCP server.
#Step 3: Configure Claude to use Zapier
Open your Claude configuration file. It’s usually located here:
macOS: ~/Library/Application Support/Claude/claude_desktop_config.json
Windows: %APPDATA%\Claude\claude_desktop_config.json
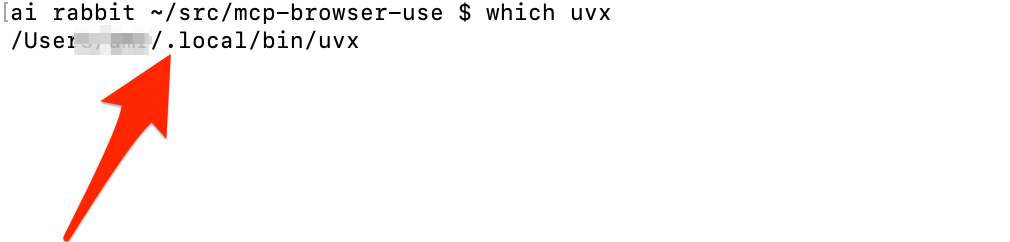
Next, you need to find where you installed UVX. You can do this by running which uvx in your terminal and copying the path.
Then copy and paste the snippet below into your JSON configuration for Claude.
If you already have MCP servers set up, just extend the items under "mcpServers". In this snippet, I show only one MCP server, zapier-mcp, for demonstration:{
"mcpServers": {
"zapier-mcp": {
"command": "<Y UVX PATH GOES HERE >>",
"args": [
"mcp-proxy",
"<< ZAPIER URL GOES HERE >>"
]
}
}
}
Example:
{
  "mcpServers": {
    "zapier-mcp": {
      "command": "/Users/airbbit/.local/bin/uvx",
      "args": [
        "mcp-proxy",
        "https://actions.zapier.com/mcp/sk-ak-xxxx/sse"
      ]
    }
  }
}
That’s basically it.
Now let’s check in Claude to see if it has access to the tools we configured in Zapier, like the findemail action.
#Step4: Test It
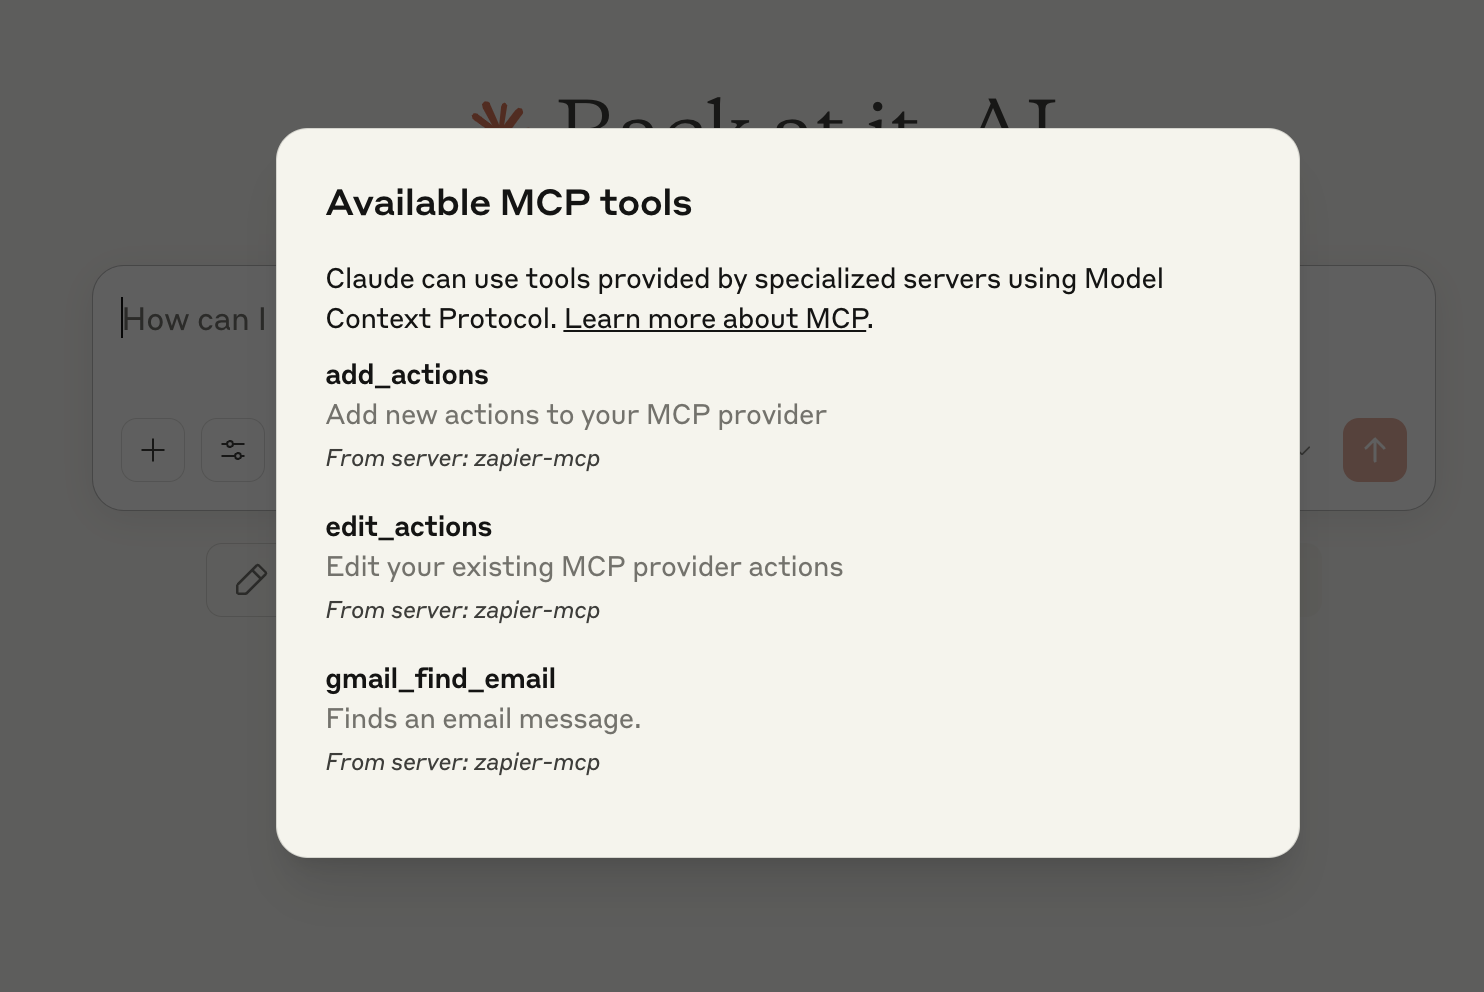
We can see which tools are currently available by clicking on the Tools button at the bottom of the chat window.
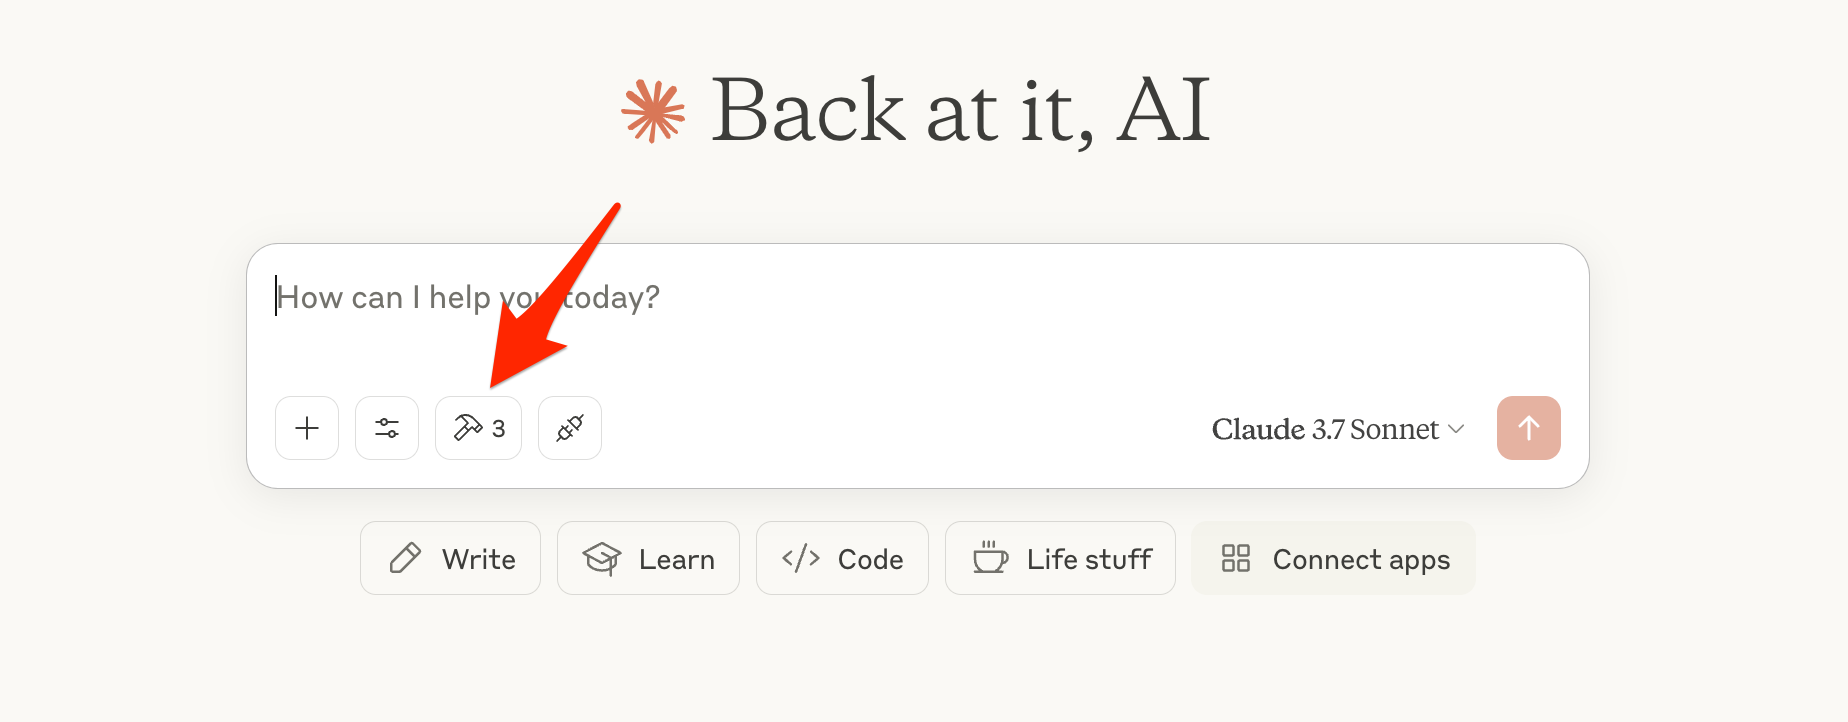
And as you can see, it shows gmailfindemail from the Zapier MCP as expected
Great. Now let’s look for some emails.
#Step4: Use It
Let’s say I want to find this email—a newsletter from LlamaIndex

I simply enter in the Claude prompt:
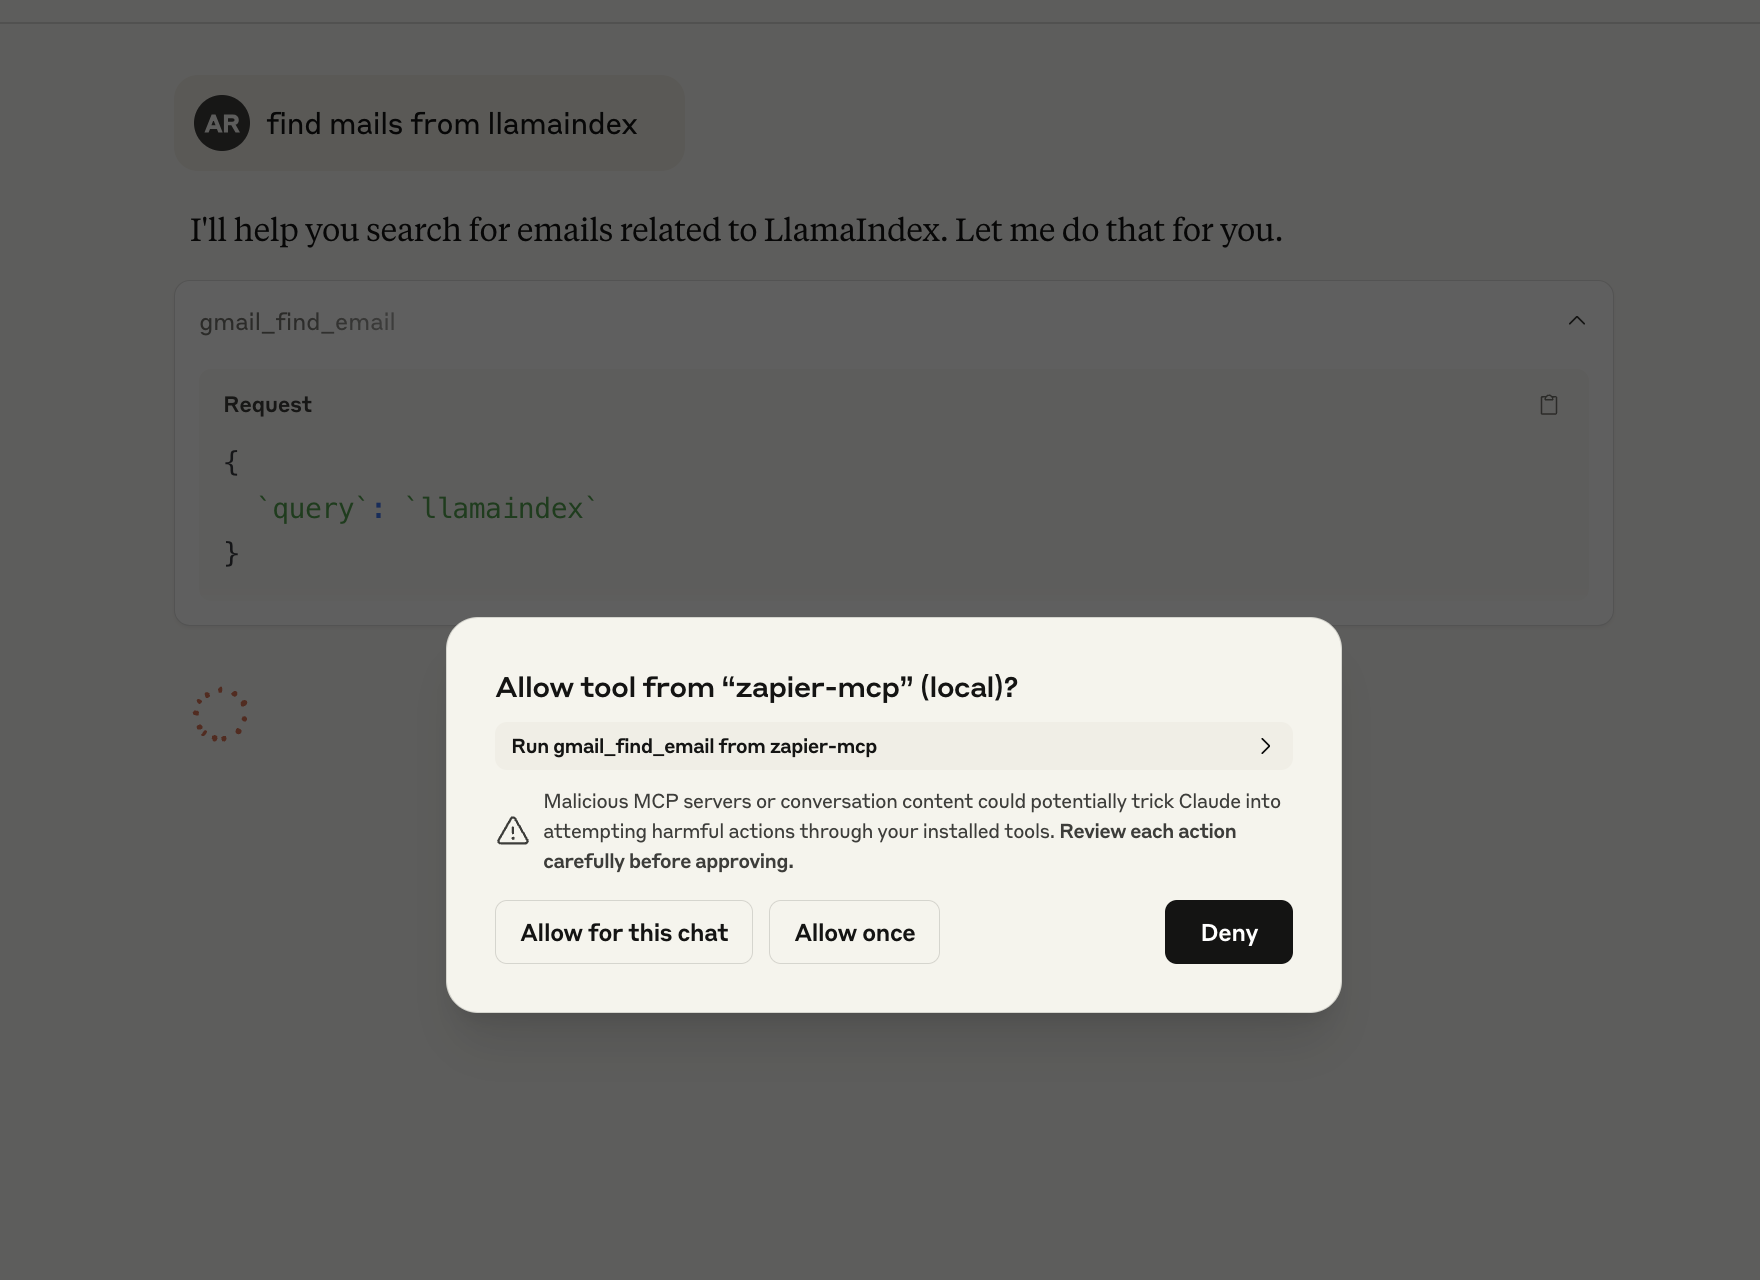
find emails from llamaindex

It recognises that it needs a tool to search for emails and asks me to allow it to use this tool. I choose allow this chat.
It connects to the tool (in this case Gmail), searches for "llamaindex" and a few seconds later shows what it has found. Amazing.
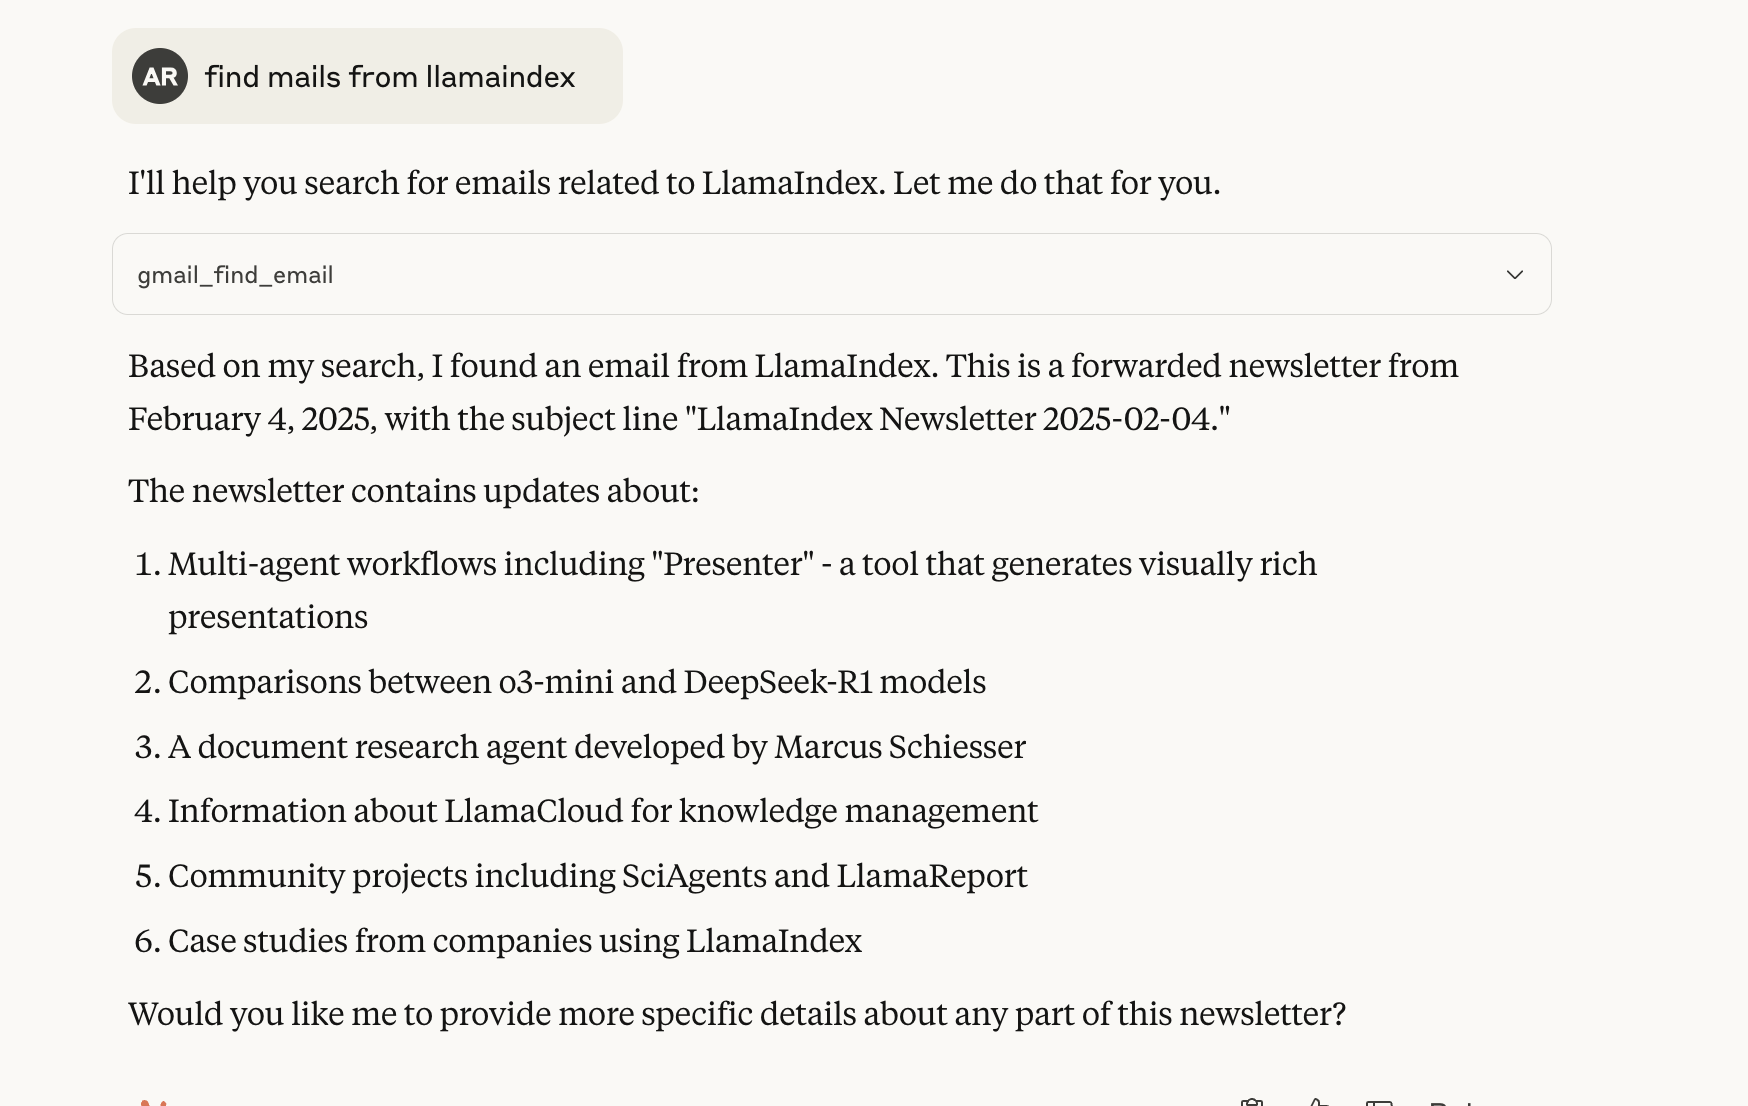
You can even see the exact parameters passed to the API by clicking on the action— in this case “gmailfindemail”—in the chat window.
That’s it.
Now you can extend it however you like: add APIs and automate everything from a single interface - your Claude chat window.
For advanced users and developers interested in debugging, there are many tools to help you develop and debug this ecosystem. One of these tools I mentioned earlier is the Inspector.
Here's how you can use it to debug this scenario.
(Advanced) Test it
Info: Zapier only offers an SSE implementation of its MCP server, and Claude currently only supports the stdio version of the MCP protocol. That’s why we need a proxy, called mcp-proxy.
You can also test the server yourself by running it without the inspector, like this, to make sure it starts properly:
ai rabbit /src/mcp-browser-use $ uvx mcp-proxy https://actions.zapier.com/mcp/sk-ak-xxx/sse
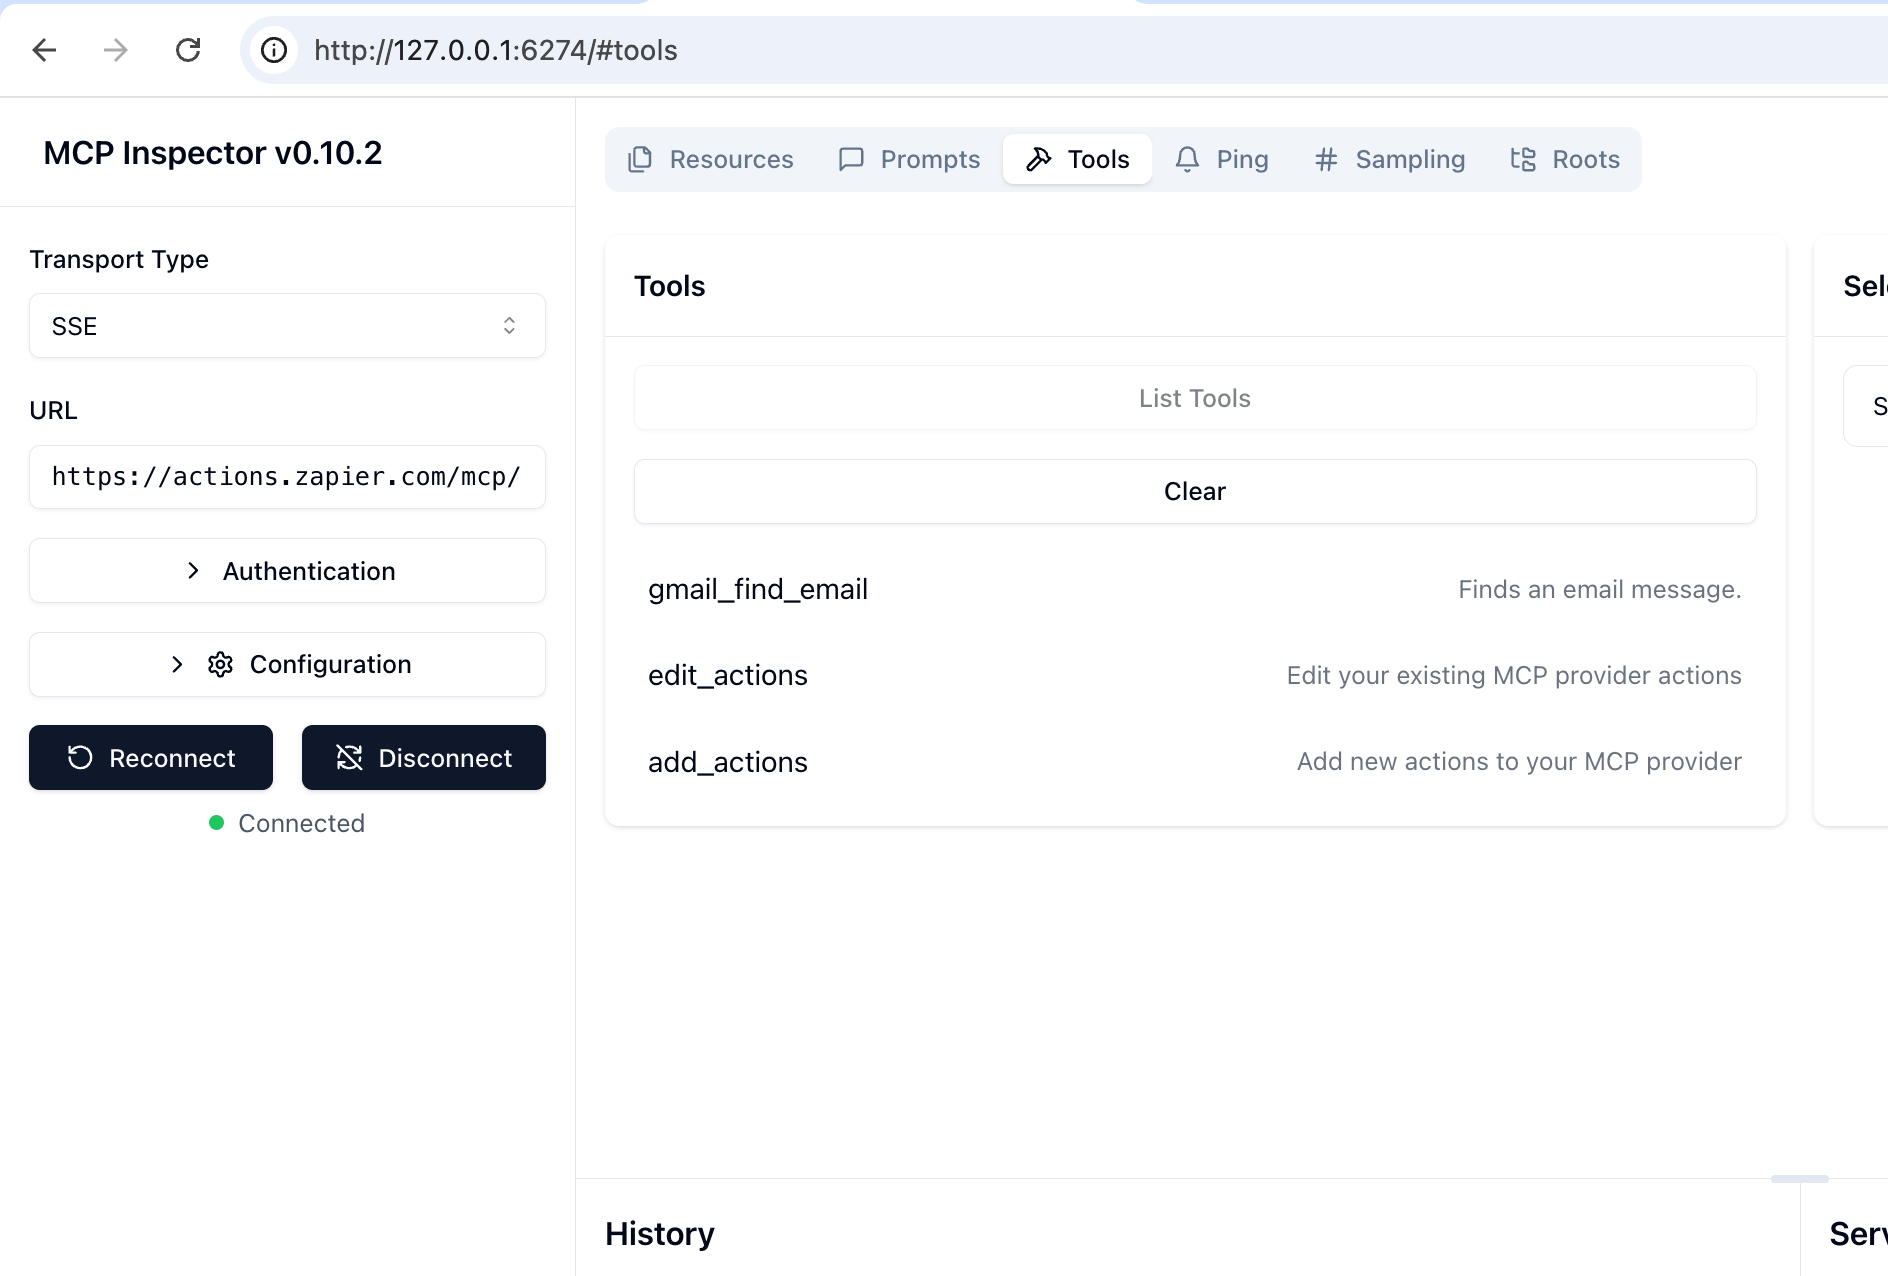
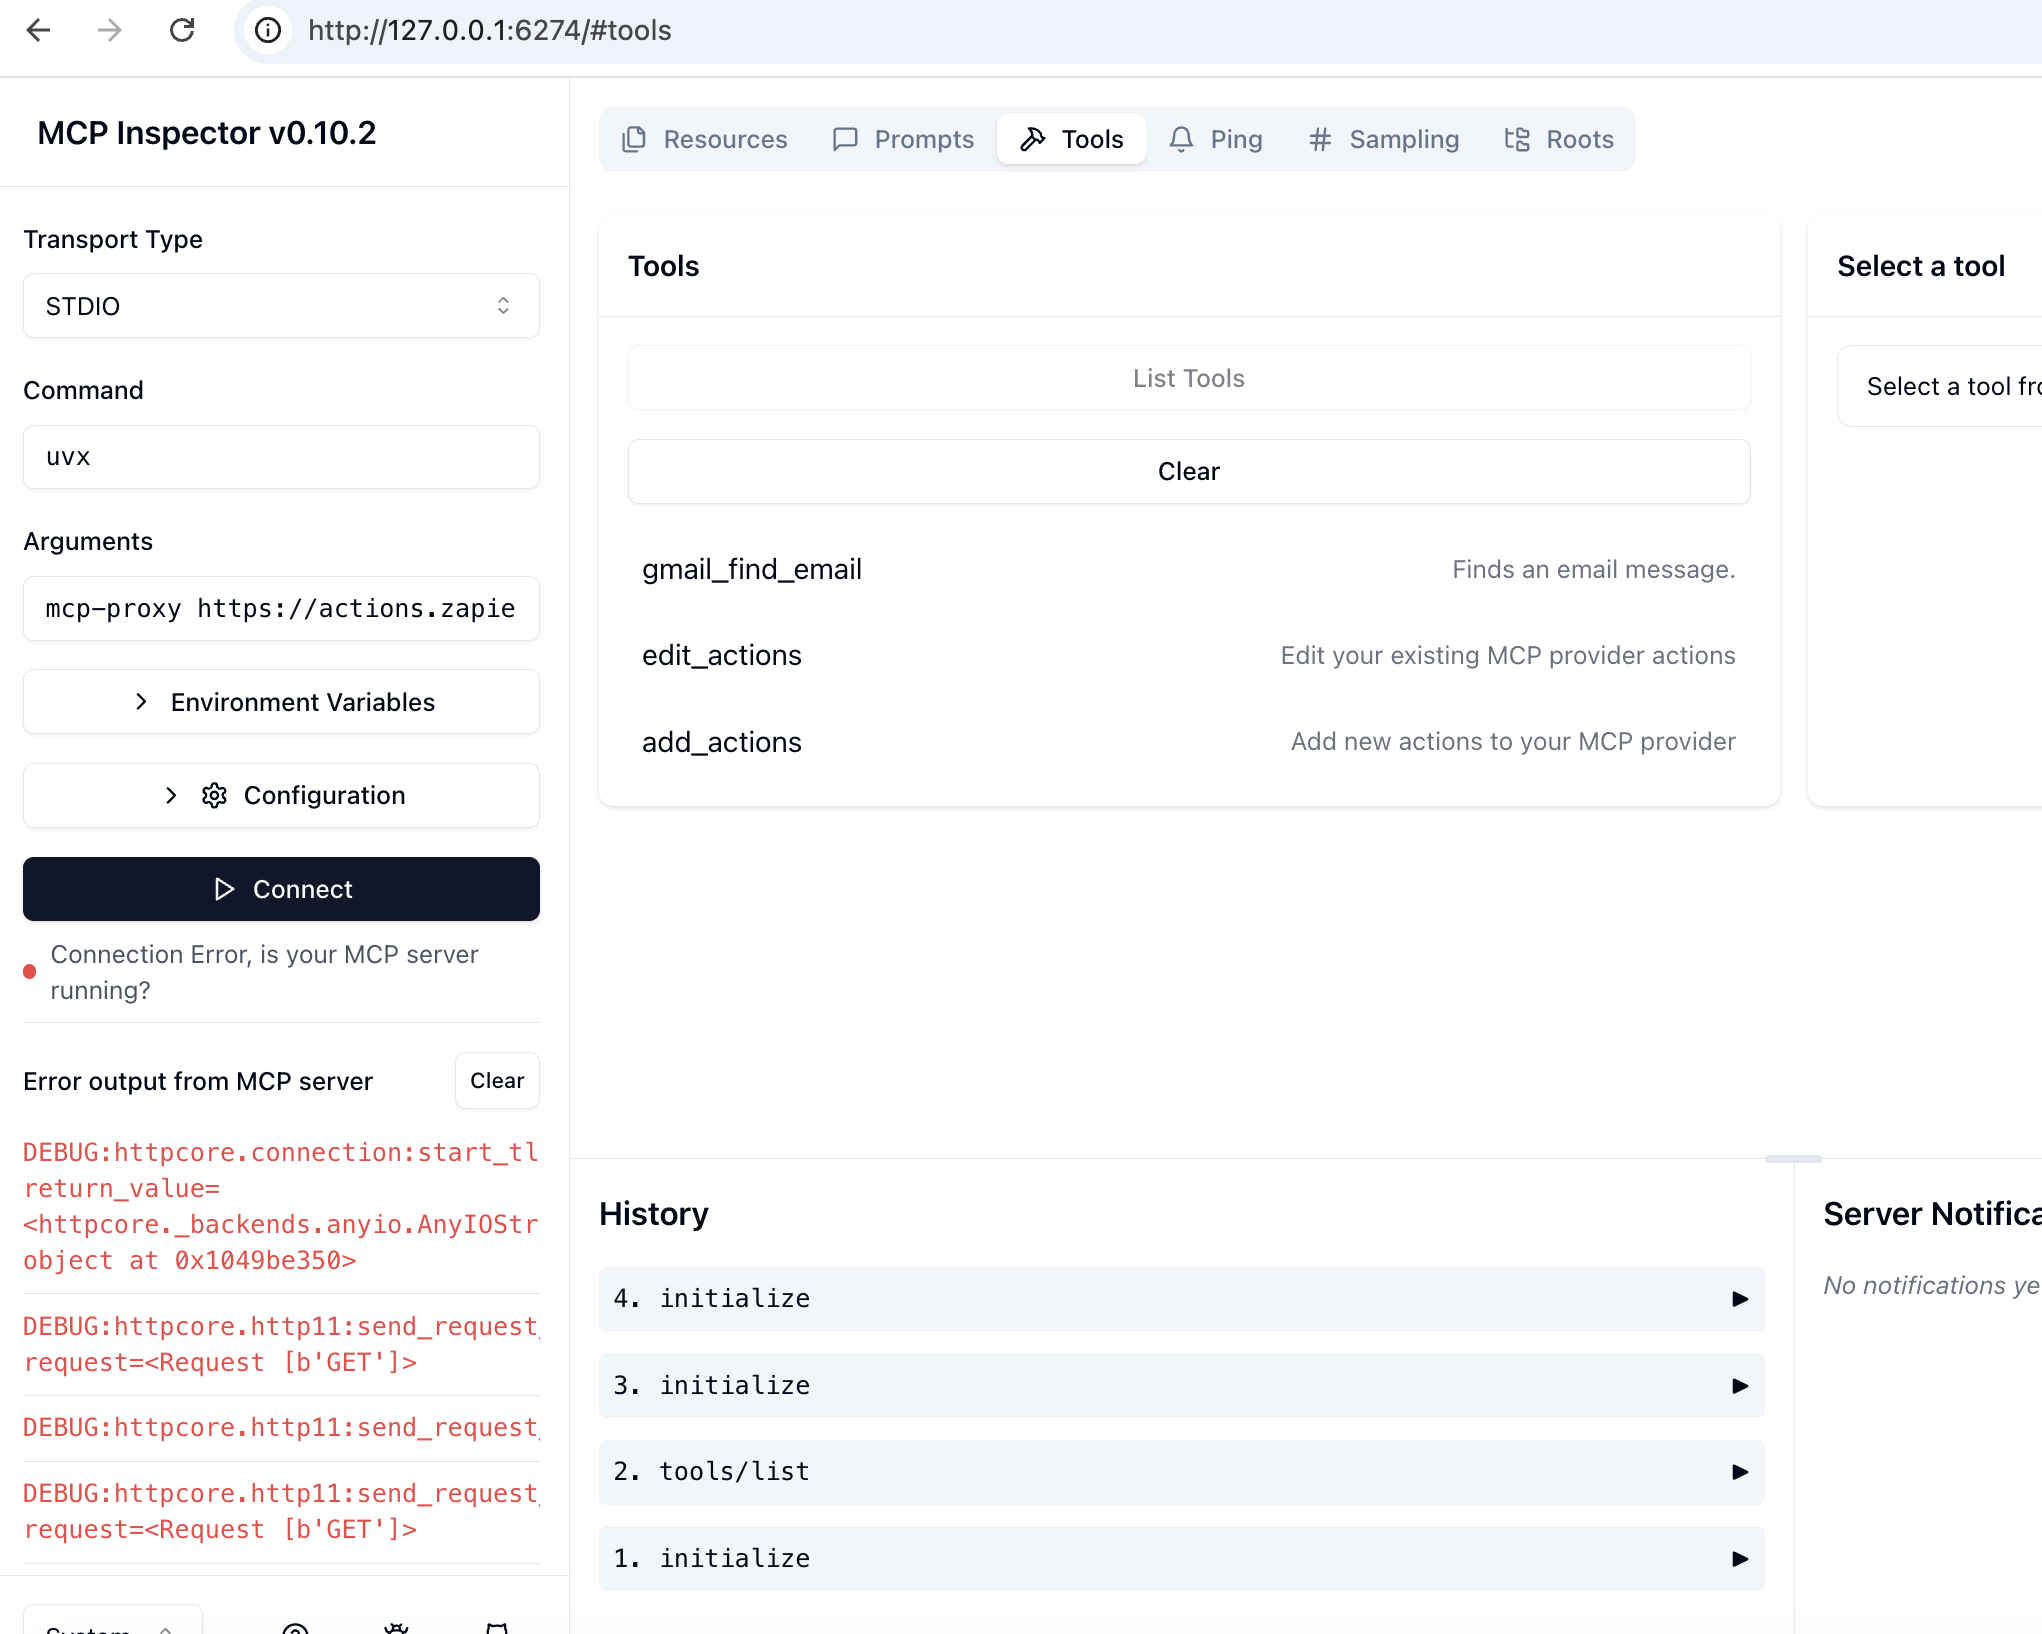
Test with the inspector
Start the inspector with or without parameters, or with the Zapier parameter, like so:
npx @modelcontextprotocol/inspector uvx mcp-proxy https://actions.zapier.com/mcp/sk-ak-xxx/sse
You can view and test the MCP server and its tools using SSE directly:
using sse
Or using the MCP proxy:
using mcp-proxy
For more information on using the inspector, see my other tutorials on debugging MCP servers.
Happy automating :)