Break free from ChatGPT with OpenWebUI
Discover the powerful world of OpenWebUI, an open-source chatbot tool that surpasses the typical ChatGPT experience. With its customizability, flexibility to host various models, and cost advantages, OpenWebUI is worth exploring, even for dedicated users. Dive into easy installation and start exp...

Are you a frequent ChatGPT user? You might be wondering why bother with alternatives when ChatGPT already seems to do it all. Well, if you haven't tried OpenWebUI, you're missing out. I felt the same way about seven months ago, but taking 15 minutes to explore this new tool was a decision I haven't regretted.
I always make it a point to explore new tools, even when I'm satisfied with my current setup, just out of curiosity. Sometimes, that curiosity really pays off!
In this post, I'll introduce you to OpenWebUI and explain why it's worth your attention, even if you're a dedicated GPT user.
Why OpenWebUI?
There are many excellent open-source LLM chat interfaces out there, like JAN, GPT4All, and more. I've experimented with most of them, and OpenWebUI stood out for its simplicity and extensibility. However, I always encourage you to try things out for yourself and make your own judgments. I'm simply pointing out alternatives without pushing any particular tool over another.
So, what exactly is OpenWebUI, and why should you care?
In short, OpenWebUI is a chatbot interface like ChatGPT, but with three key differences:
- It's open-source and free.
- It's not locked to a single vendor like OpenAI's ChatGPT. You can run Claude, OpenAI models, Llama, and virtually any other model with just a few clicks.
- It's highly customizable, with a rich library of open-source tools, extensions, and even prompts.
And one more reason, which might not be immediately obvious, is cost savings.
If you're paying for a ChatGPT subscription, you might be underutilizing it compared to using the OpenAI API directly. If you're unfamiliar with this option, I highly recommend reading my previous article on the topic.
If any of these reasons resonate with you, I strongly suggest taking just 10 minutes to get OpenWebUI up and running.
Let's dive into the installation process.
Step #1: Install Docker
https://docs.docker.com/engine/install/
If you're new to Docker, here's a simple explanation: Docker is essentially an engine that runs "containers." These containers are typically self-contained applications that operate in isolated environments on your device. One of Docker's biggest advantages is portability – the same app can run on any device with the Docker engine installed. It's available for all major operating systems, including macOS, Windows, and Linux.
Step #2 : install OpenWebUI
2. Open your terminal and install OpenWebUI with the following command:
docker run --pull=always -d -p 3000:8080 -v open-webui:/app/backend/data --name open-webui ghcr.io/open-webui/open-webui:main
Note: The--pull=alwaysflag ensures you always get the latest version when updates are available.
You'll only need this flag when a newer version is released. In that case, you'll have to delete the older container and then re-run this command.
Step #3: Add OpenAI Models
Once the container has started, you're ready to proceed.
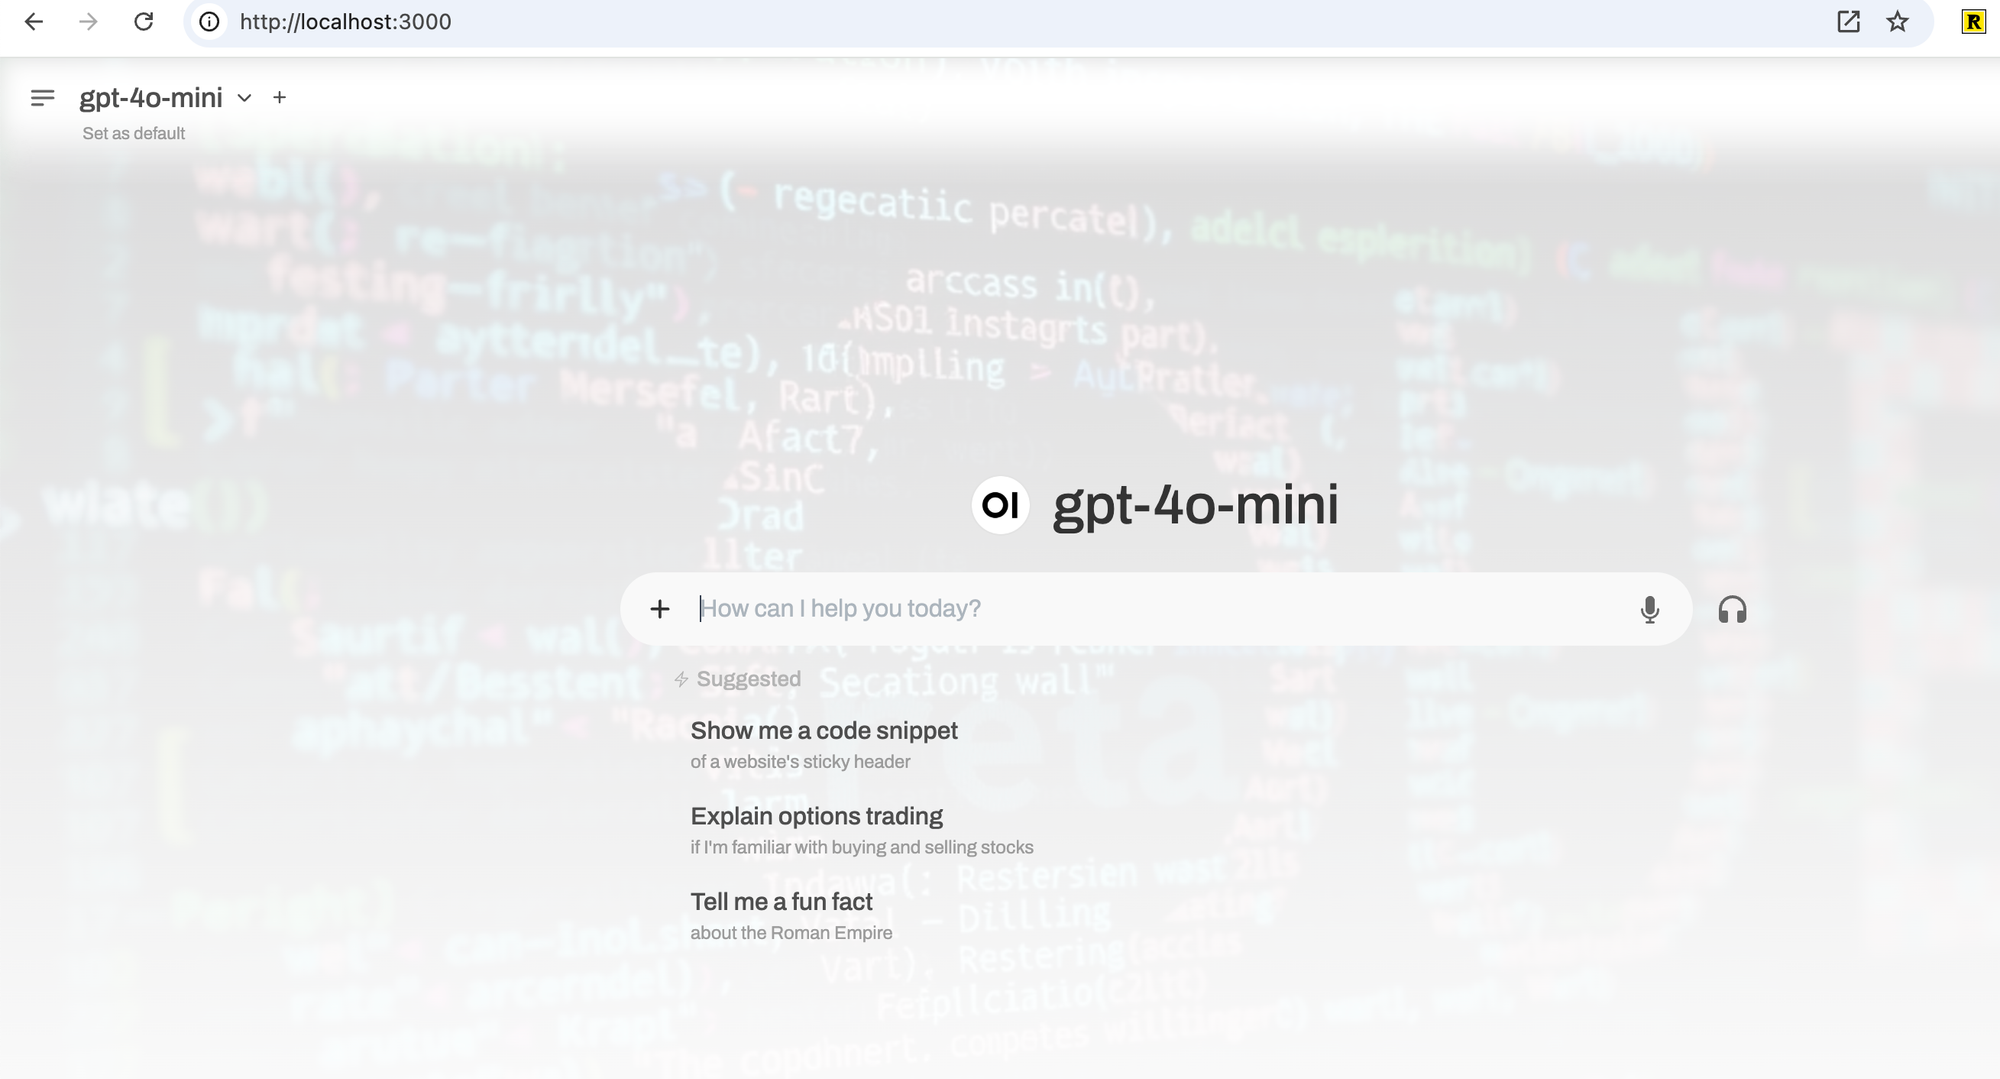
Now, open your browser and navigate to localhost:3000. You should see the OpenWebUI chat interface.
Next, let's add some models. In this tutorial, we'll add all OpenAI models at once by simply providing your API key. Go to:
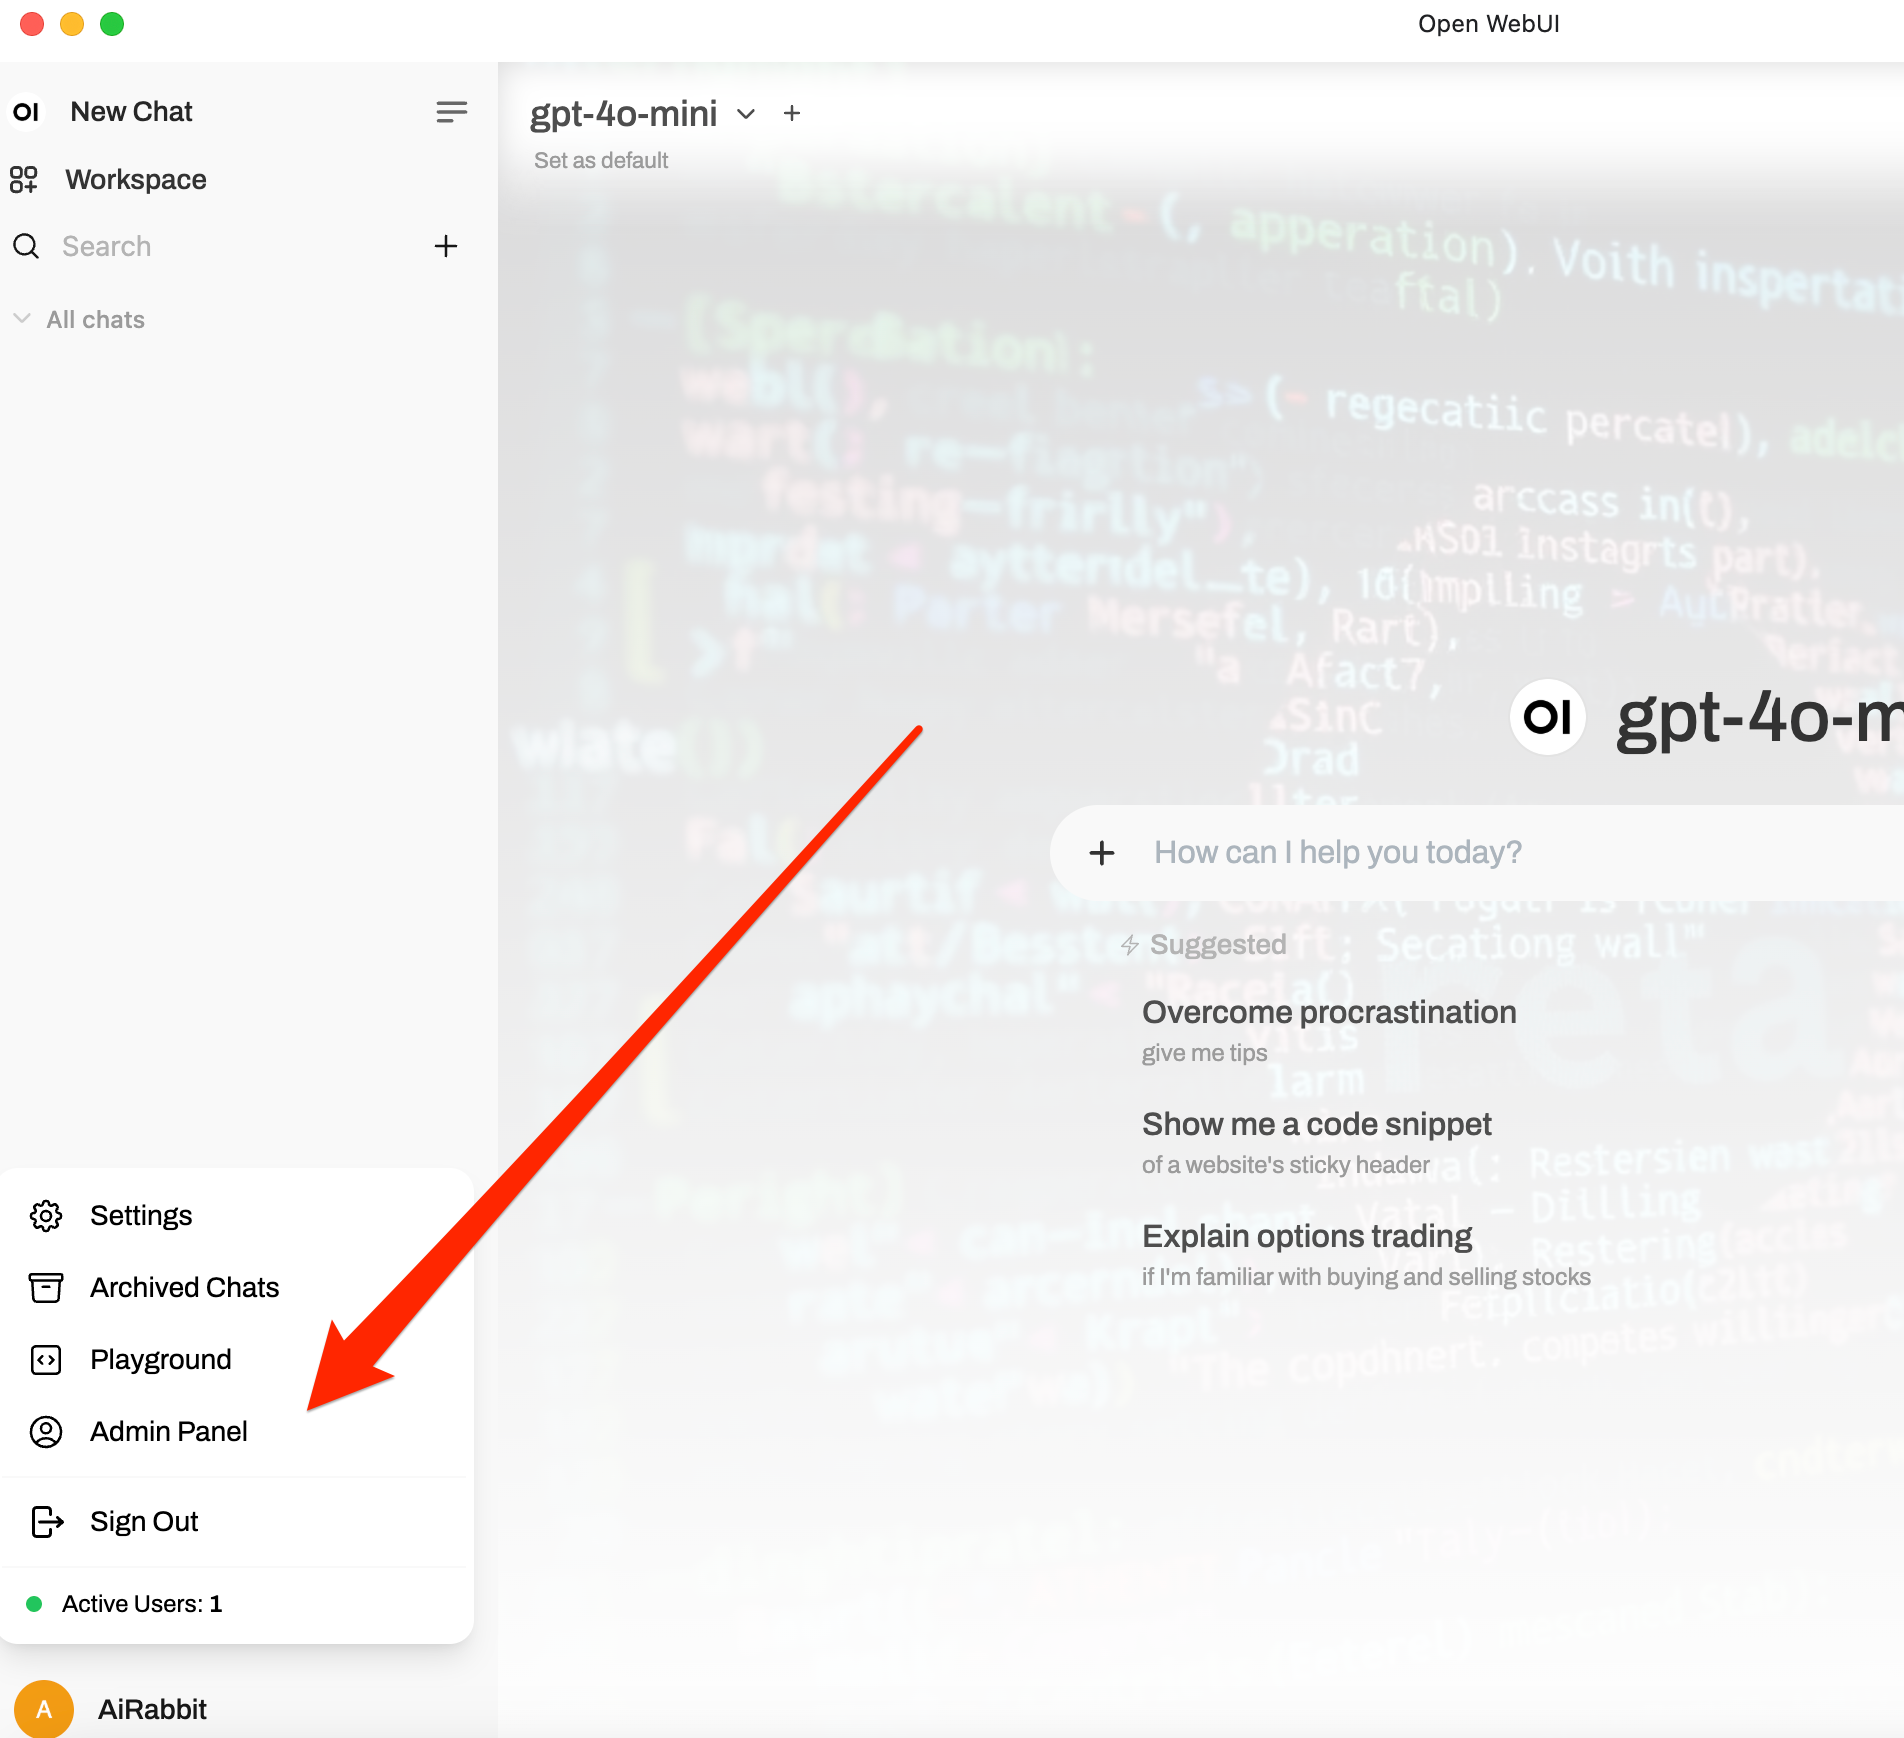
http://localhost:3000/admin/settings
This will take you to the admin panel.
Now, enter your OpenAI API key. If you don't have one, you can get it here:
https://help.openai.com/en/articles/4936850-where-do-i-find-my-openai-api-key

That's it for setup! You're now ready to start chatting.
—
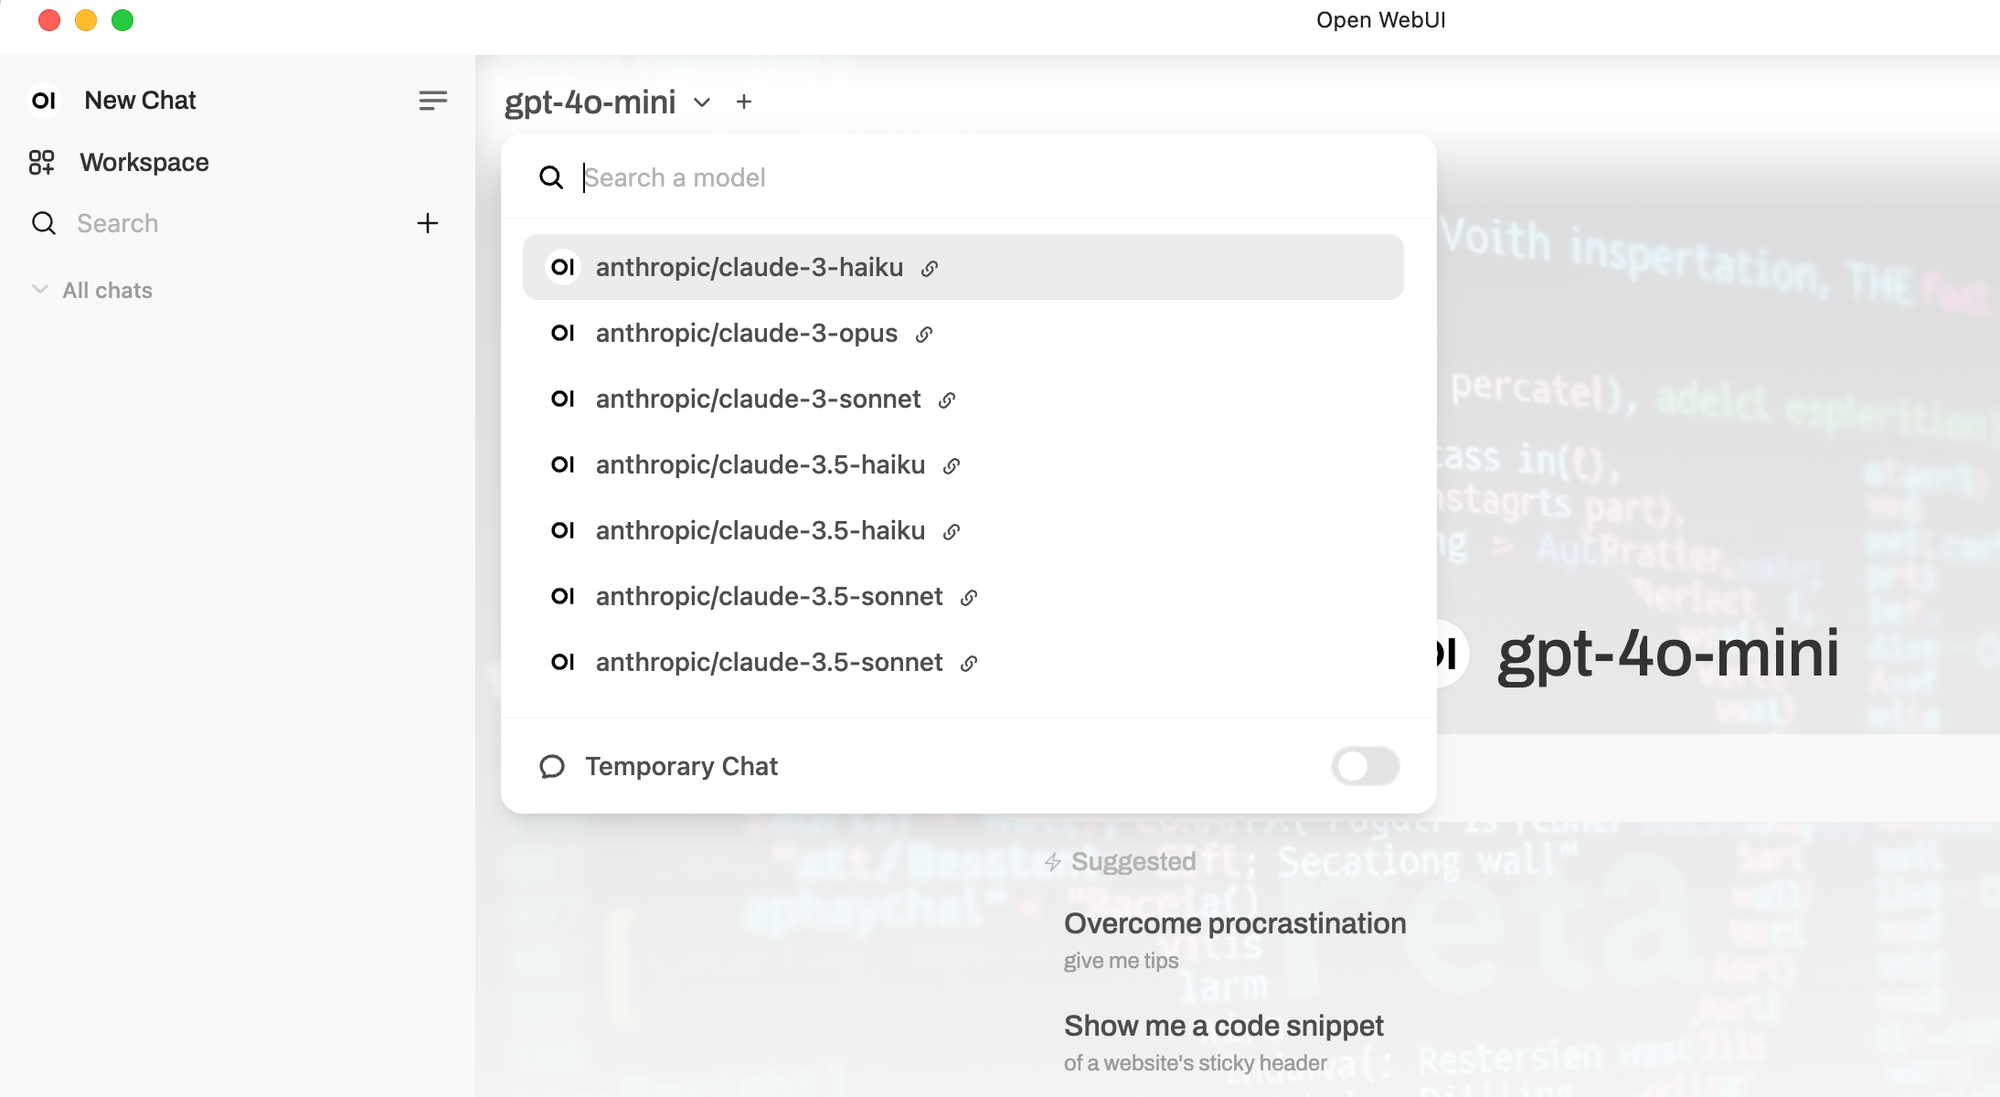
Start Chatting
Return to the main chat page, select your desired model, and start interacting with OpenAI just like you would with ChatGPT. However, now you have much more flexibility to use any model, any tool, any setting (like temperature), and access a vast prompt library.

Okay, here's just the "Next Steps" section, formatted with improved structure and without the conversational introduction:
Advanced Features
Exploring OpenWebUI's Core Features
Let's delve into the key features that make OpenWebUI a powerful and flexible tool.
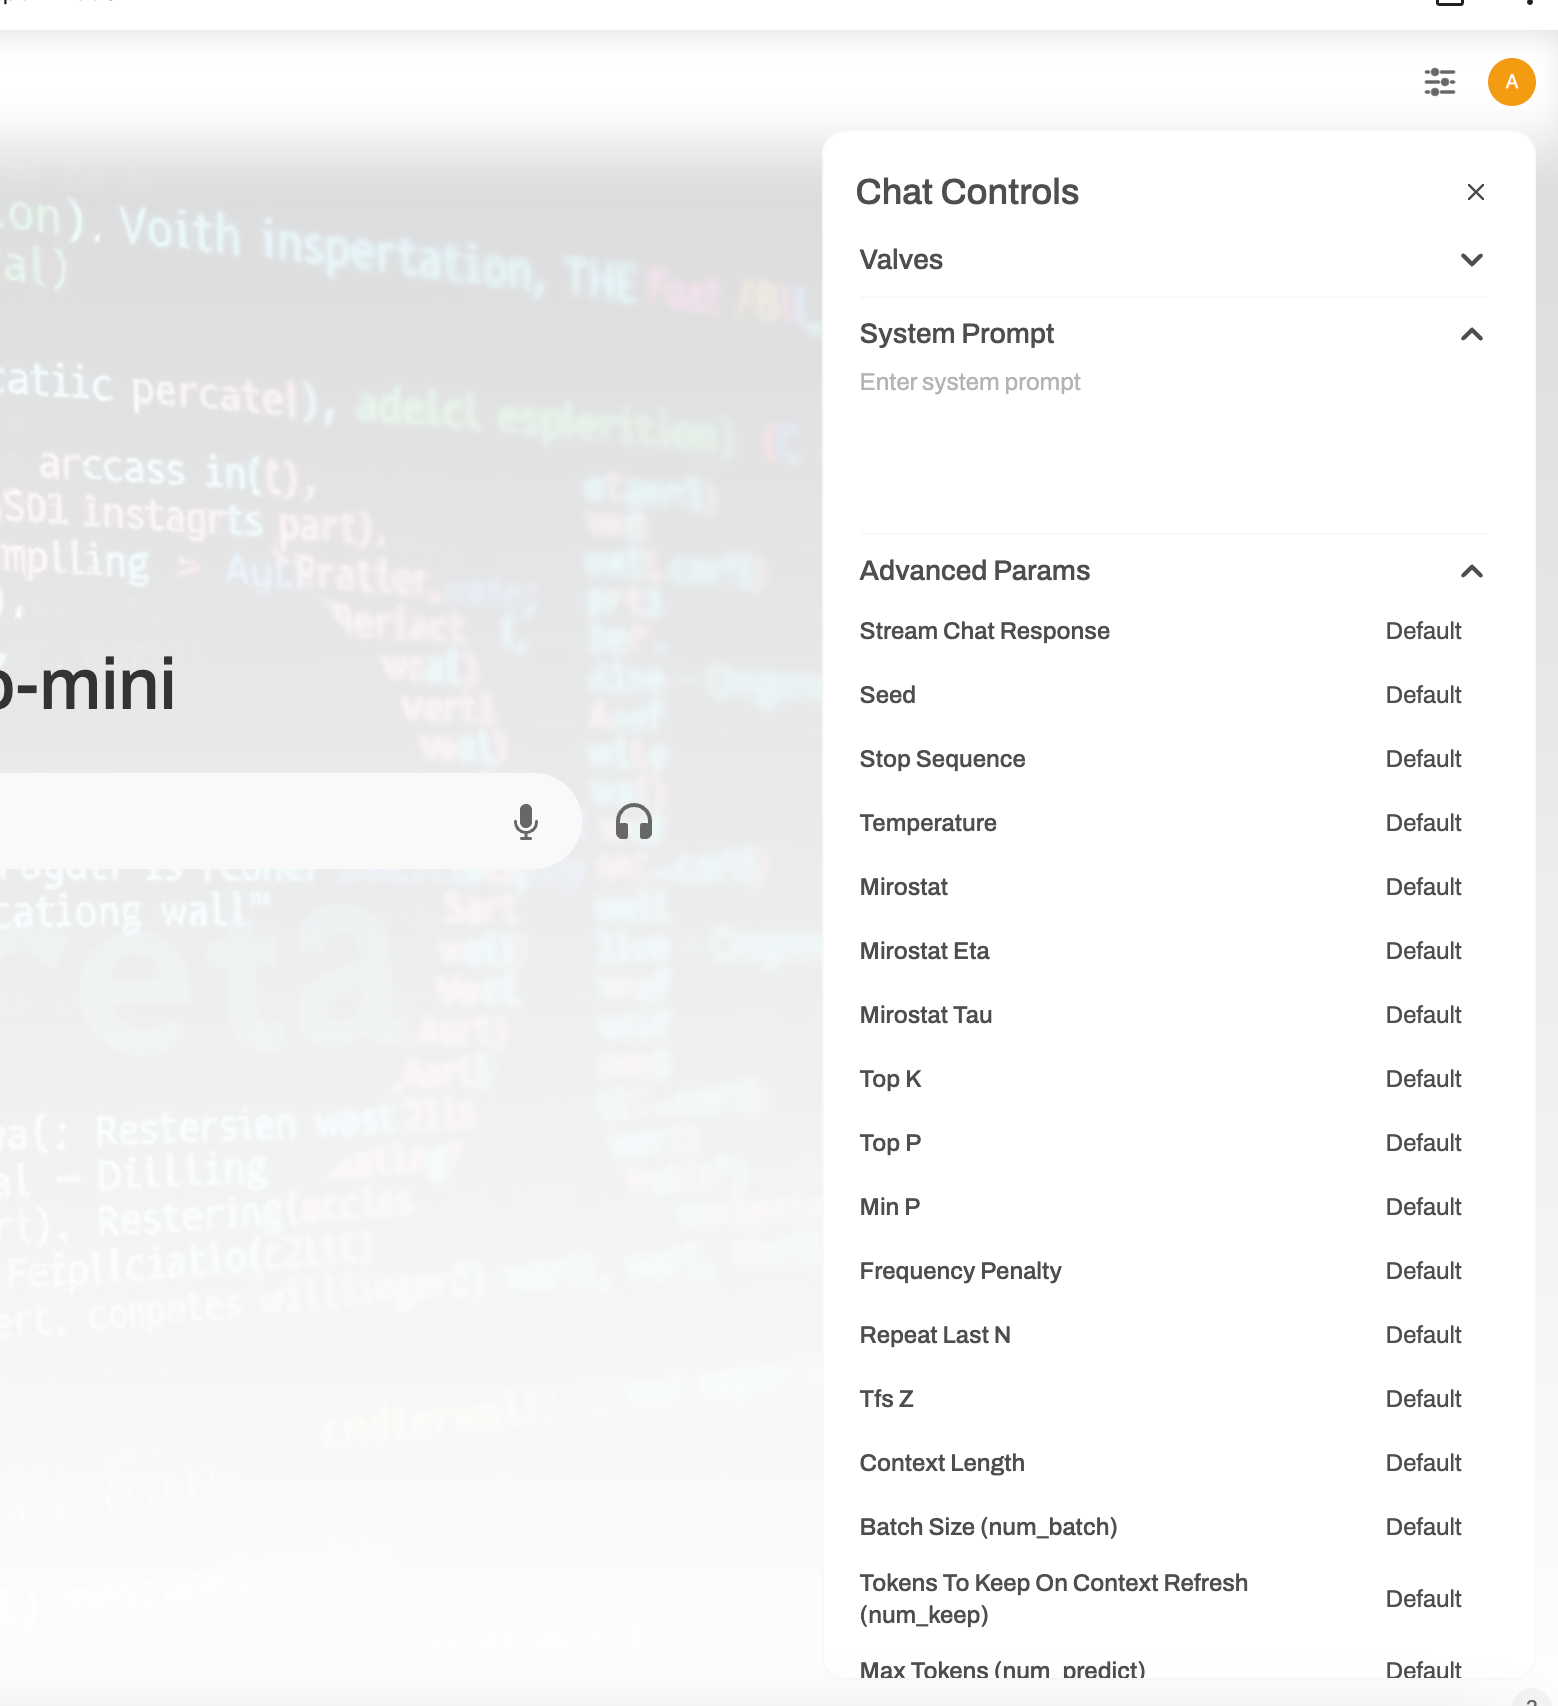
1. Customization and Control:
Chat Settings: Fine-tune your chat experience by adjusting settings on the right side of the interface. A key example is "Max Tokens," which controls conversation length. Unlike ChatGPT's restrictions, OpenWebUI lets you set this and other basic/advanced settings freely.
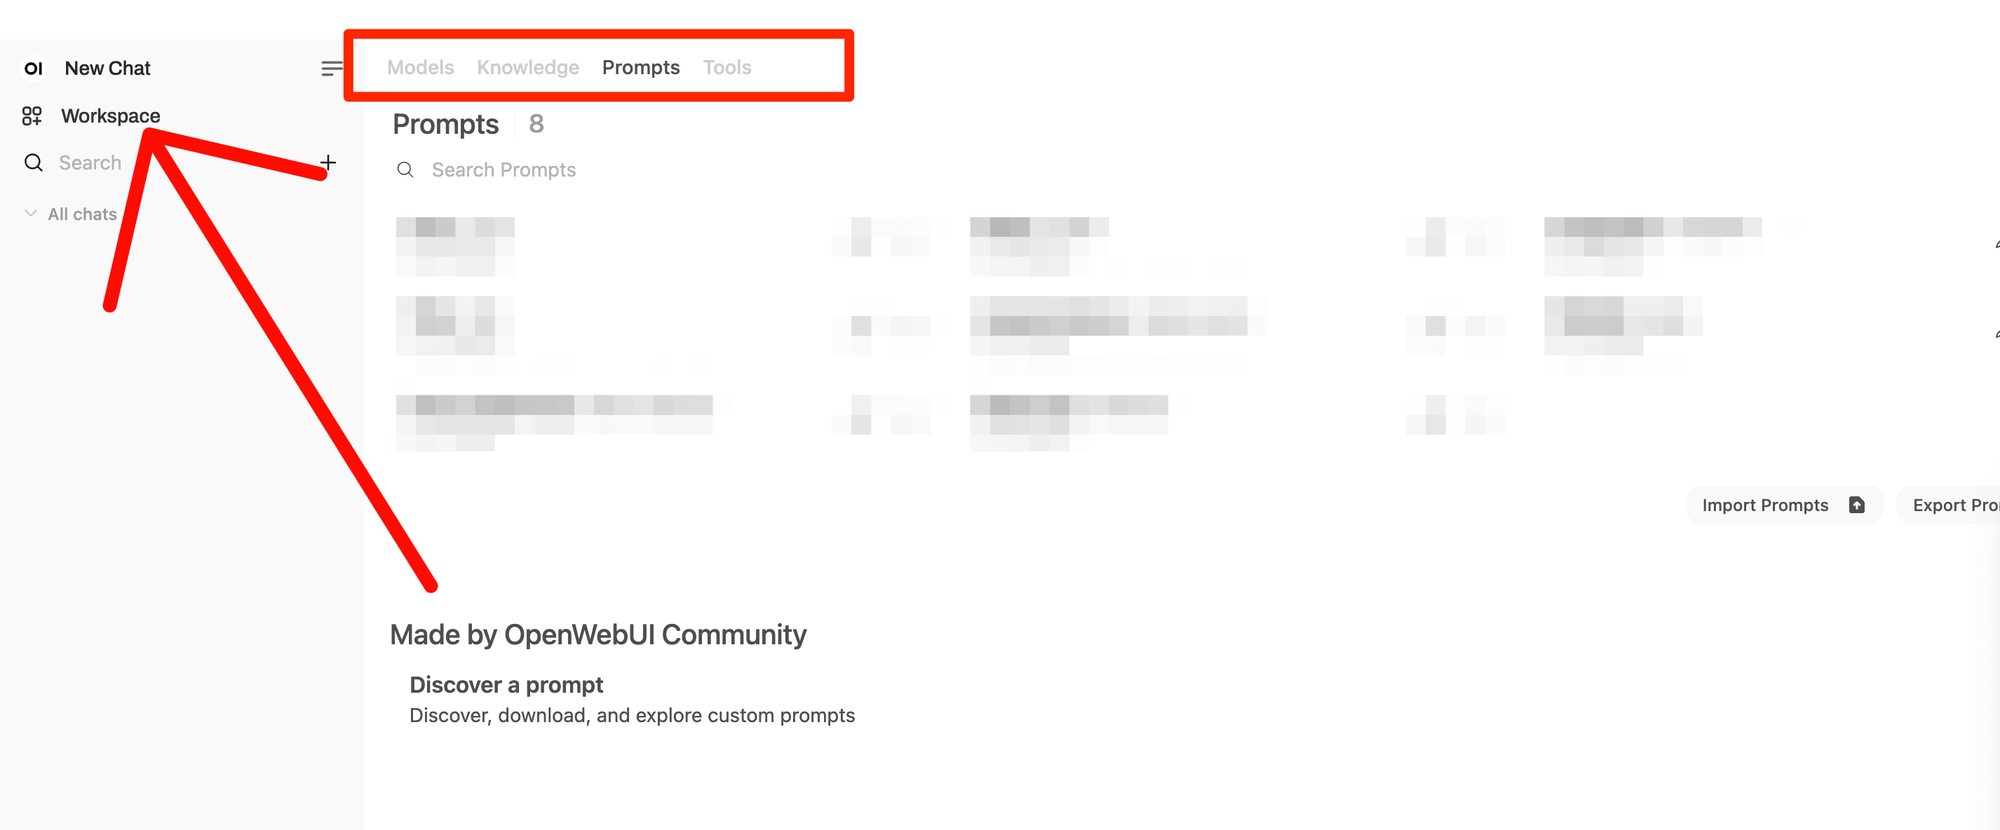
2. The Power of the Workspace:
The "Workspace" is your hub for extending OpenWebUI:
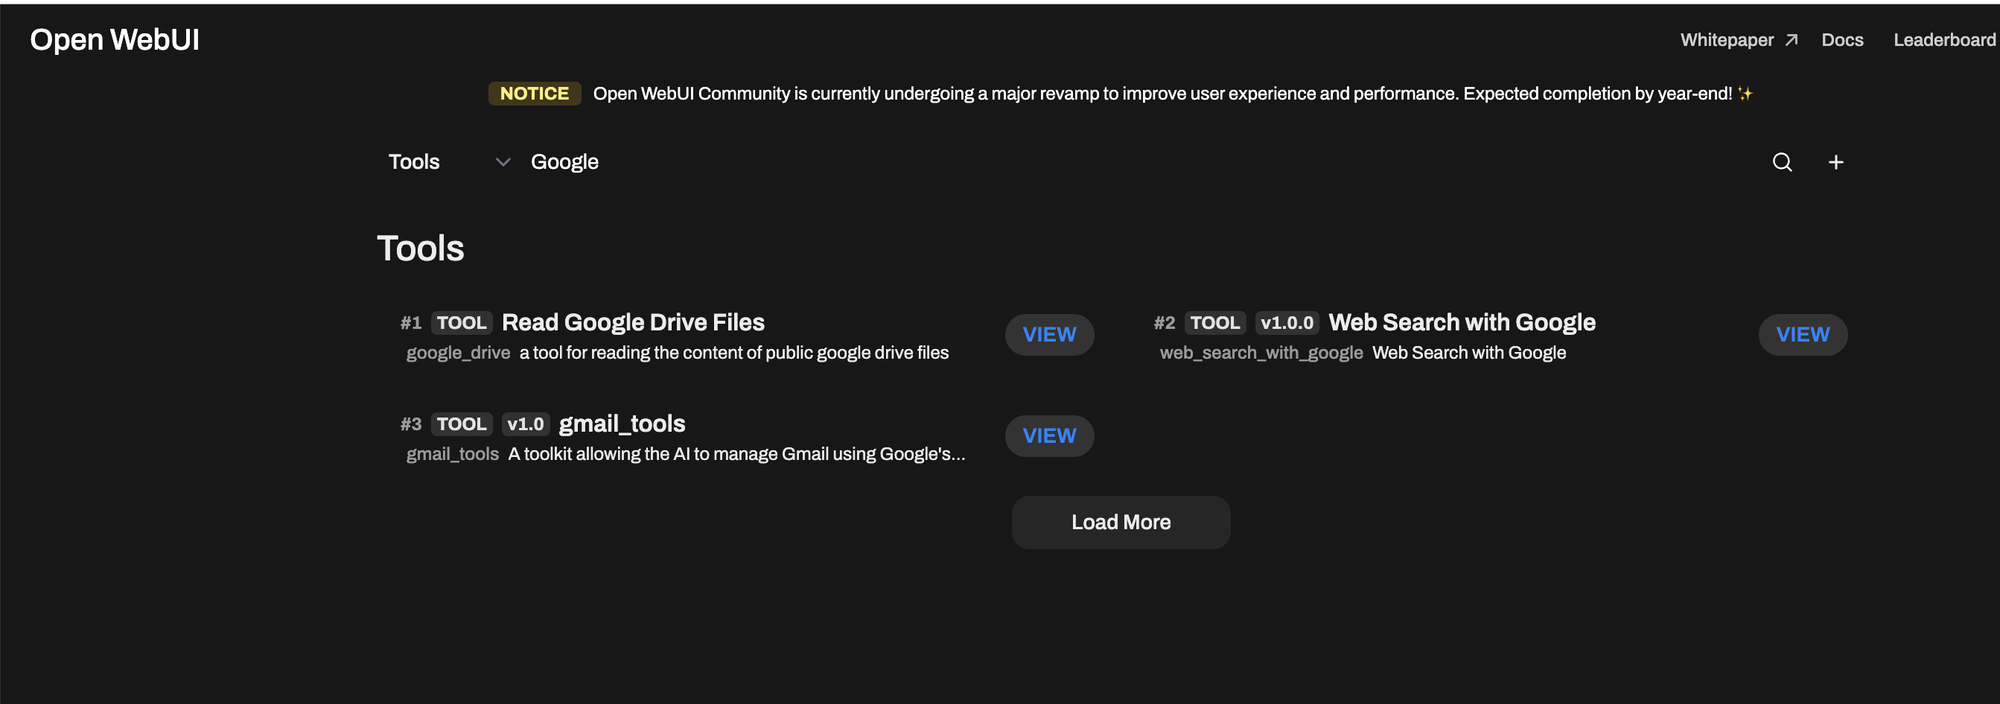
- Components: It includes a prompt library (community and private), knowledge bases (your documents), models (various models like OpenAI, Claude), and most importantly, tools.
Tools Integration: Tools extend the models' capabilities by connecting them to external systems like Google Drive, weather APIs, or your own custom services. The open-source nature of OpenWebUI means the community has already developed a wide array of tools.
Installing Extensions and Prompts
This is where OpenWebUI shines in terms of ease of use. Adding extensions and prompts is streight forward:
- Two Installation Methods: From the website, you have two straightforward options for installation:
– Direct Install: Click the "Install" button directly on the website for the extension or prompt you want. OpenWebUI handles the rest.– Code Snippet: Alternatively, copy a provided code snippet and paste it into your OpenWebUI instance. This also triggers the installation.
Example: Importing Claude Models: Let's illustrate with an example of importing all Claude models.
1. Find the Claude models extension on the OpenWebUI website (https://openwebui.com/).
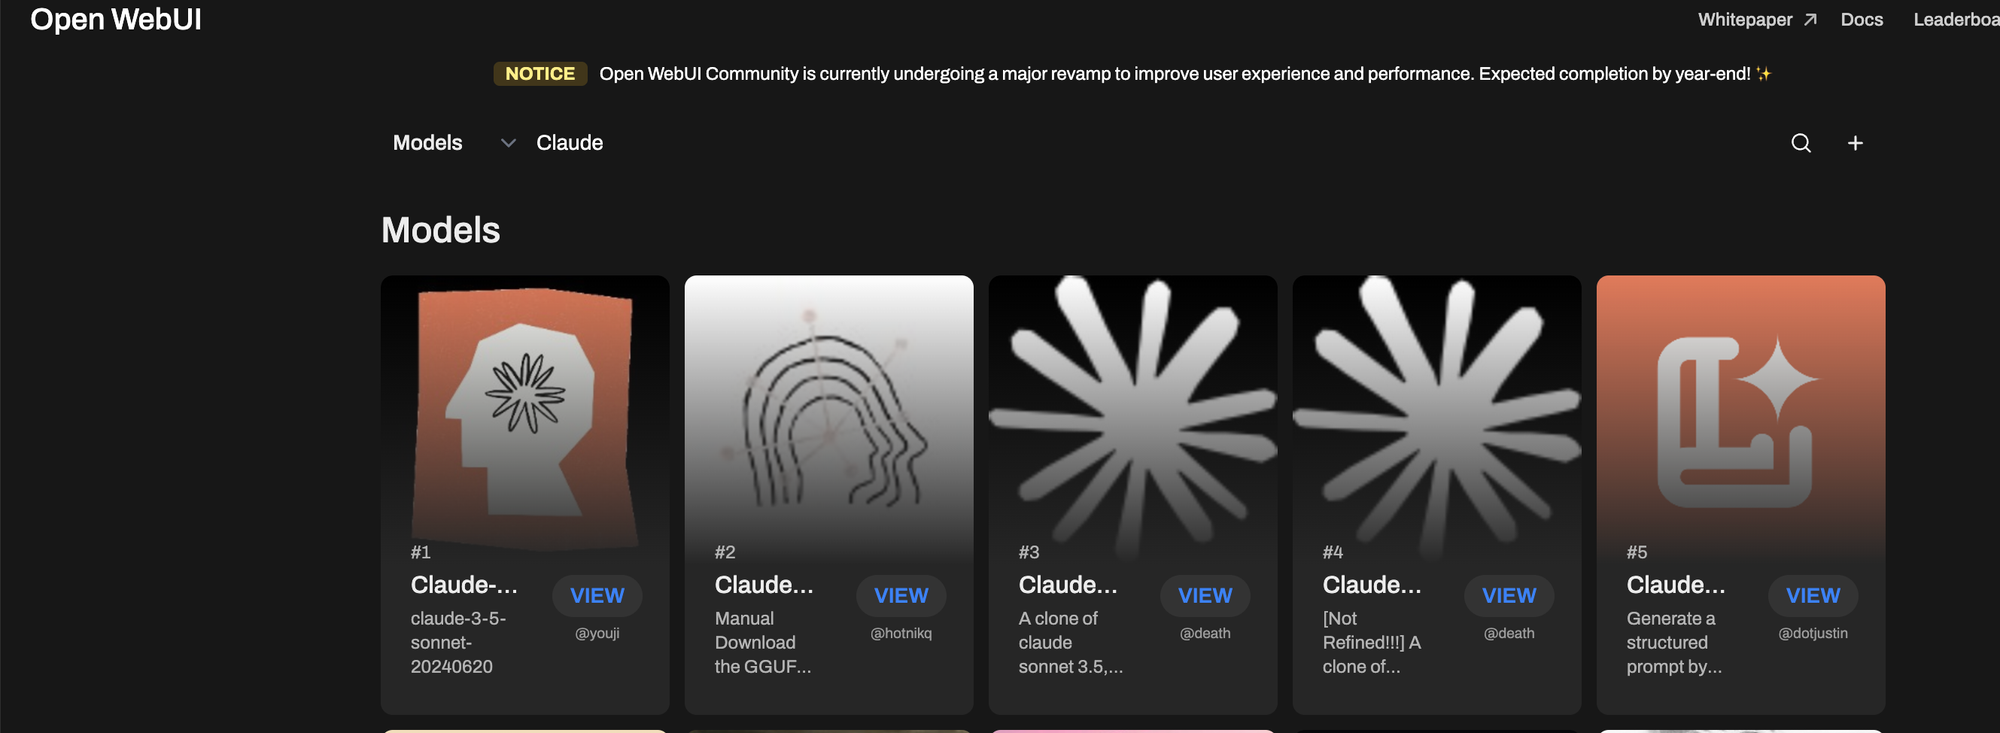
2. Click the "Import" button (or use the code snippet method).
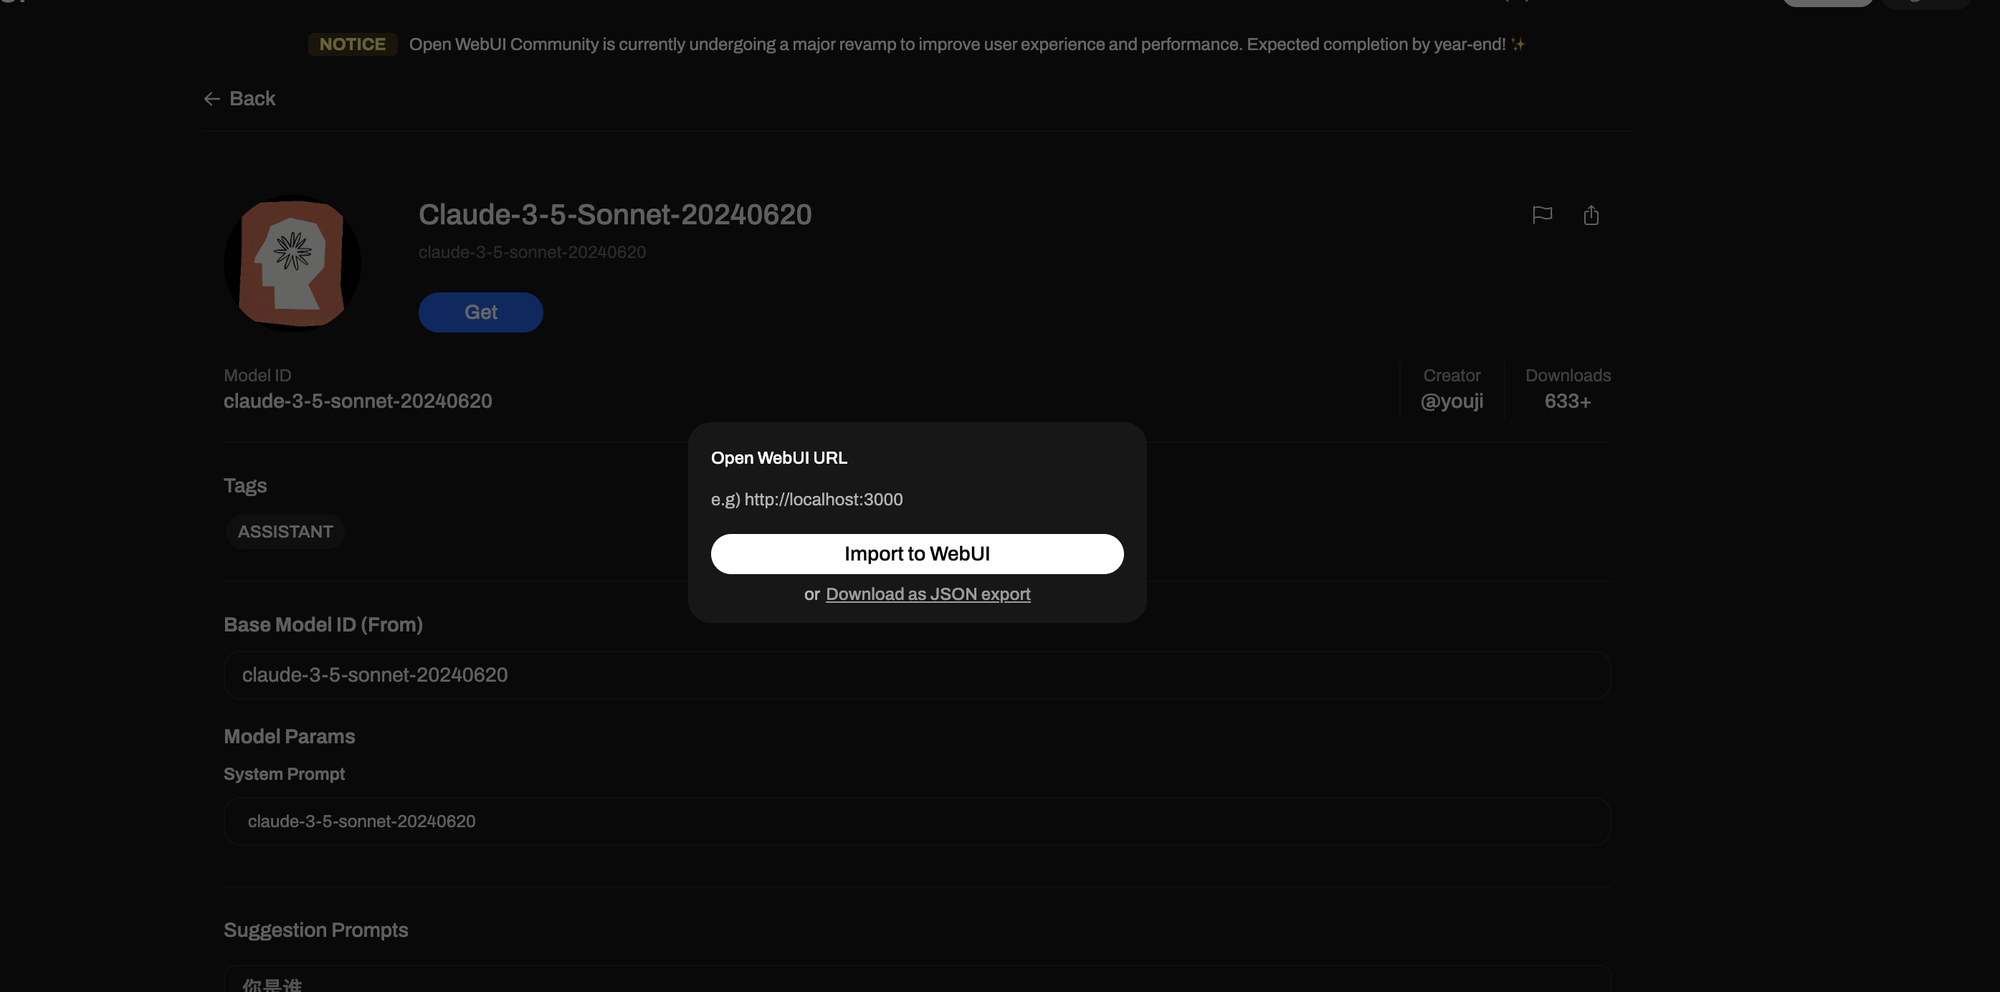
3. That's it! The models will be available in your OpenWebUI chat within seconds.
Accessing Community Resources: To find community-created extensions and prompts, simply visit the OpenWebUI website:
https://openwebui.com/
Conclusion
This glimpse highlights the power and ease of use of OpenWebUI. It's designed for effortless customization, allowing you to build prompt libraries, create knowledge bases, integrate external tools, and utilize private models. I encourage you to explore it further to experience its full capabilities.
Further Resources:
- Documentation: https://docs.openwebui.com/
- Community Page: https://openwebui.com/
Happy prompting!